I am going to demonstrate two different FortiGate versions. 6.2.3 and 7.2.4. The major differences for a lab are in regards to the trial licencing and the limitations each has.
The FortiGate trial licencing has some limitations that should be understood. Pre 7.2.1 the images had limited encryption usage quite heavily. For me this was a problem with Terraform, but also removes the functionality of the HTTPS web interface and I understand with VPNs. However, there were fewer limitations in regard to; interfaces, routes and security rules.
Version 7.2.1 and above, the FortiGate can use encryption in a less limited manner. For me, Terraform was able to work, and the HTTPS web interface is also successful. The new limitations are;
– An account is required to download the trial licence
– Appliance must be connected to the internet to download the licence
– 3 Interfaces
– 3 Routes
– 3 Security Rules
I also understand there can only be a single licence per account. So if you want multiple FortiGate appliances in the lab, then you require multiple accounts.
I am using 6.2.3 and 7.2.4.
If you search google for FGT_VM64_KVM-v6-build1066-FORTINET.out.kvm.qcow2 you will come across it.
And for version 7.2.4 must be downloaded from the FortiNet website with an account. It’s all free, so no reason why not.
The empty 30 GB empty disk image disk is also required for both versions, again search Google for empty30G.qcow2
Downloading Version 7.2.4
Create account on FortiNet website
Navigate to Support, Downloads, VM Images
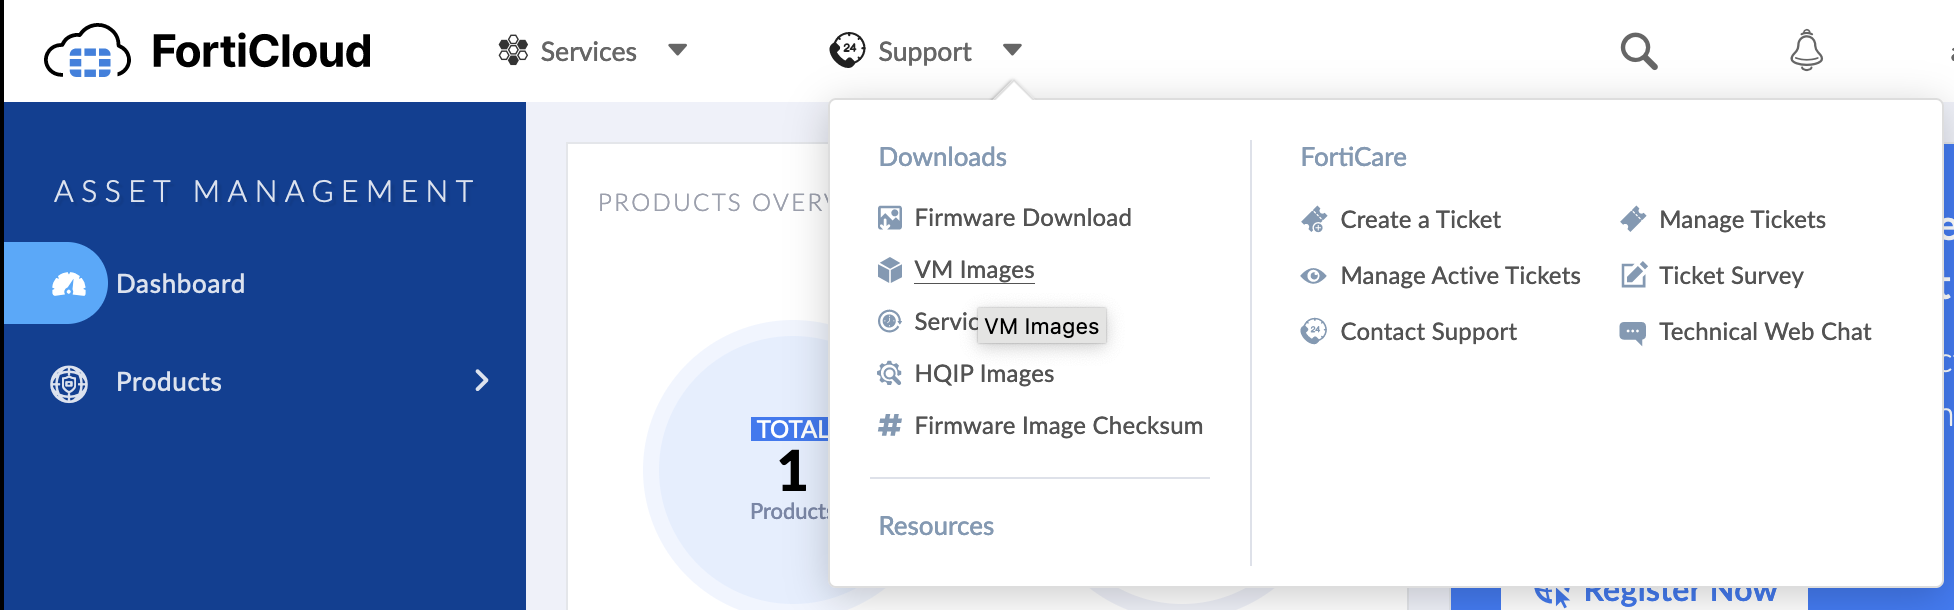
Select KVM, and the .zip file to download
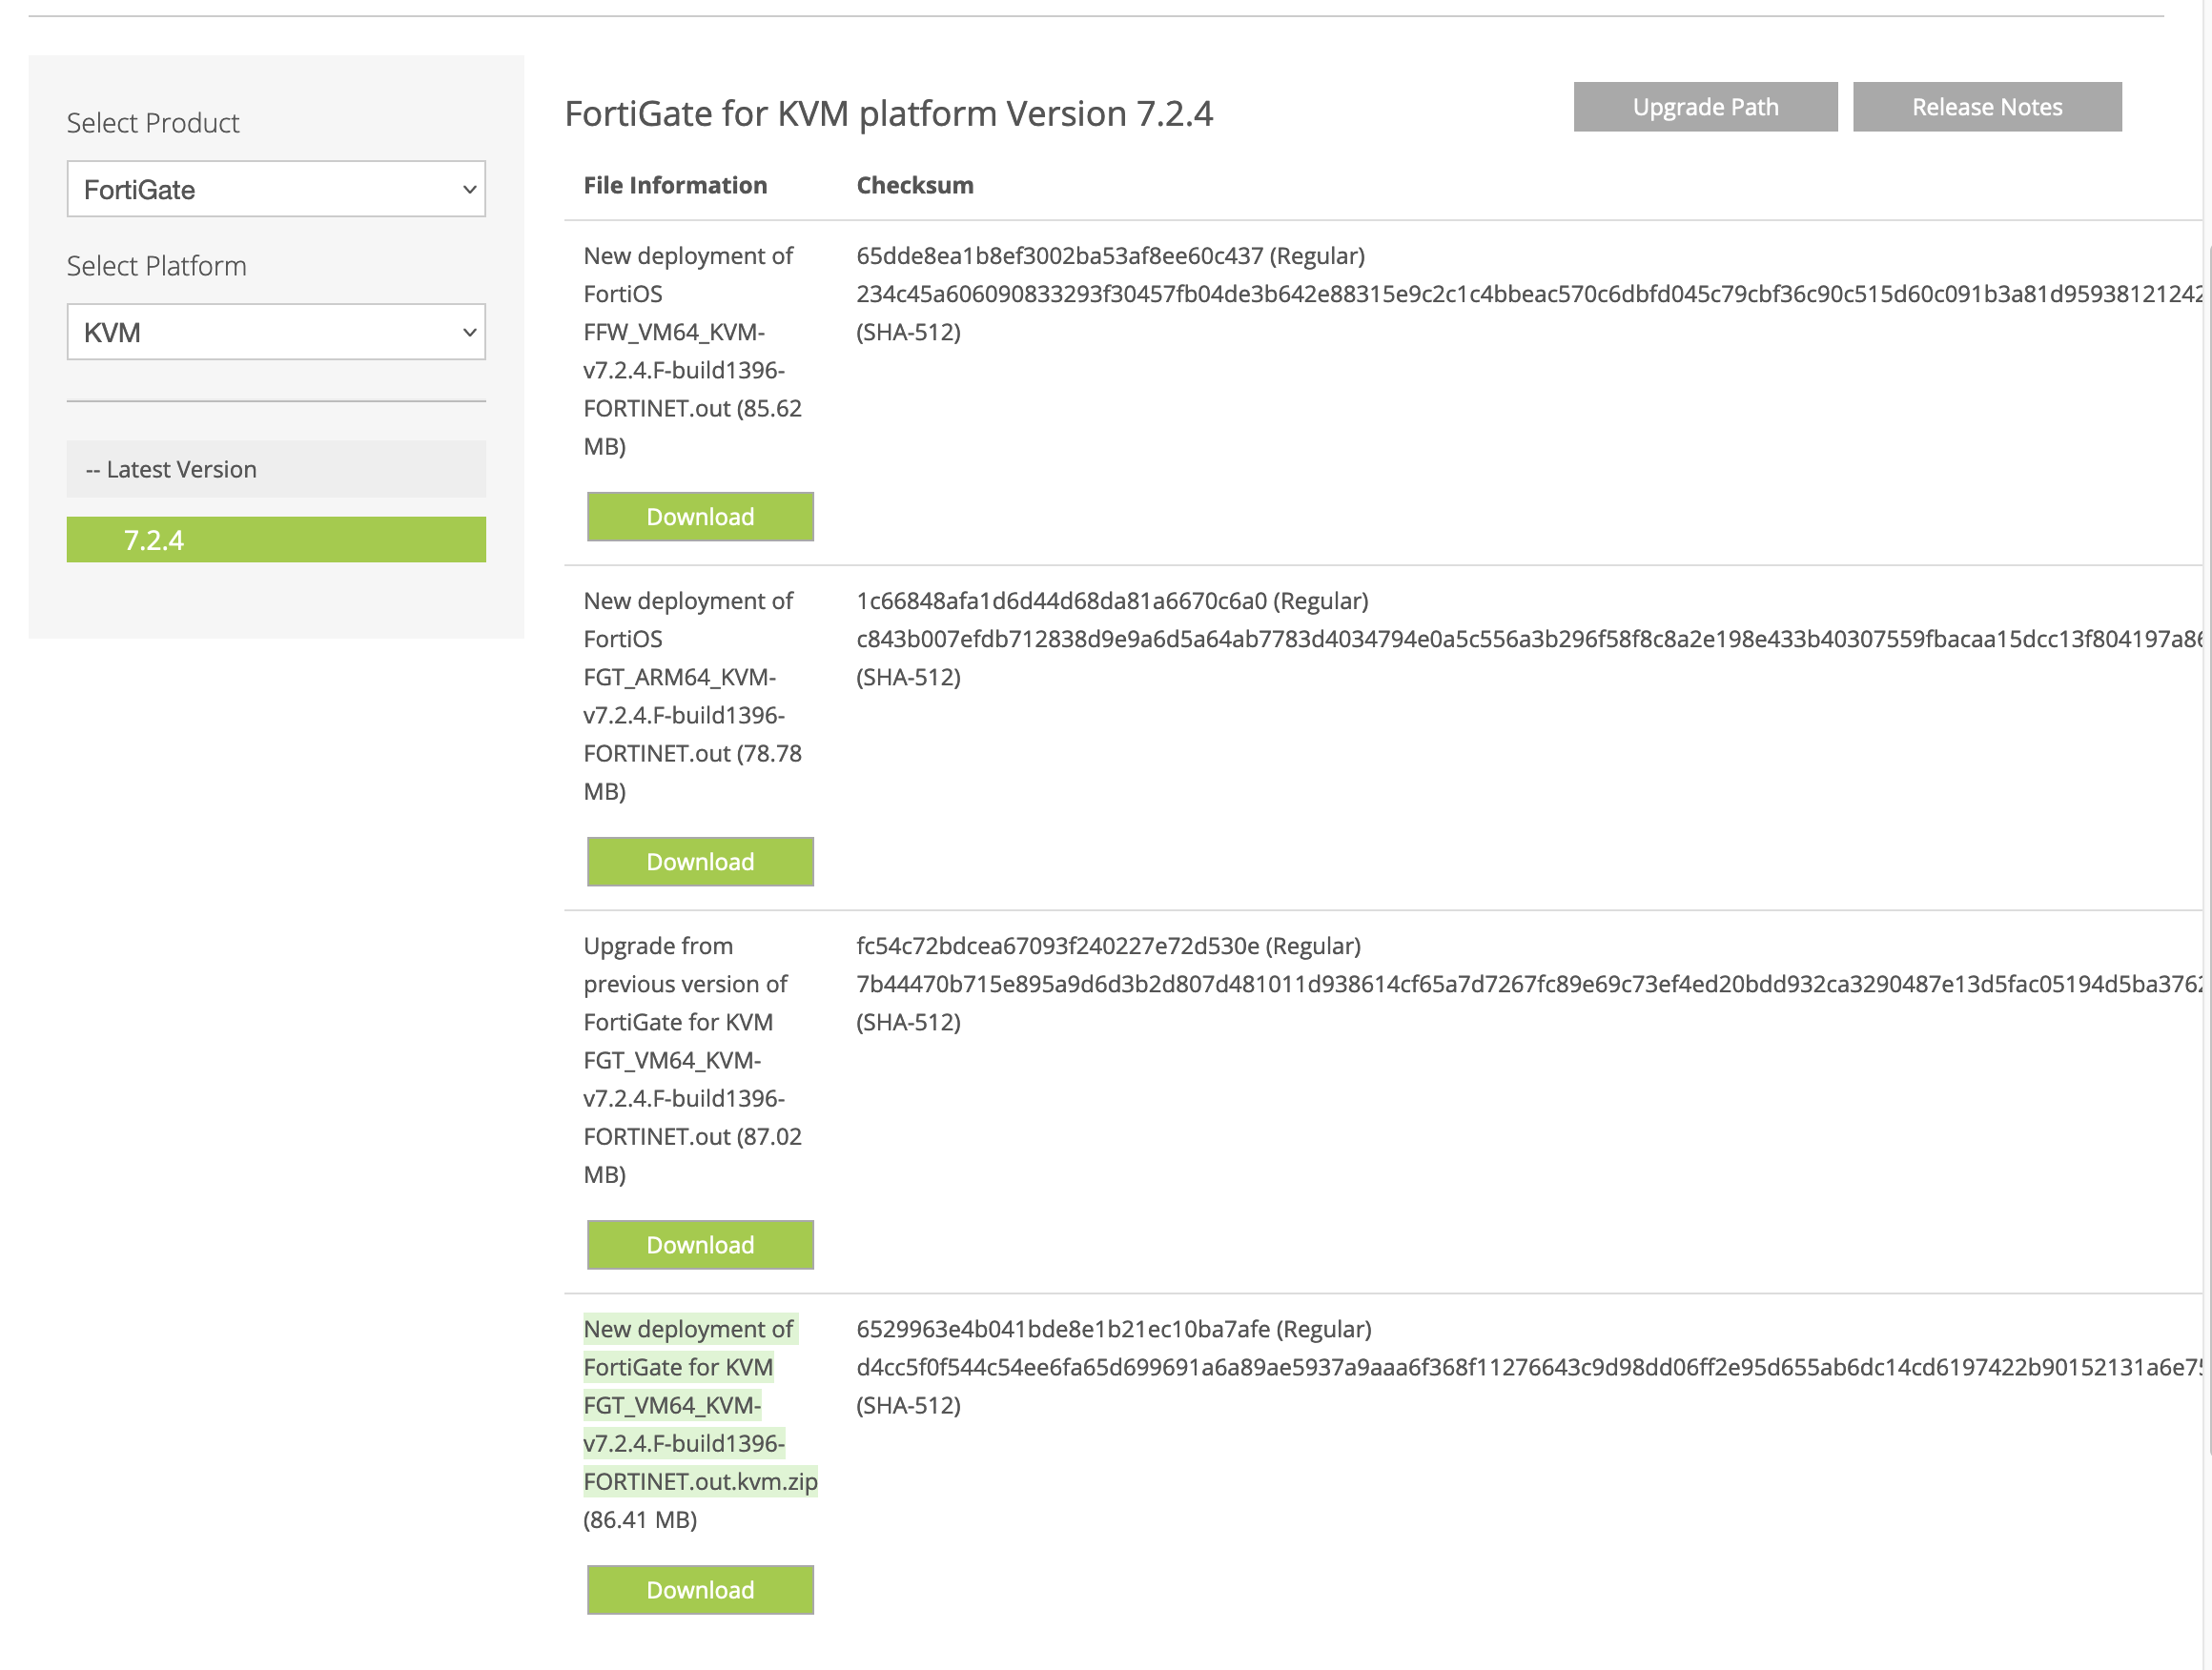
Once downloaded, move to creating the appliance
Creating Appliance in GNS3
In GNS3 go to New Template, “install appliance from the GNS3 server (recommended)”, select “FortiGate”
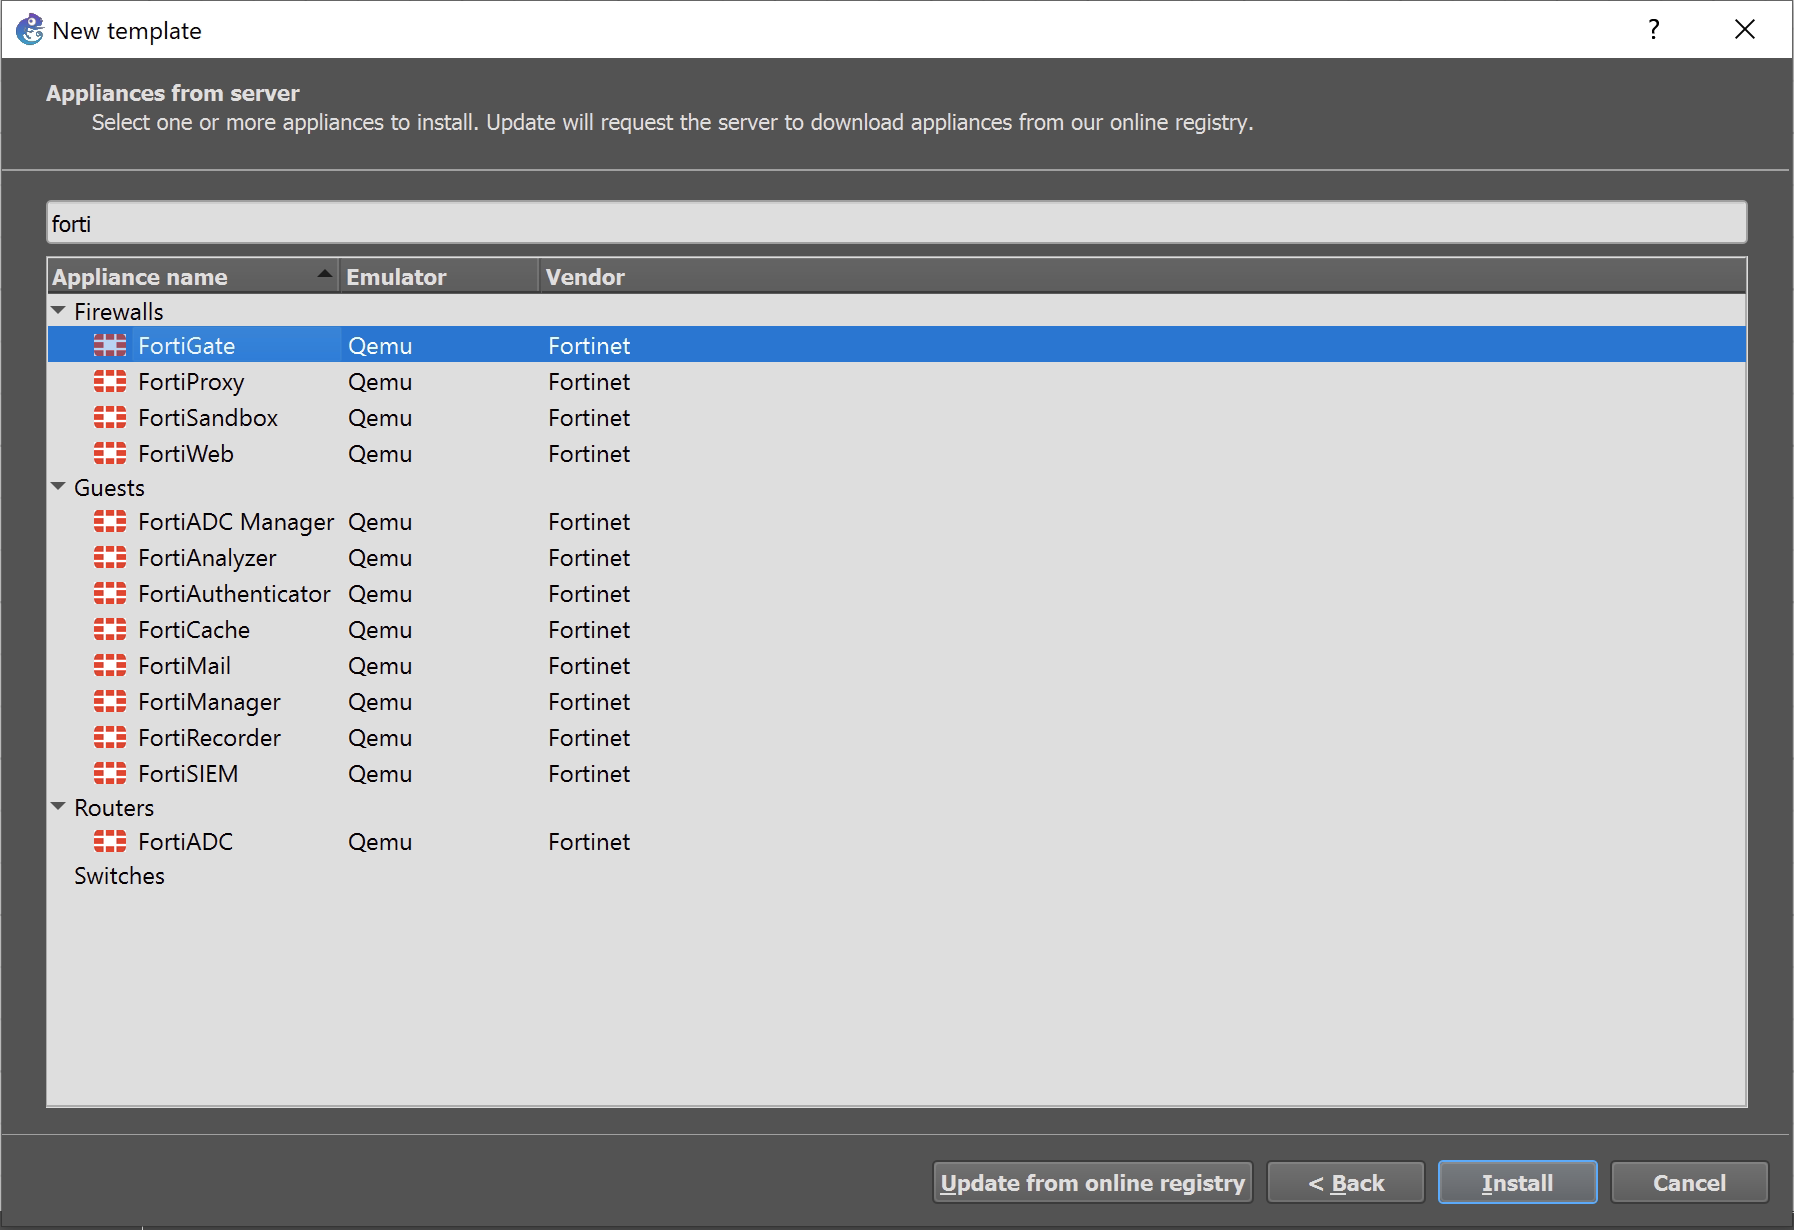
Click “install” and the next screen for me is to select “install the appliance on the main server”. This is as I am using the GNS3 VM, which should be standard.
Click next until the required files screen is presented. This is where you need to create a new version. The new version will be 6.2.3. Upload the files and click “next”.
If using 7.2.4, then create a new version for 7.2.4
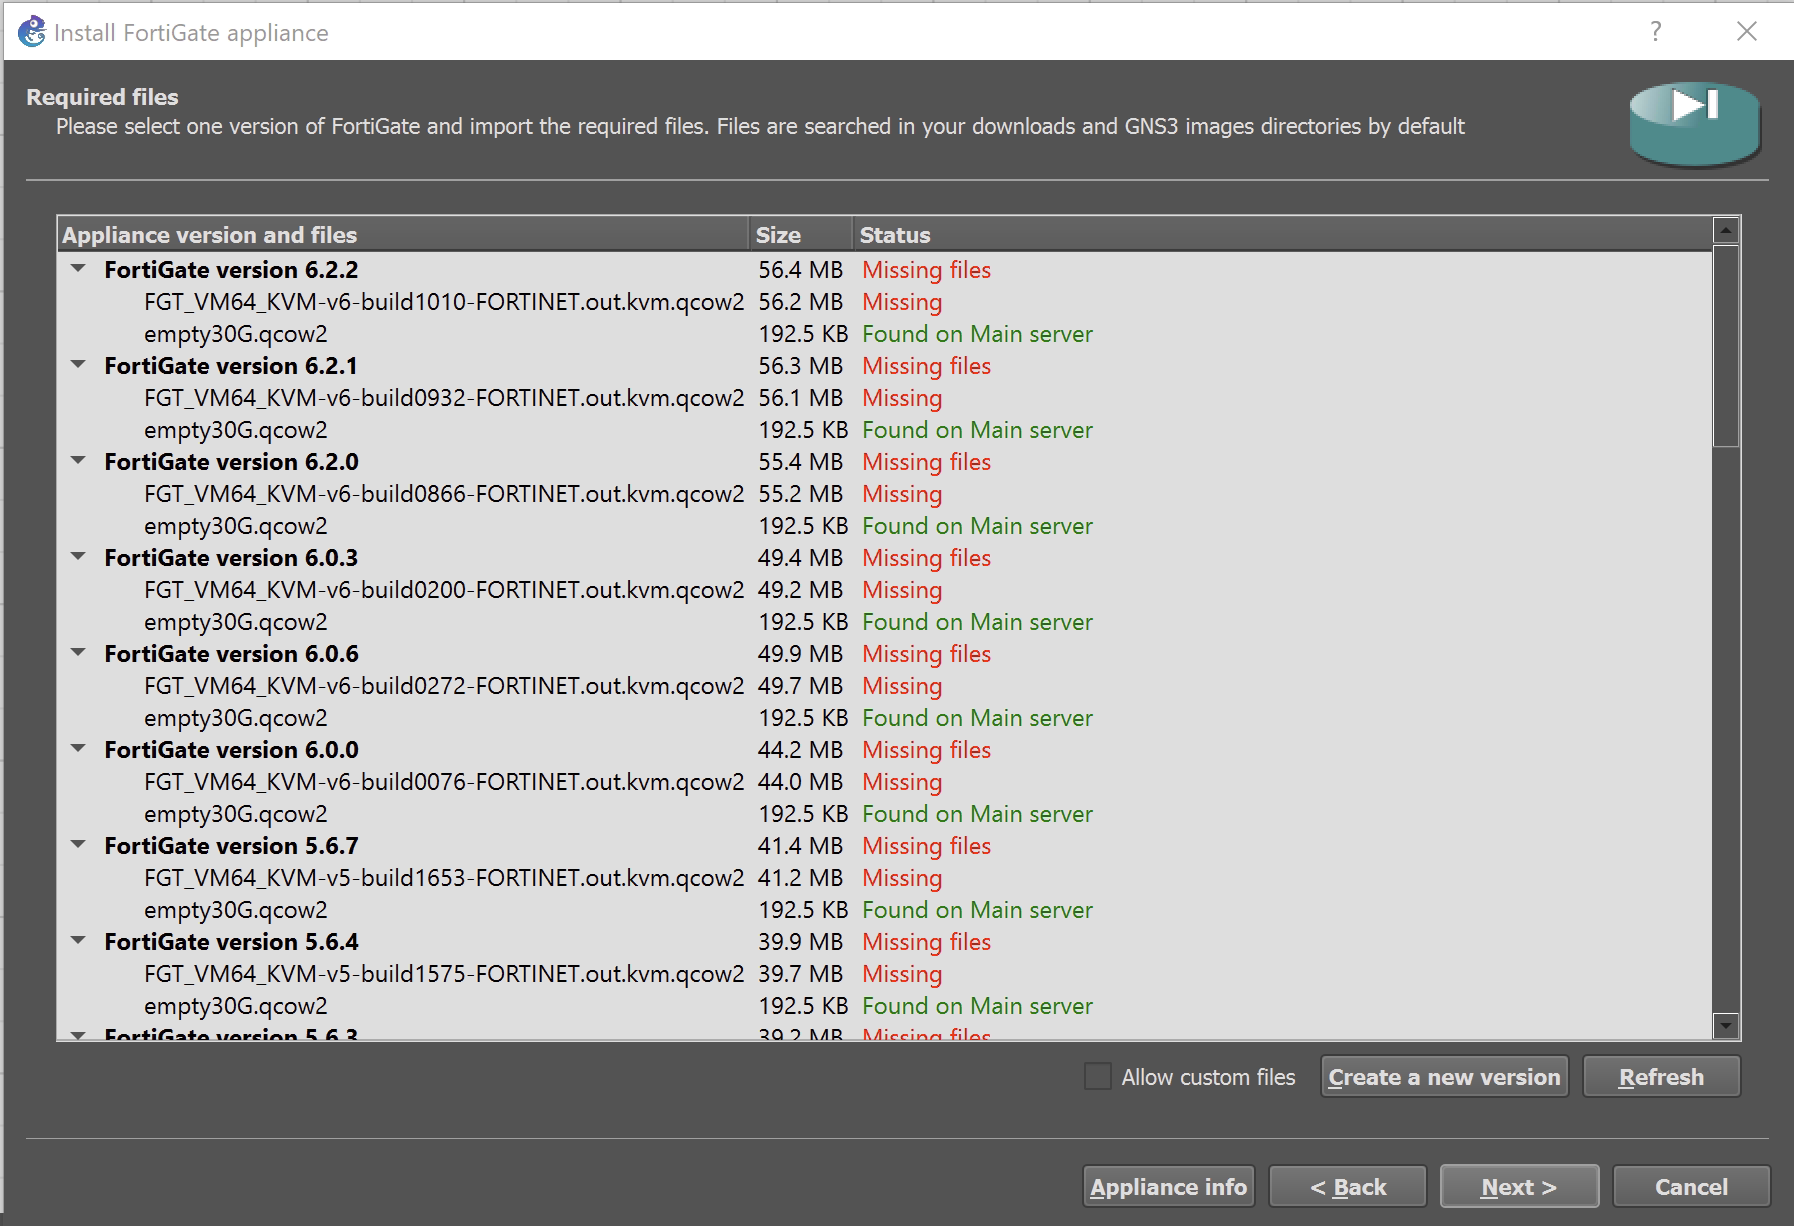
Upload the files and then, the new appliance should be in the security devices section of GNS3.
Running the Appliance 6.2.3
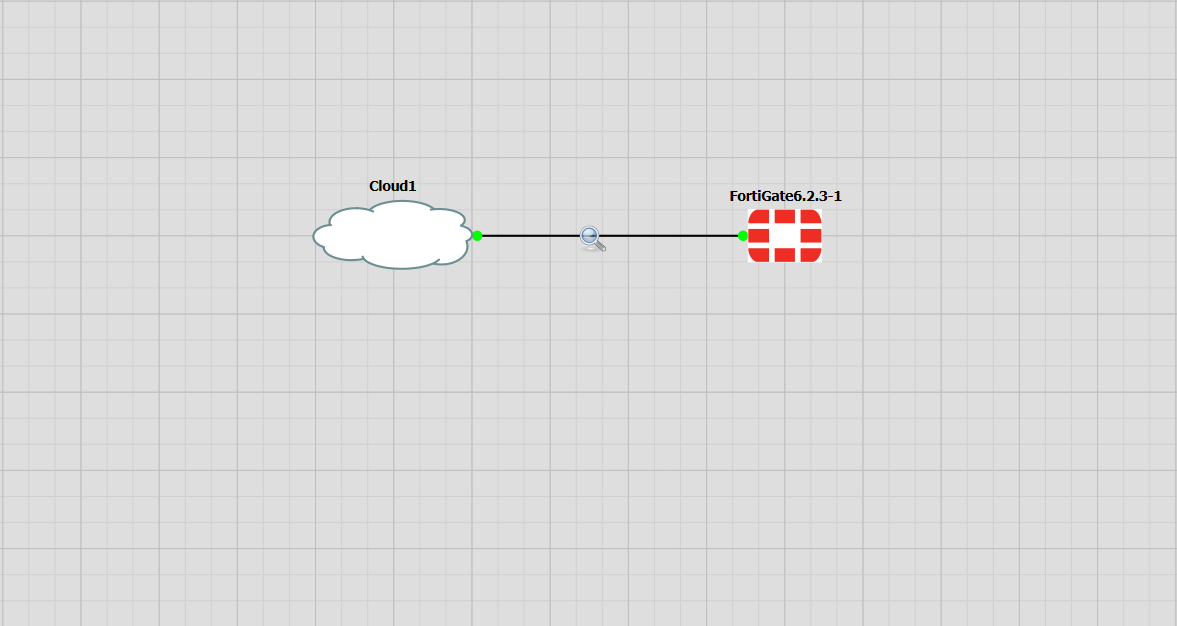
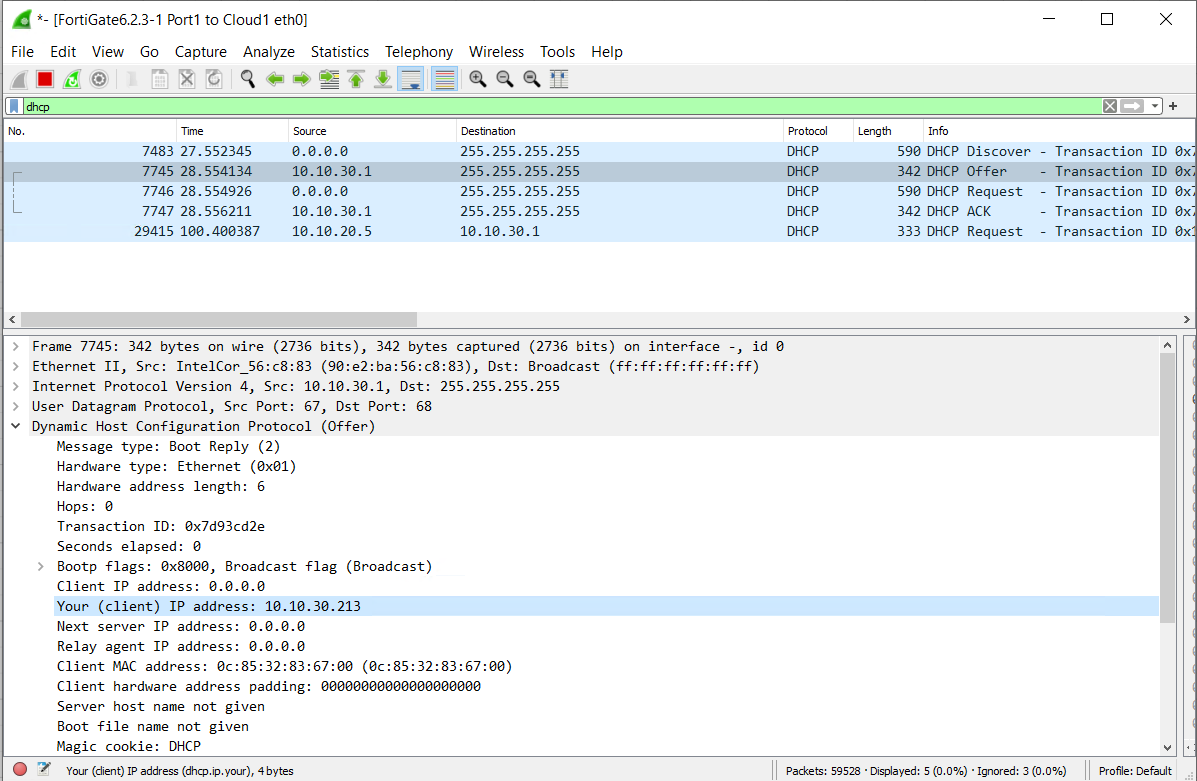
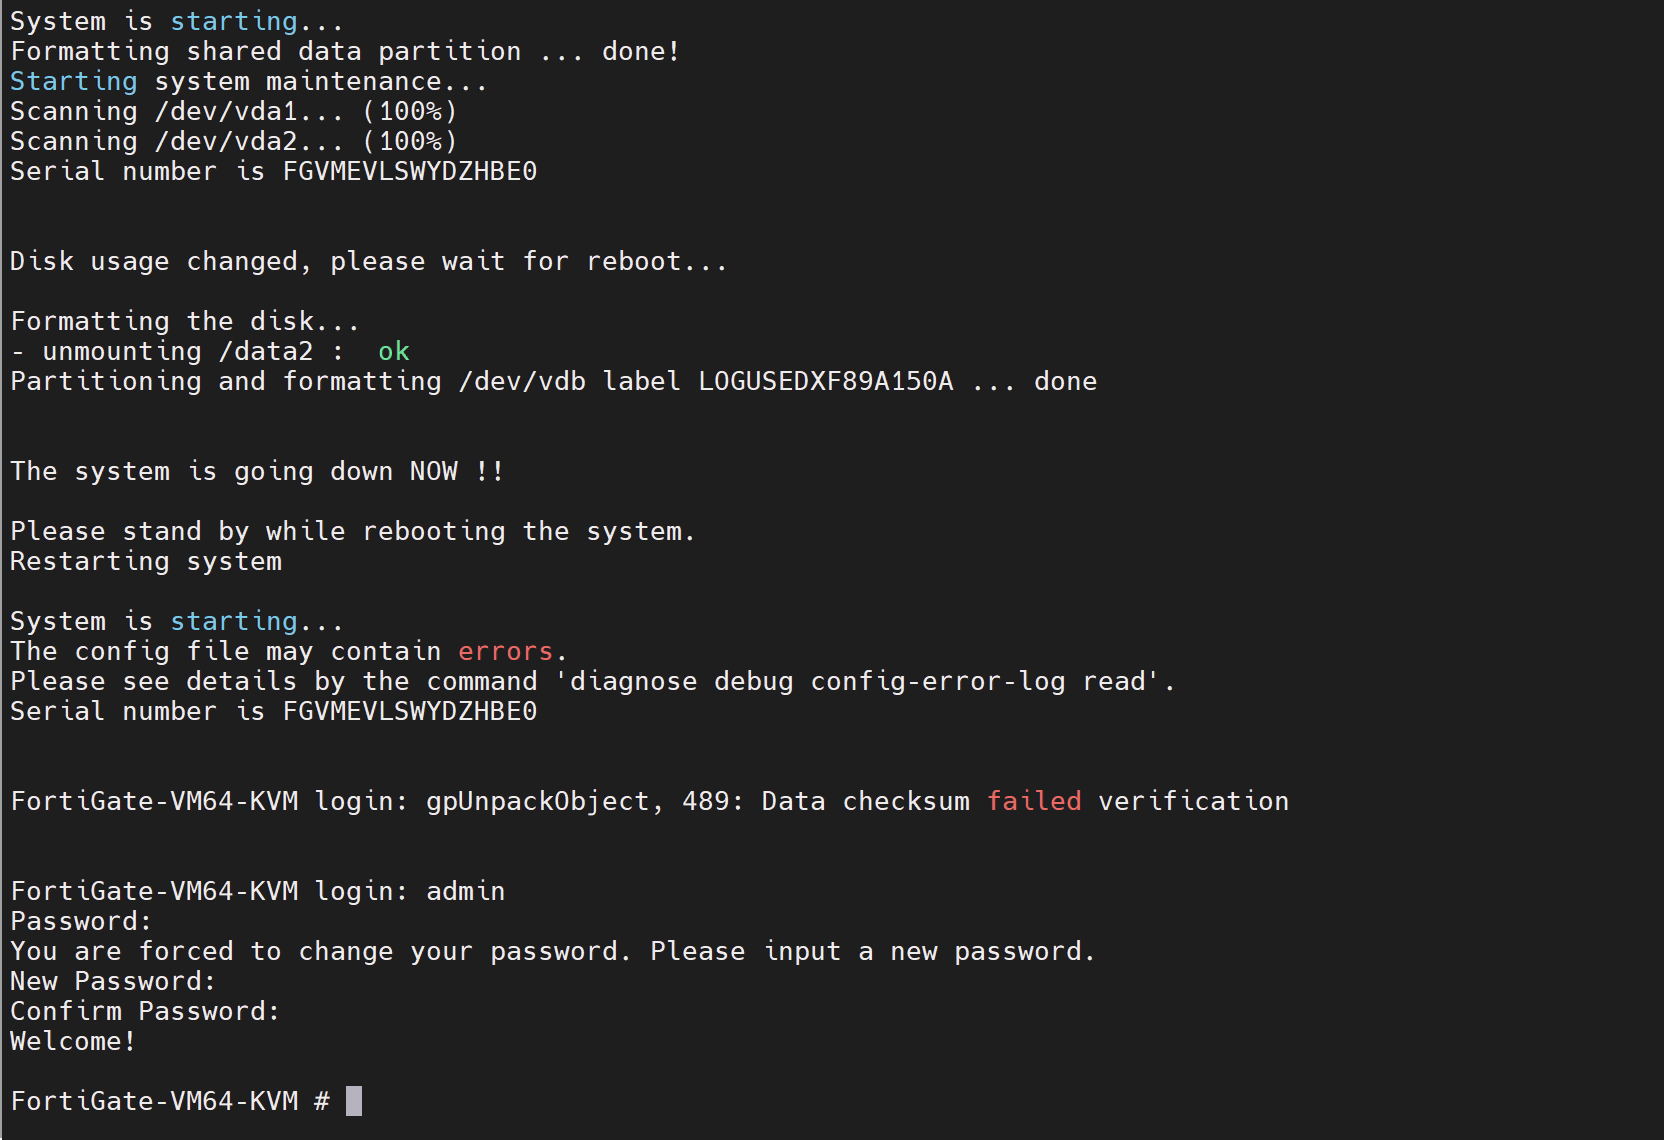
Now that the appliance is in GNS3, it can be used. The FortiGate firewall will look for a DHCP server when booted. So if you use a DHCP server, it’s very easy to get up and running. In my case, I have connected the FortiGate to my lab network via the GNS3 cloud.
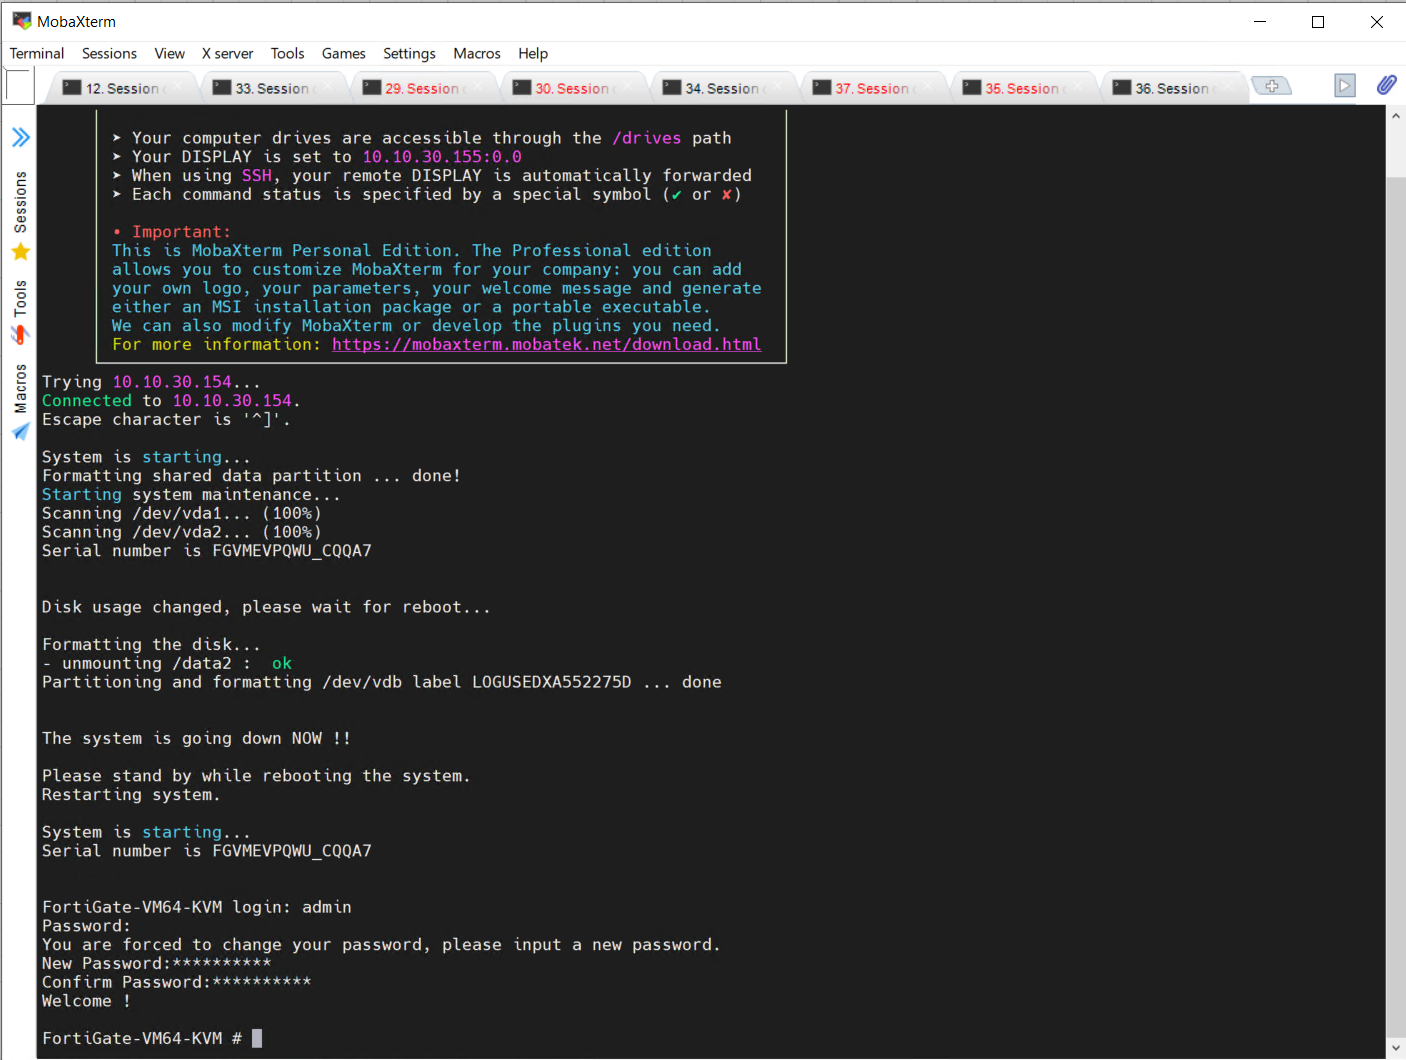
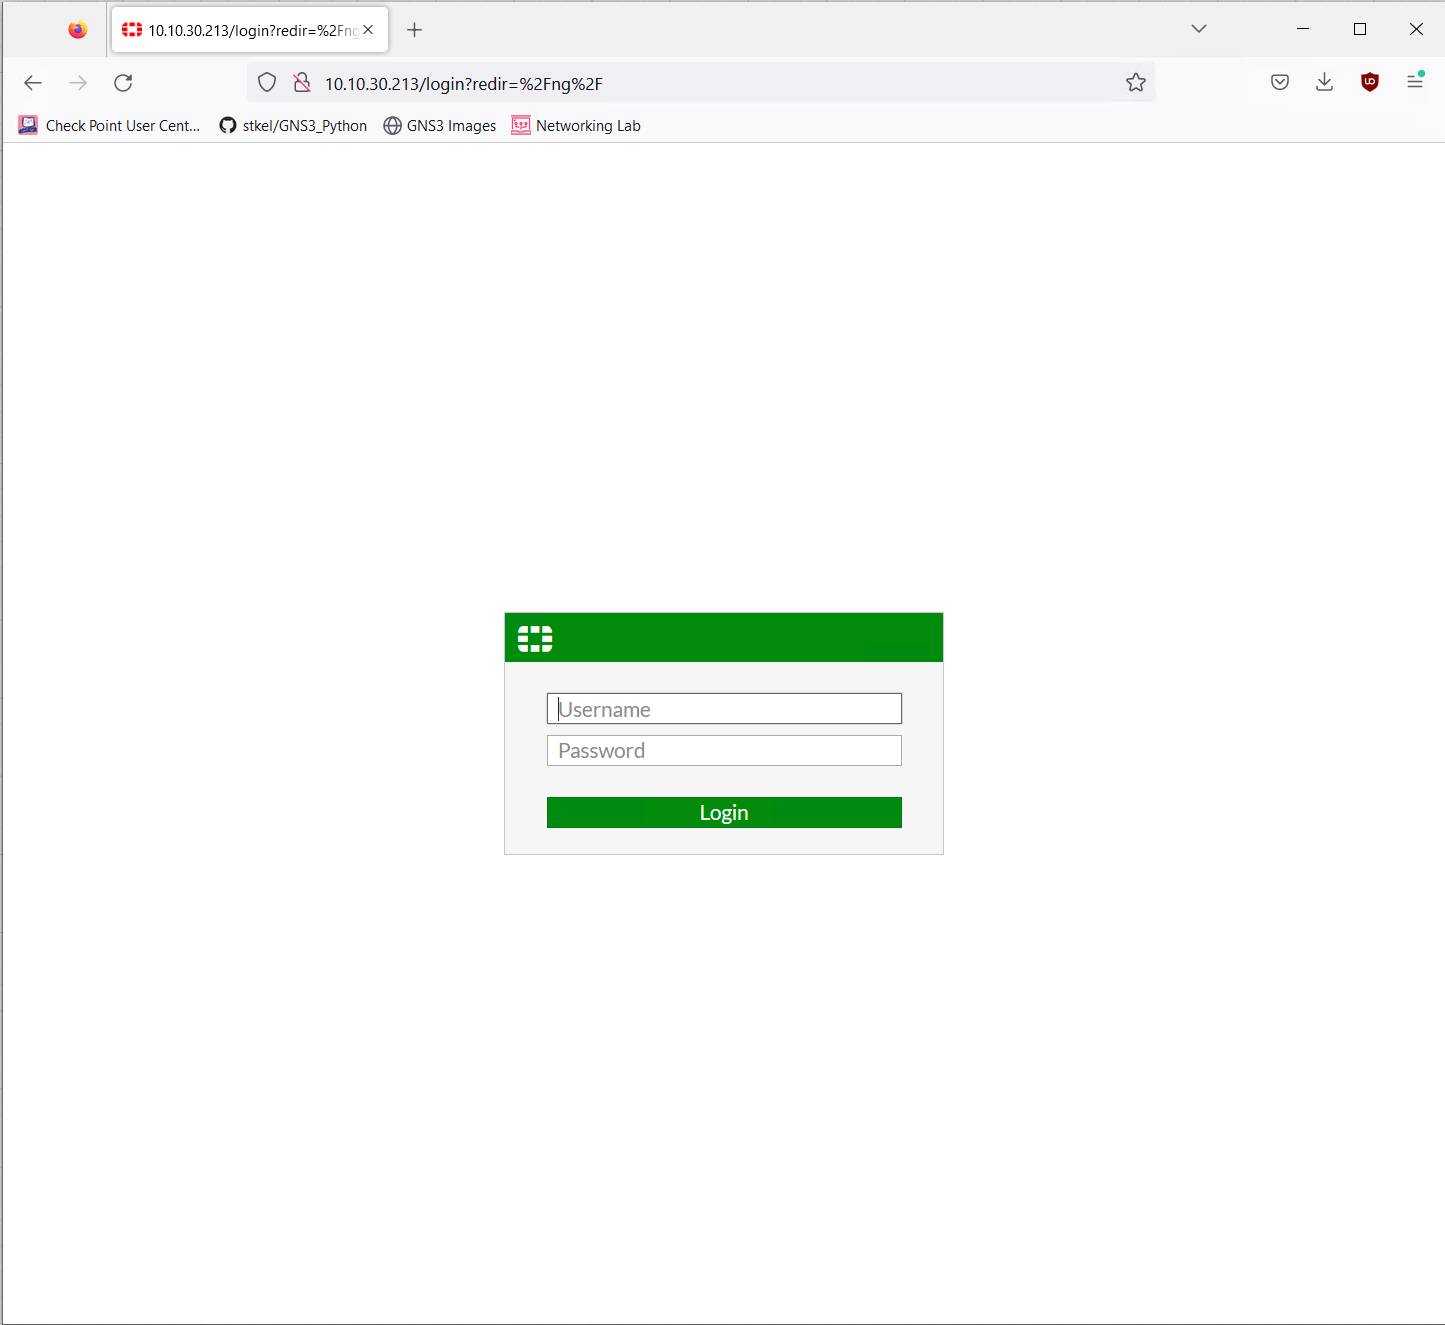
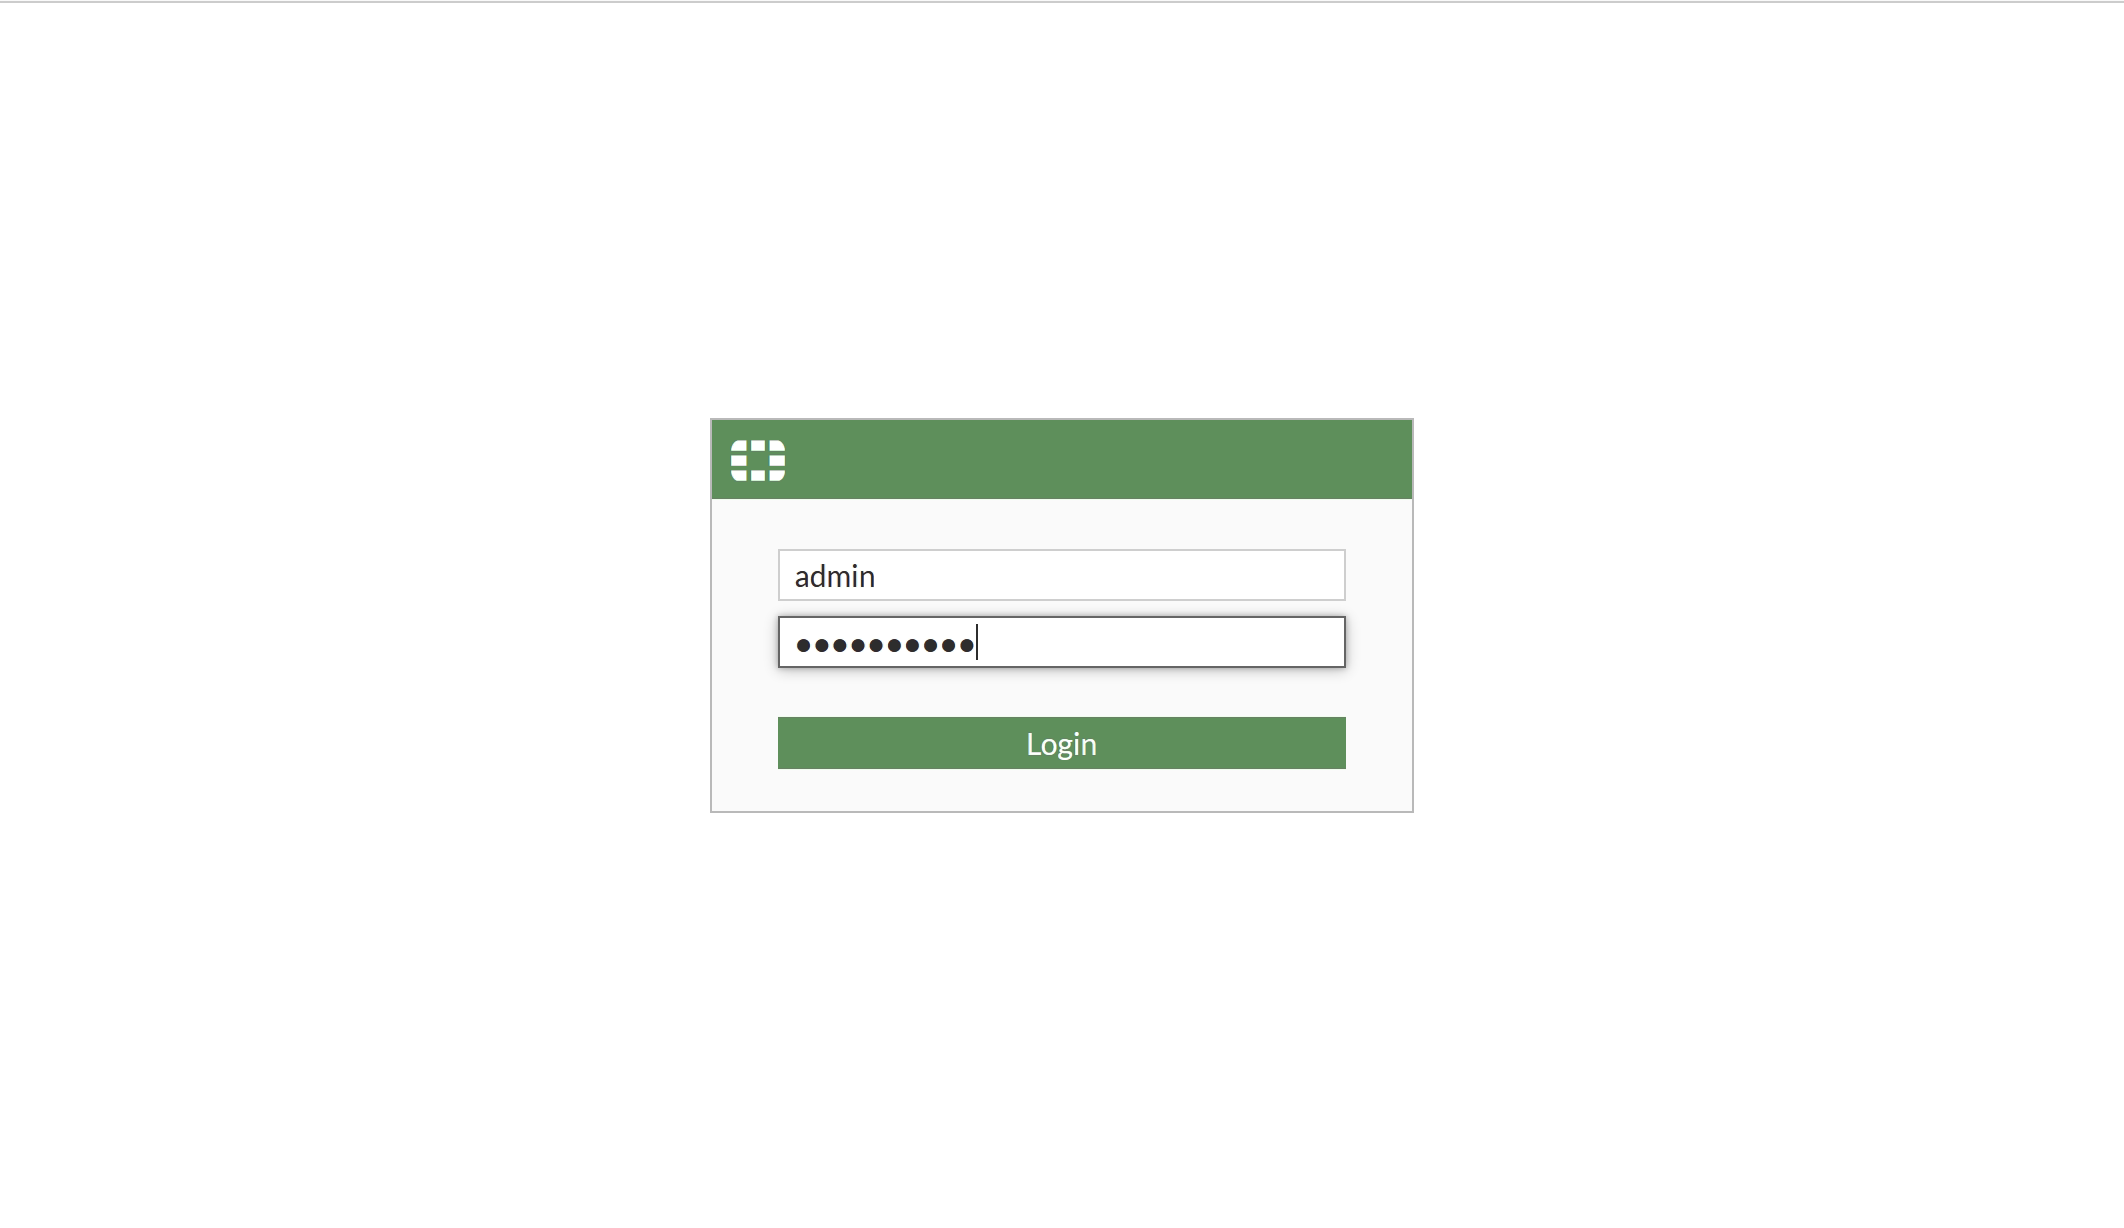
The default username is admin, and password is blank. The FortiGate will also ask for a change of default password.
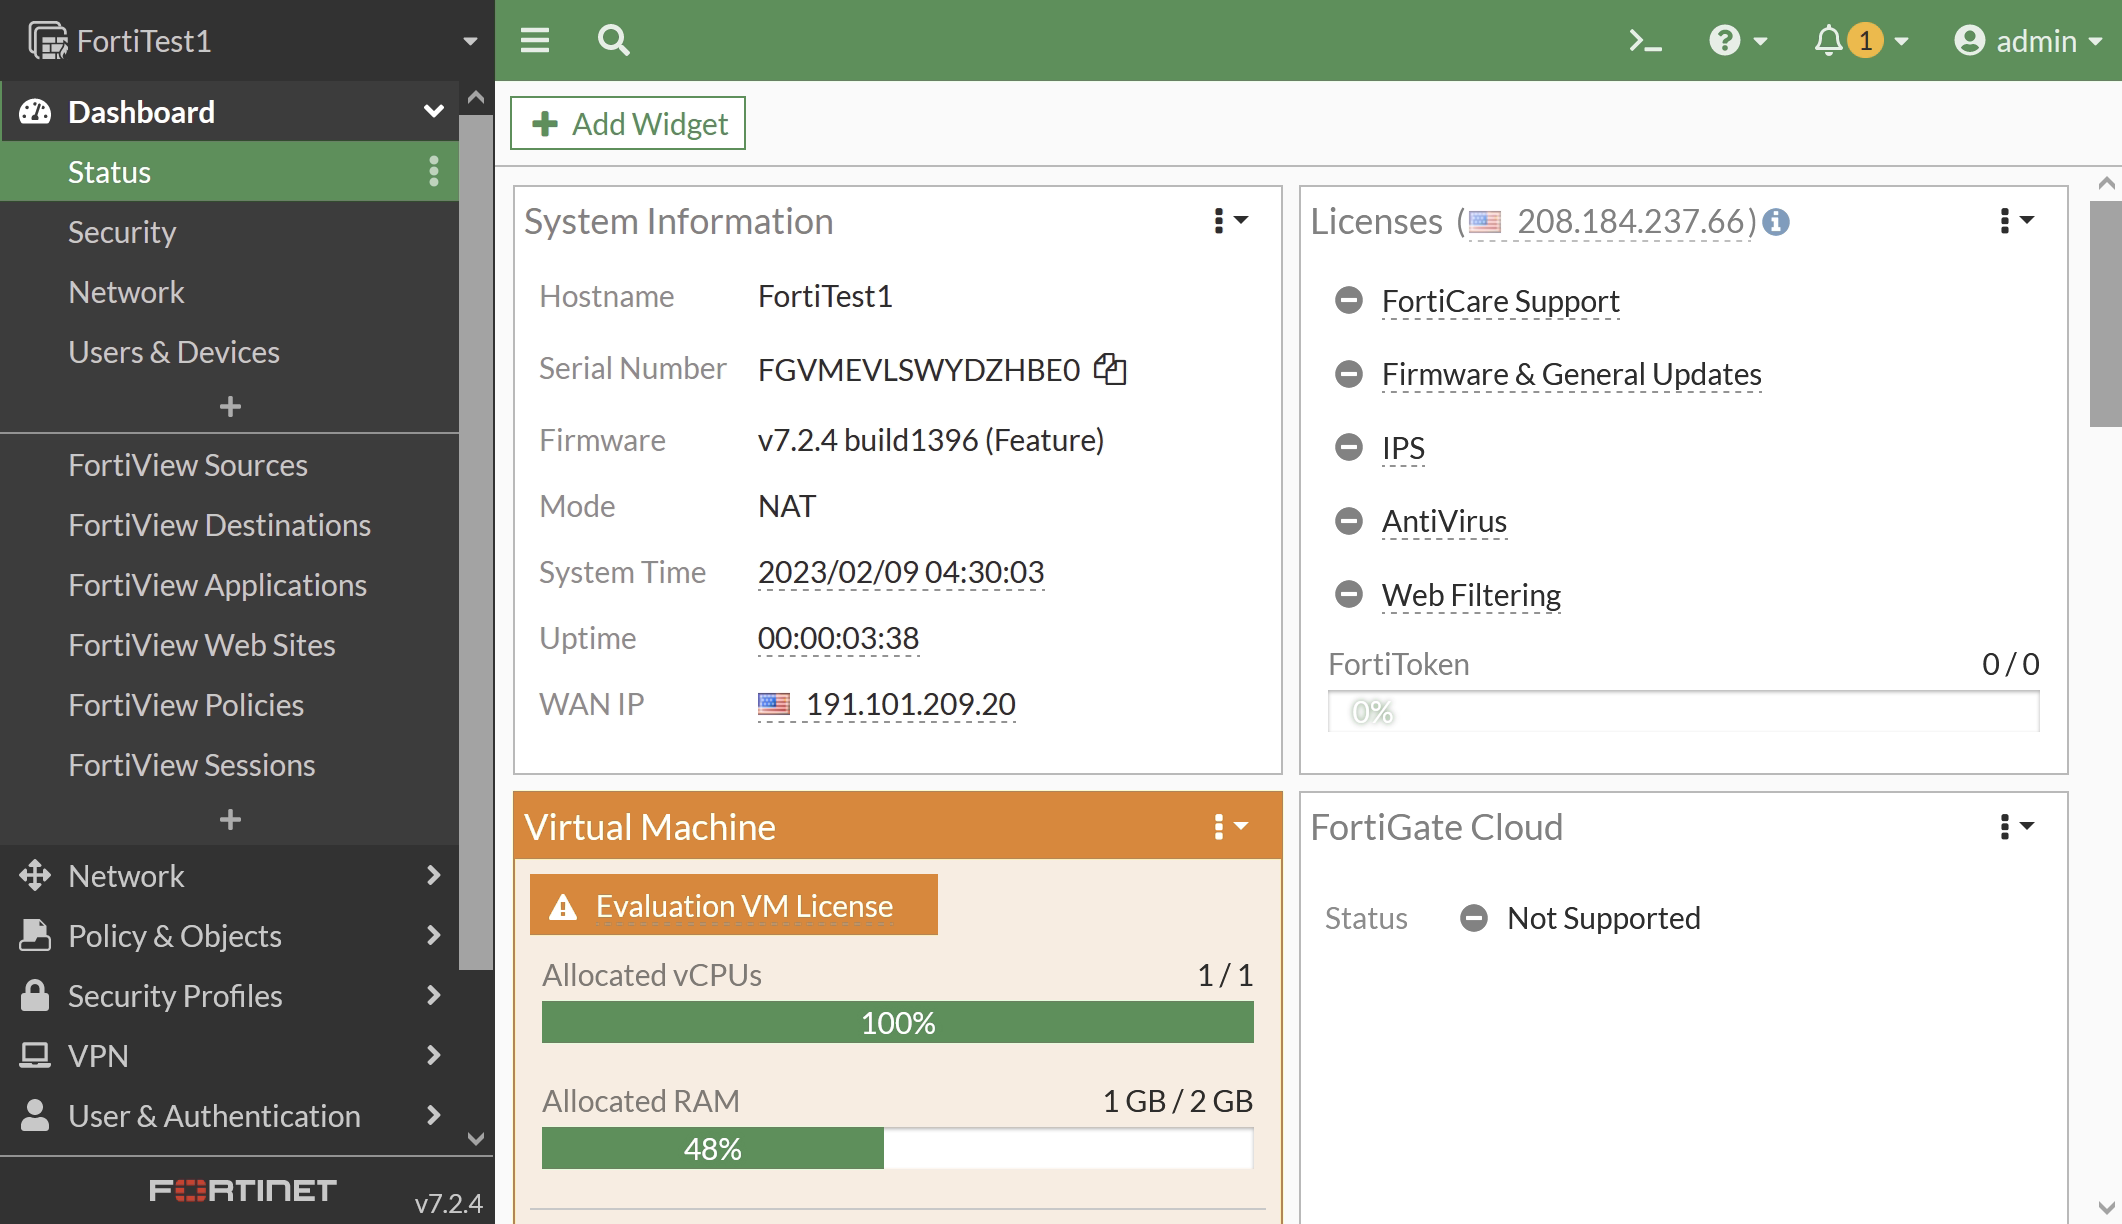
Now it is running and has an IP address of 10.10.30.213, it should be reachable from my Windows 10 VM. The credentials for the Web UI are the same as for the CLI.
That’s it! Fortigate up and running for 6.2.3
Running the Appliance 7.2.4
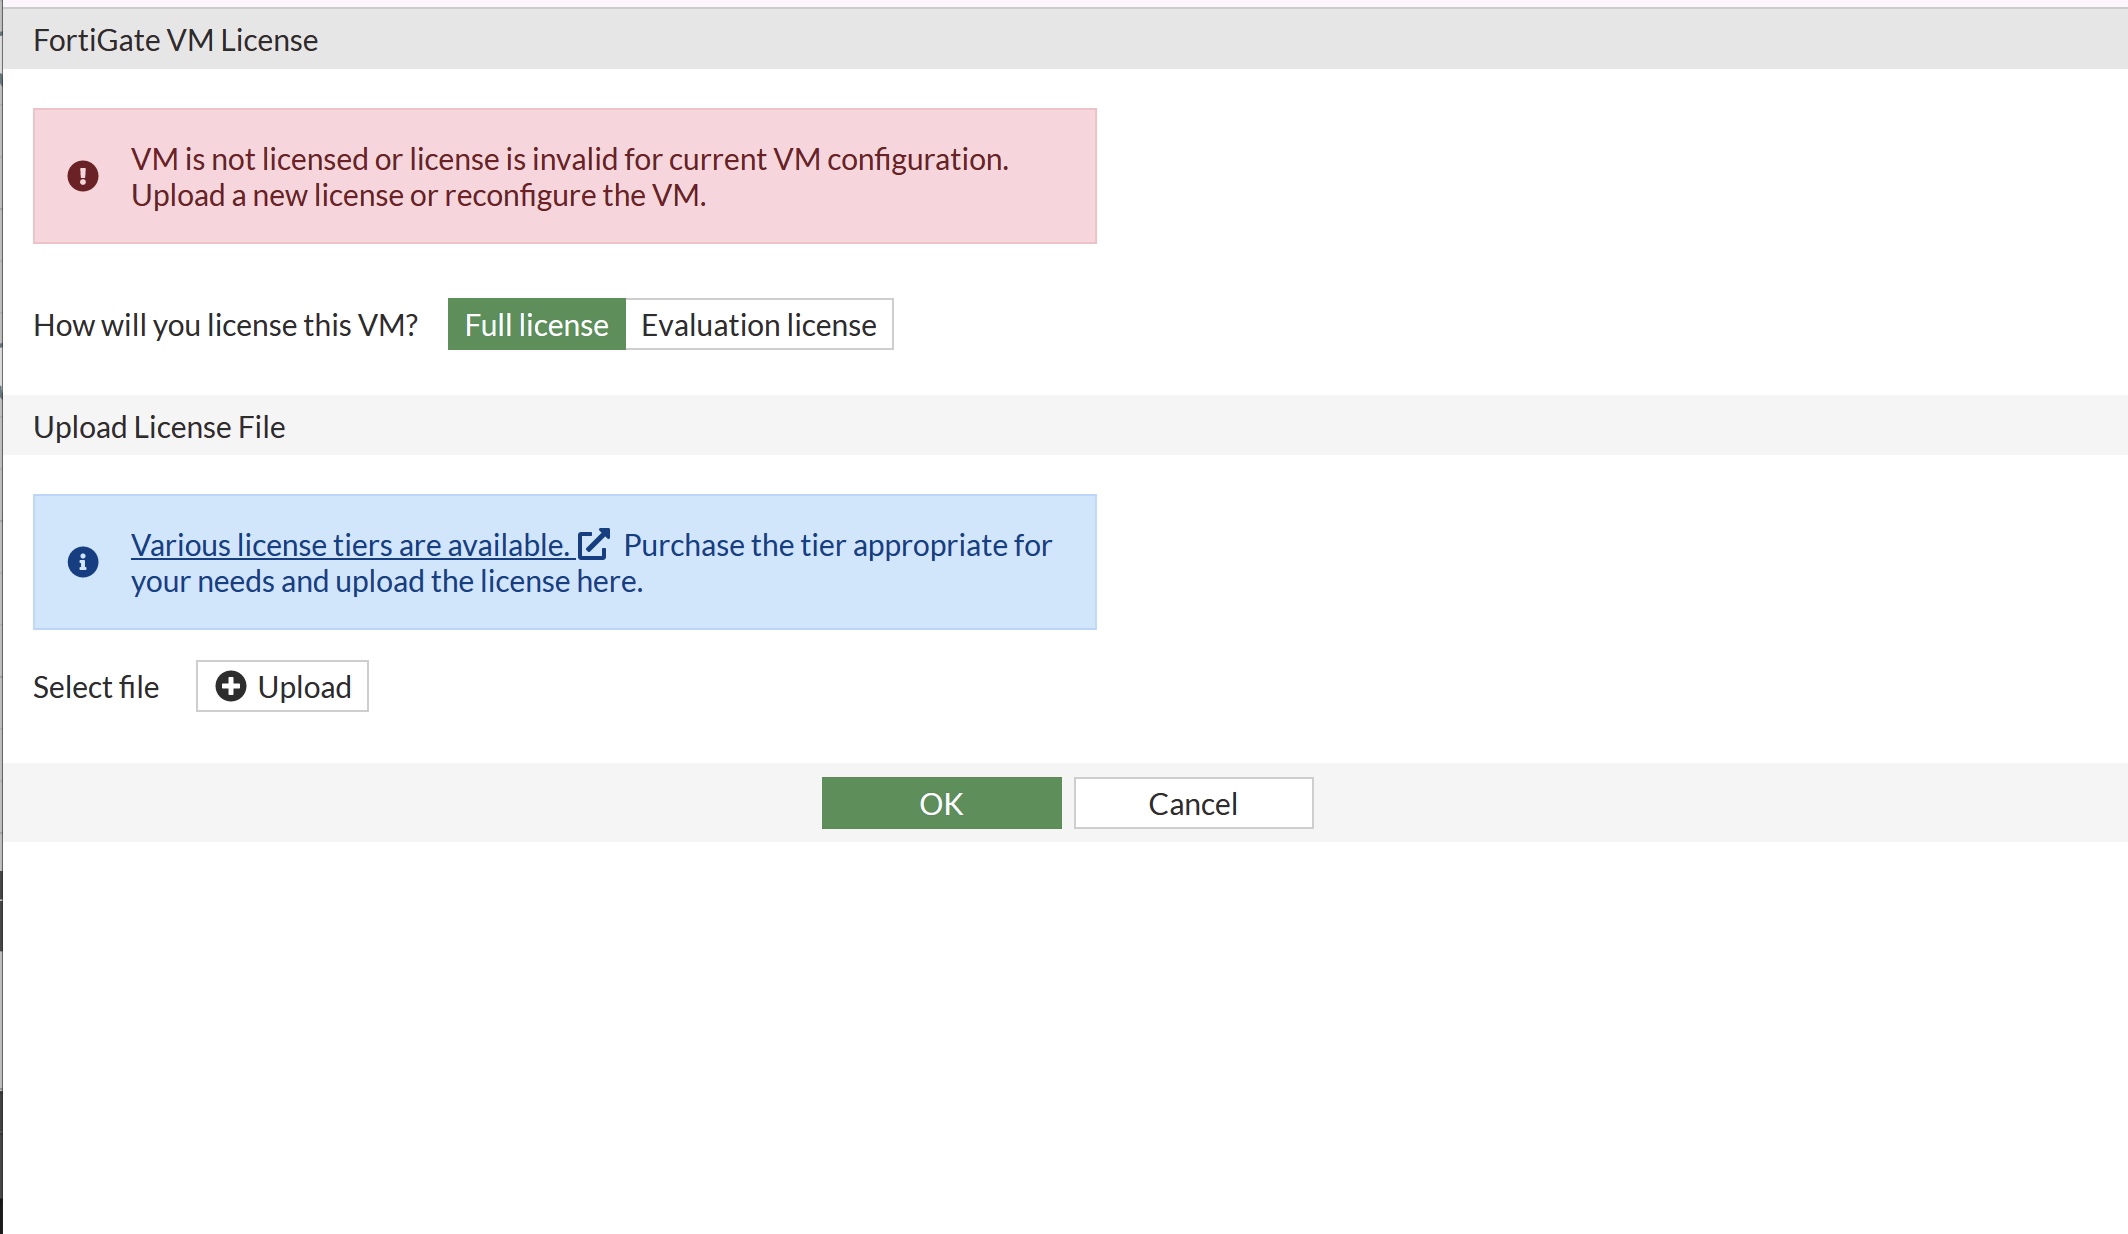
The 7.2.4 appliance will start in the same way as the 6.2.3 version, however it will request that you licence the appliance, asking for the FortiNet account credentials.
|
0 1 2 3 4 5 6 7 8 9 10 11 12 13 14 15 16 17 18 19 |
FortiGate-VM64-KVM # config system interface FortiGate-VM64-KVM (interface) # edit name Name. fortilink static 0.0.0.0 0.0.0.0 10.255.1.1 255.255.255.0 up disable aggregate l2t.root static 0.0.0.0 0.0.0.0 0.0.0.0 0.0.0.0 up disable tunnel naf.root static 0.0.0.0 0.0.0.0 0.0.0.0 0.0.0.0 up disable tunnel port1 dhcp 0.0.0.0 0.0.0.0 10.10.30.215 255.255.255.0 up disable physical port2 static 0.0.0.0 0.0.0.0 0.0.0.0 0.0.0.0 up disable physical port3 static 0.0.0.0 0.0.0.0 0.0.0.0 0.0.0.0 up disable physical port4 static 0.0.0.0 0.0.0.0 0.0.0.0 0.0.0.0 up disable physical port5 static 0.0.0.0 0.0.0.0 0.0.0.0 0.0.0.0 up disable physical port6 static 0.0.0.0 0.0.0.0 0.0.0.0 0.0.0.0 up disable physical port7 static 0.0.0.0 0.0.0.0 0.0.0.0 0.0.0.0 up disable physical port8 static 0.0.0.0 0.0.0.0 0.0.0.0 0.0.0.0 up disable physical port9 static 0.0.0.0 0.0.0.0 0.0.0.0 0.0.0.0 up disable physical port10 static 0.0.0.0 0.0.0.0 0.0.0.0 0.0.0.0 up disable physical ssl.root static 0.0.0.0 0.0.0.0 0.0.0.0 0.0.0.0 up disable tunnel |
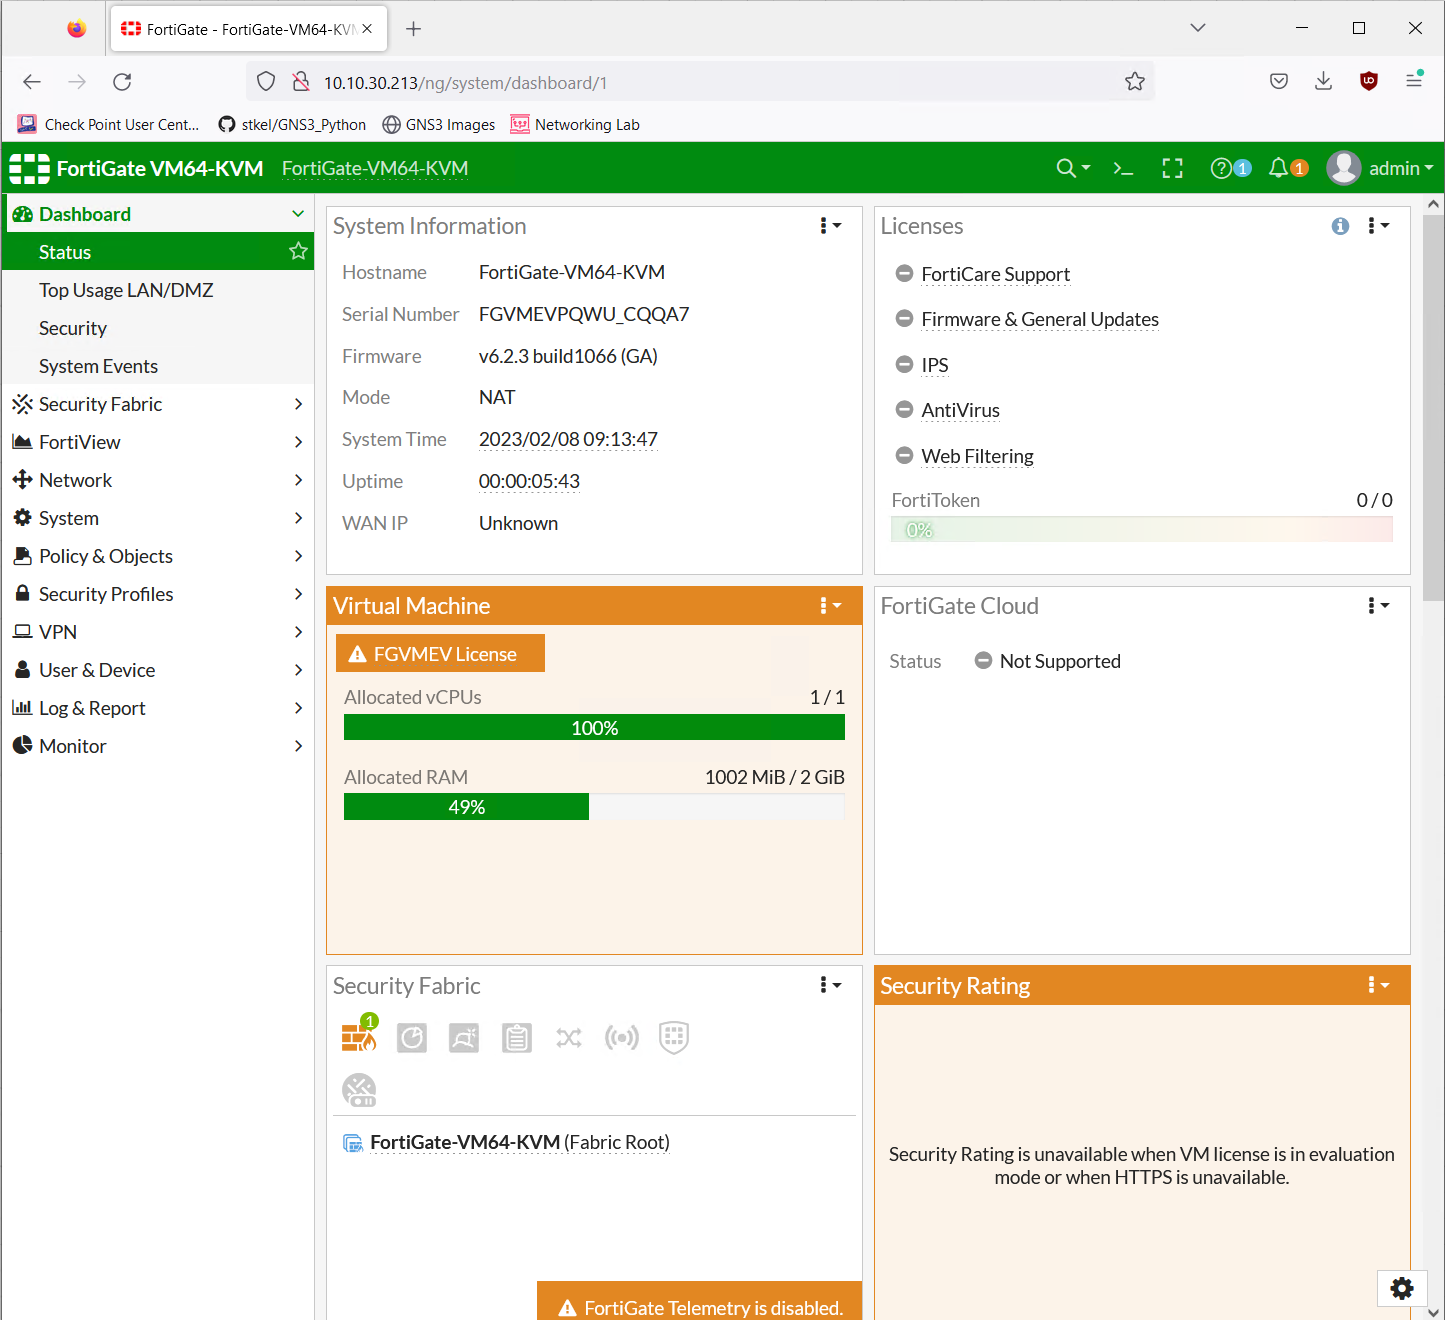
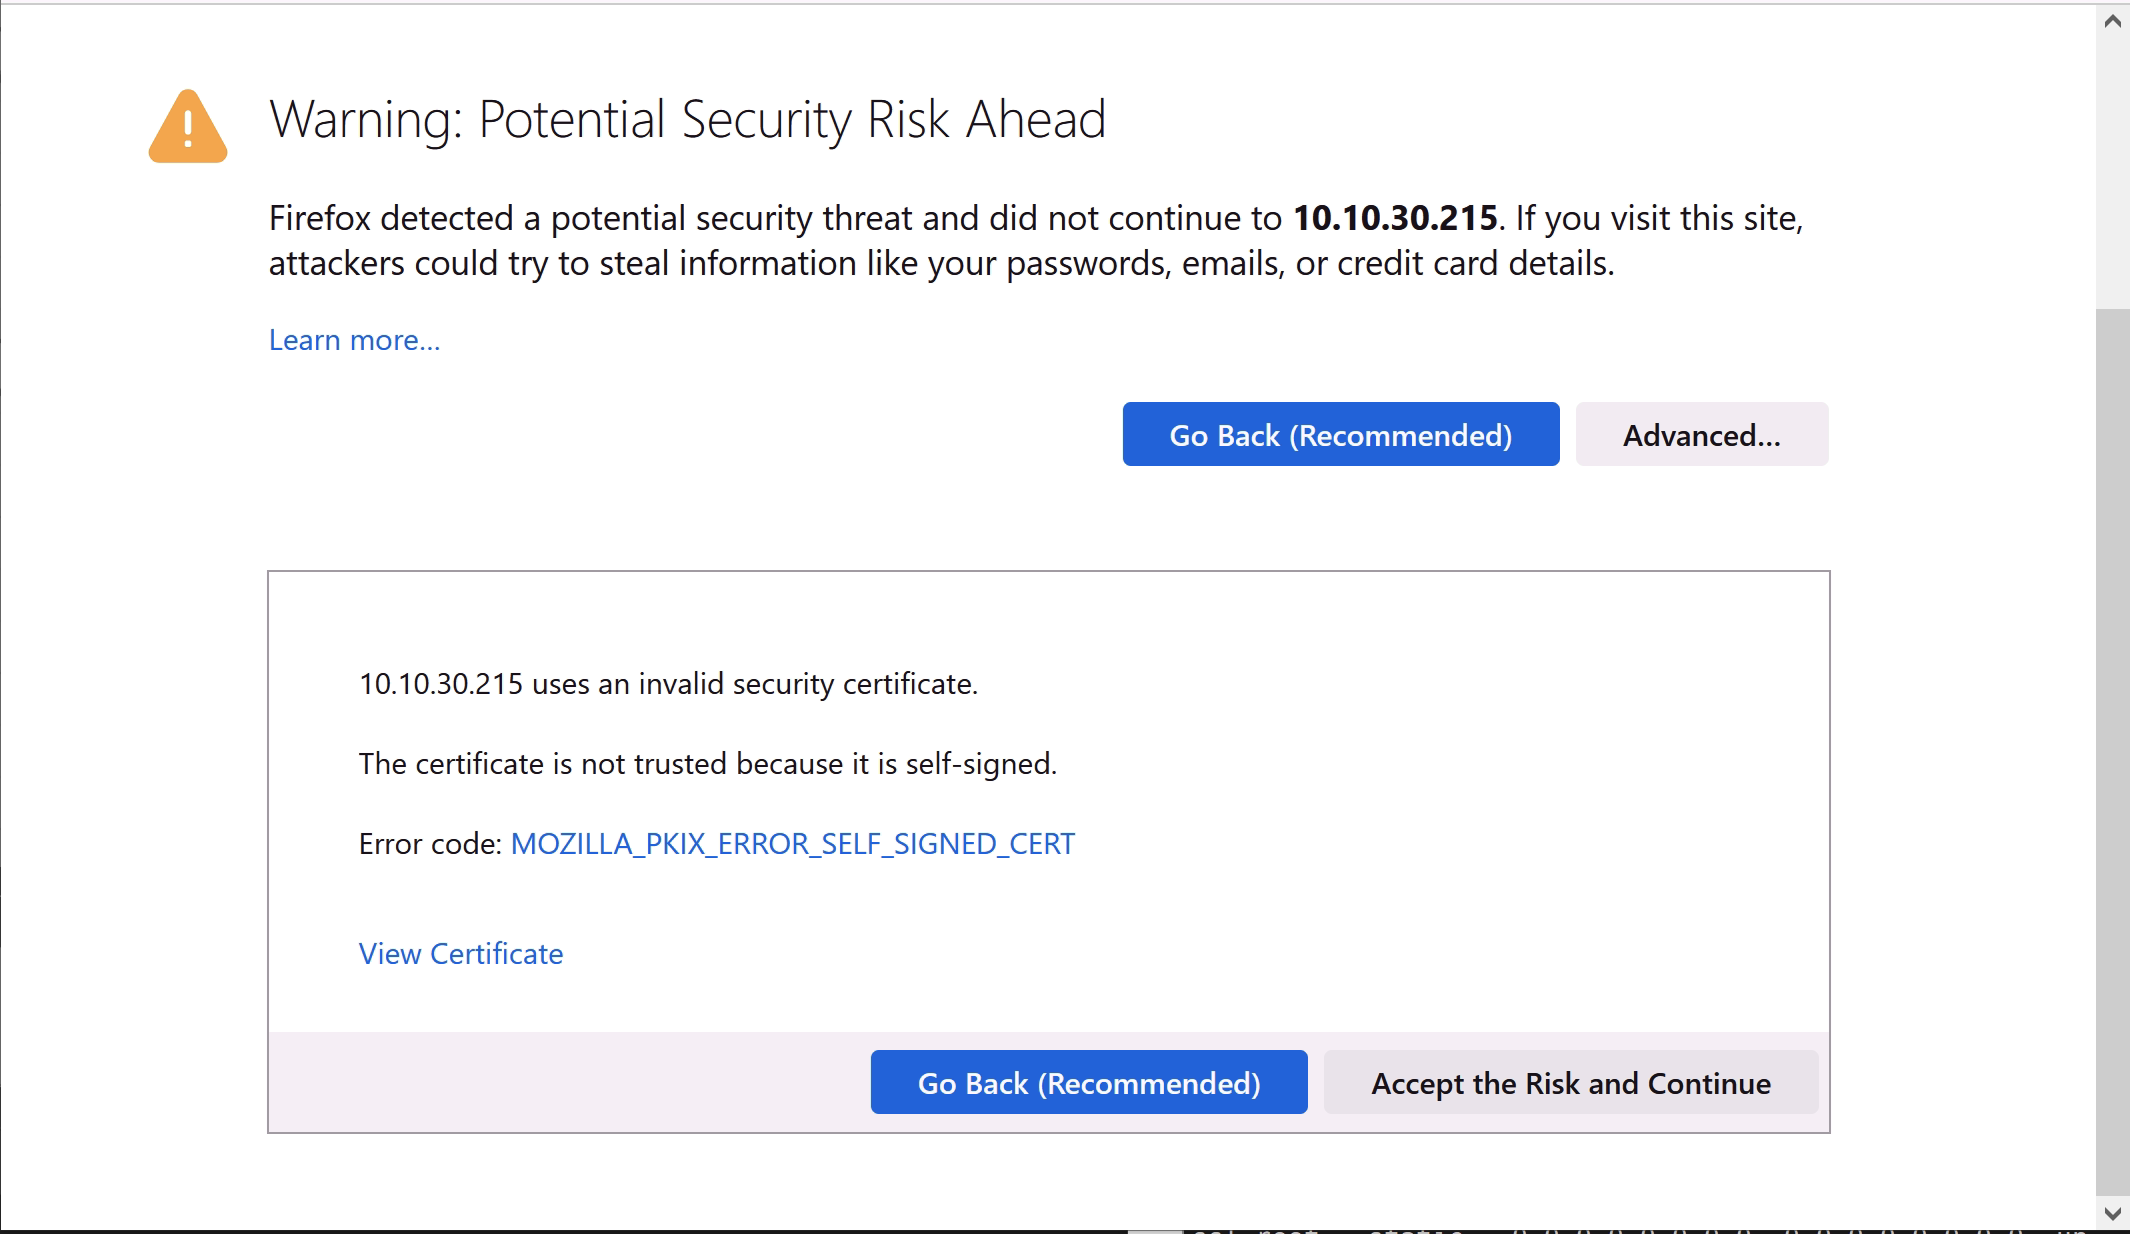
HTTPS is now working in 7.2.4
Login with the created credentials in the CLI
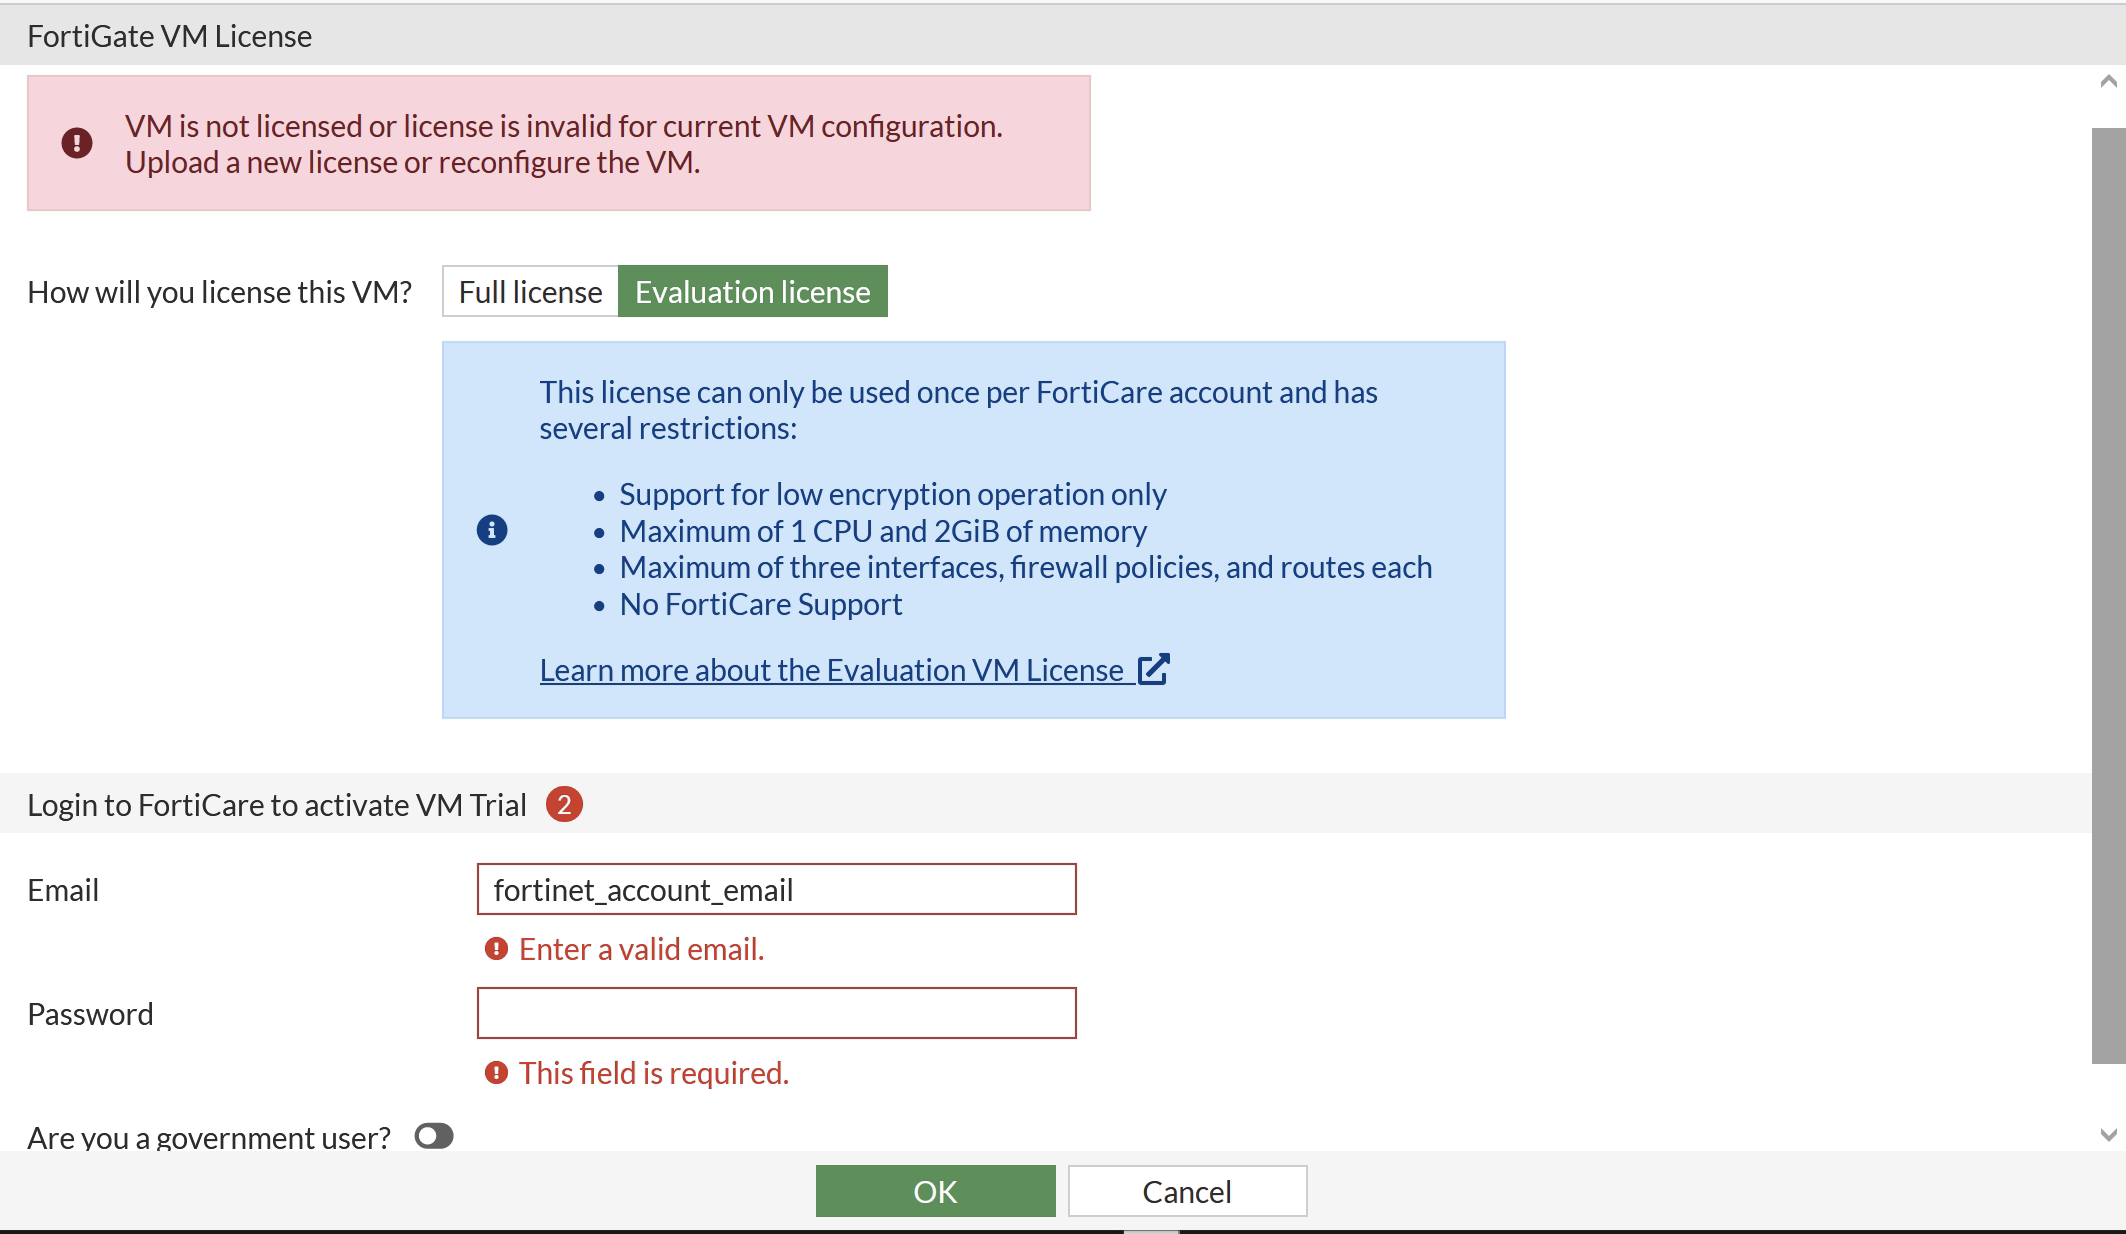
This is where the licencing must be performed. Select Evaluation Licence.
The evaluation licence will ask for the FortiNet account credentials, email/password. Updating the licence will reboot the system, but this shouldn’t be an issue in a lab.
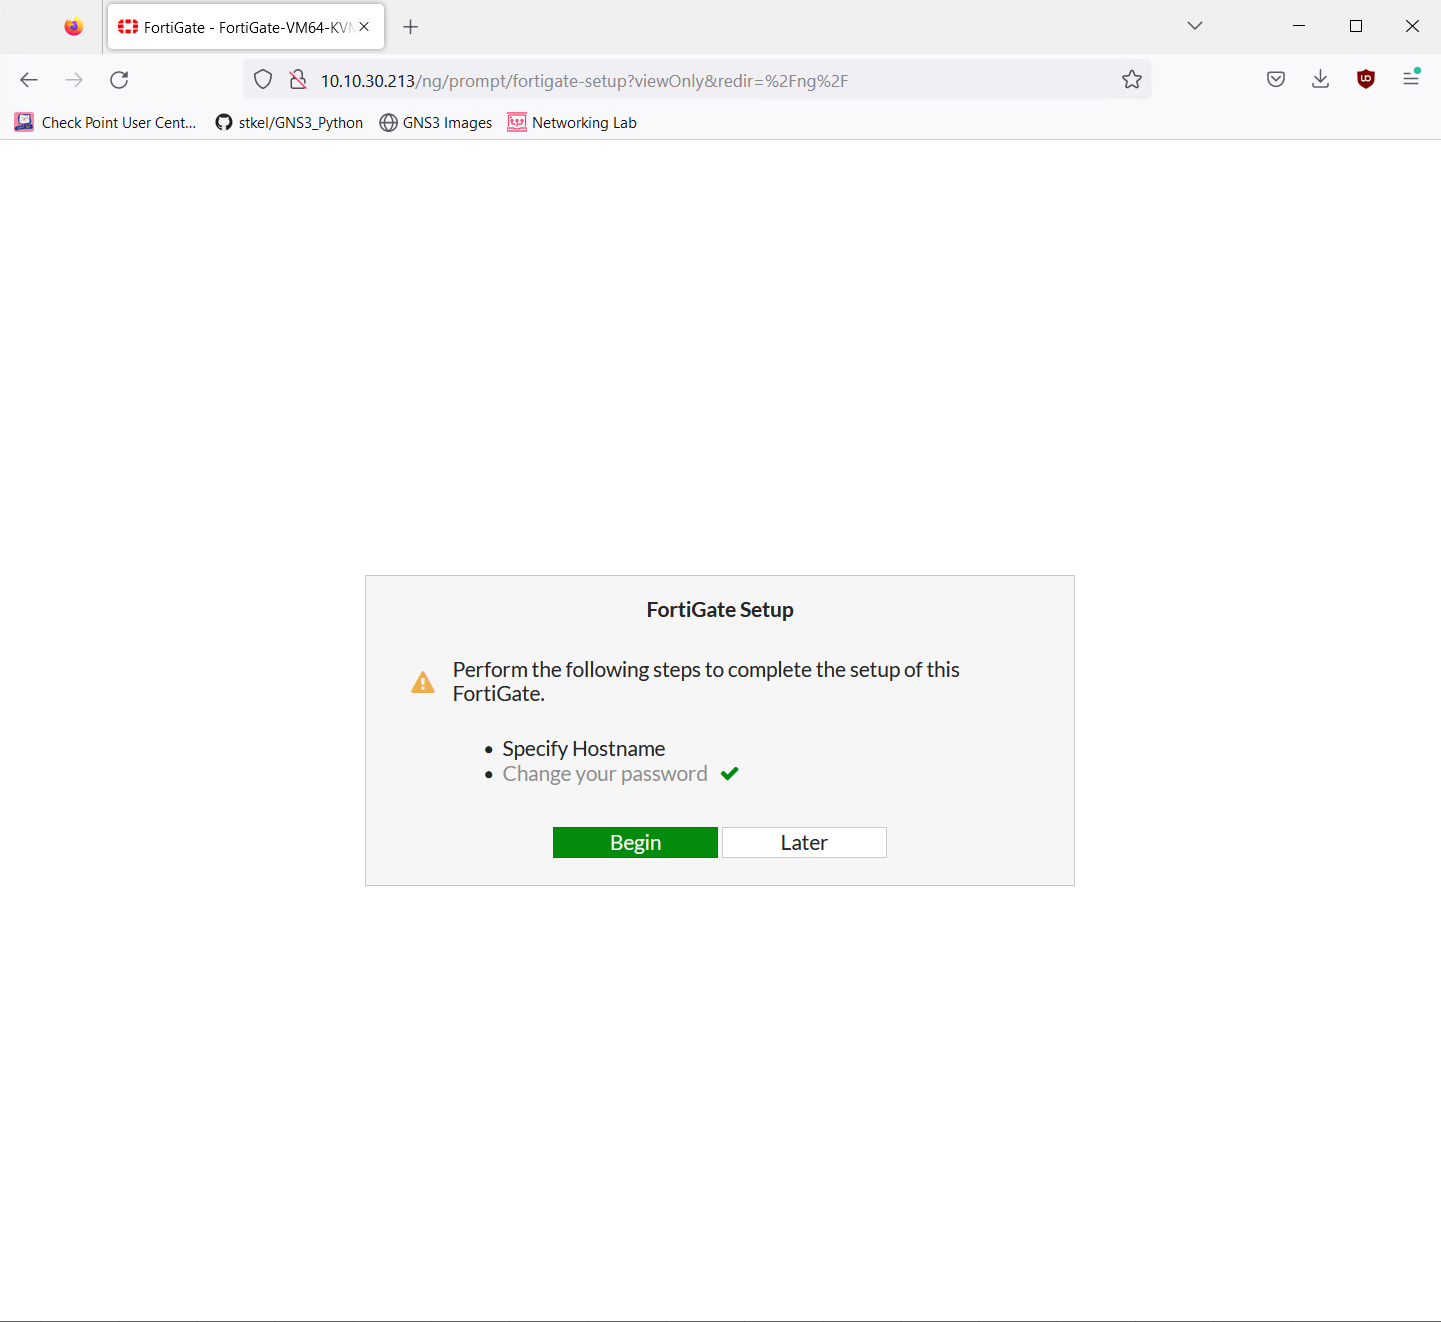
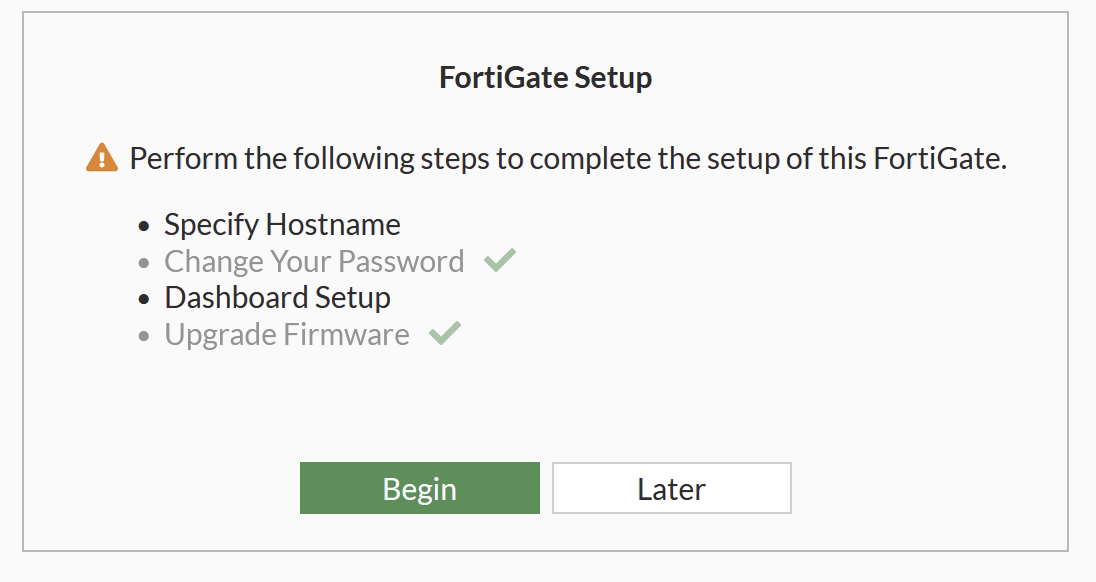
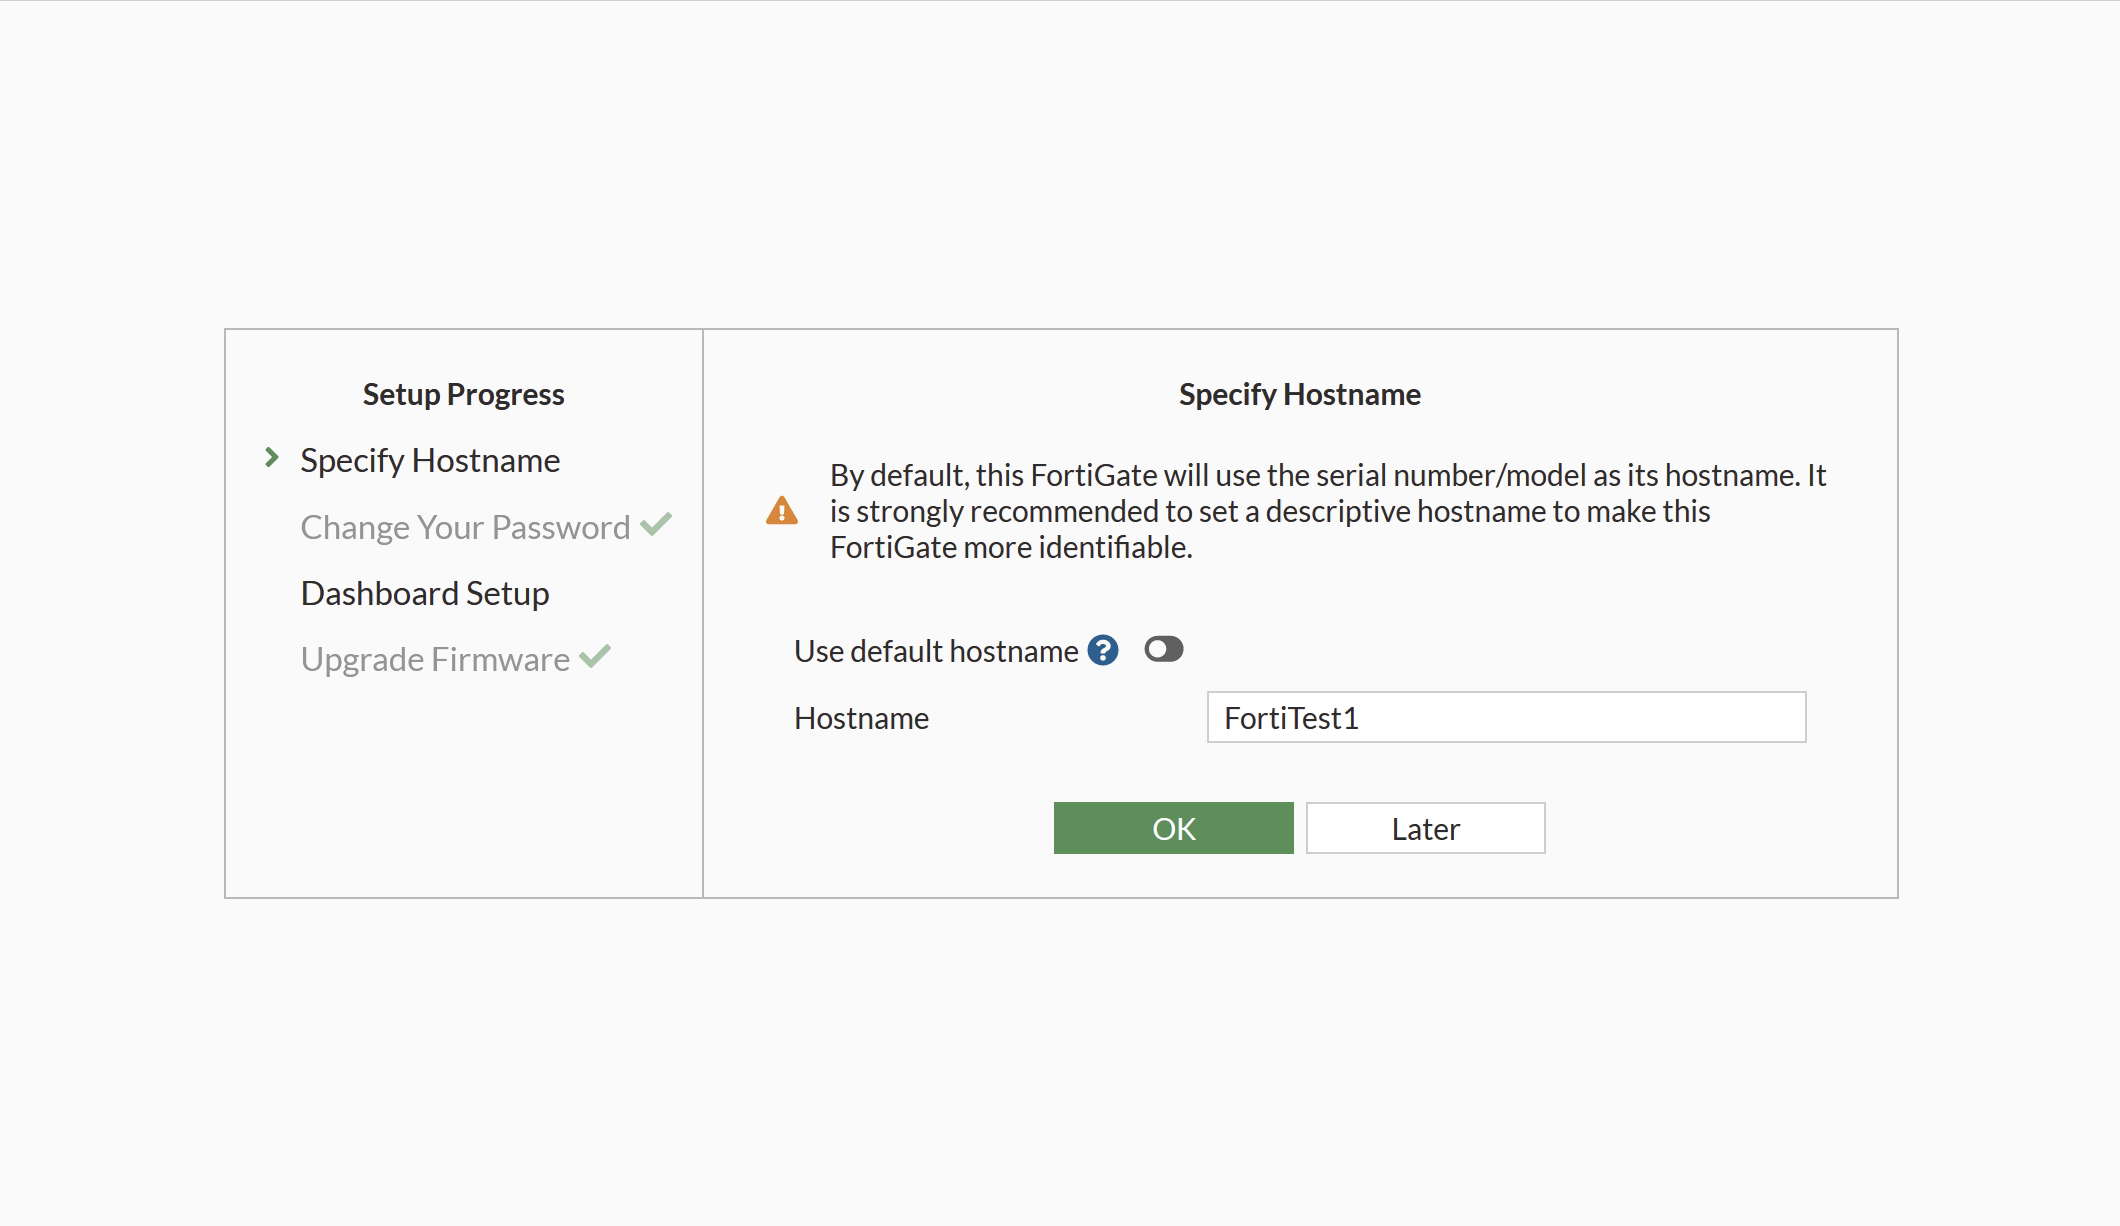
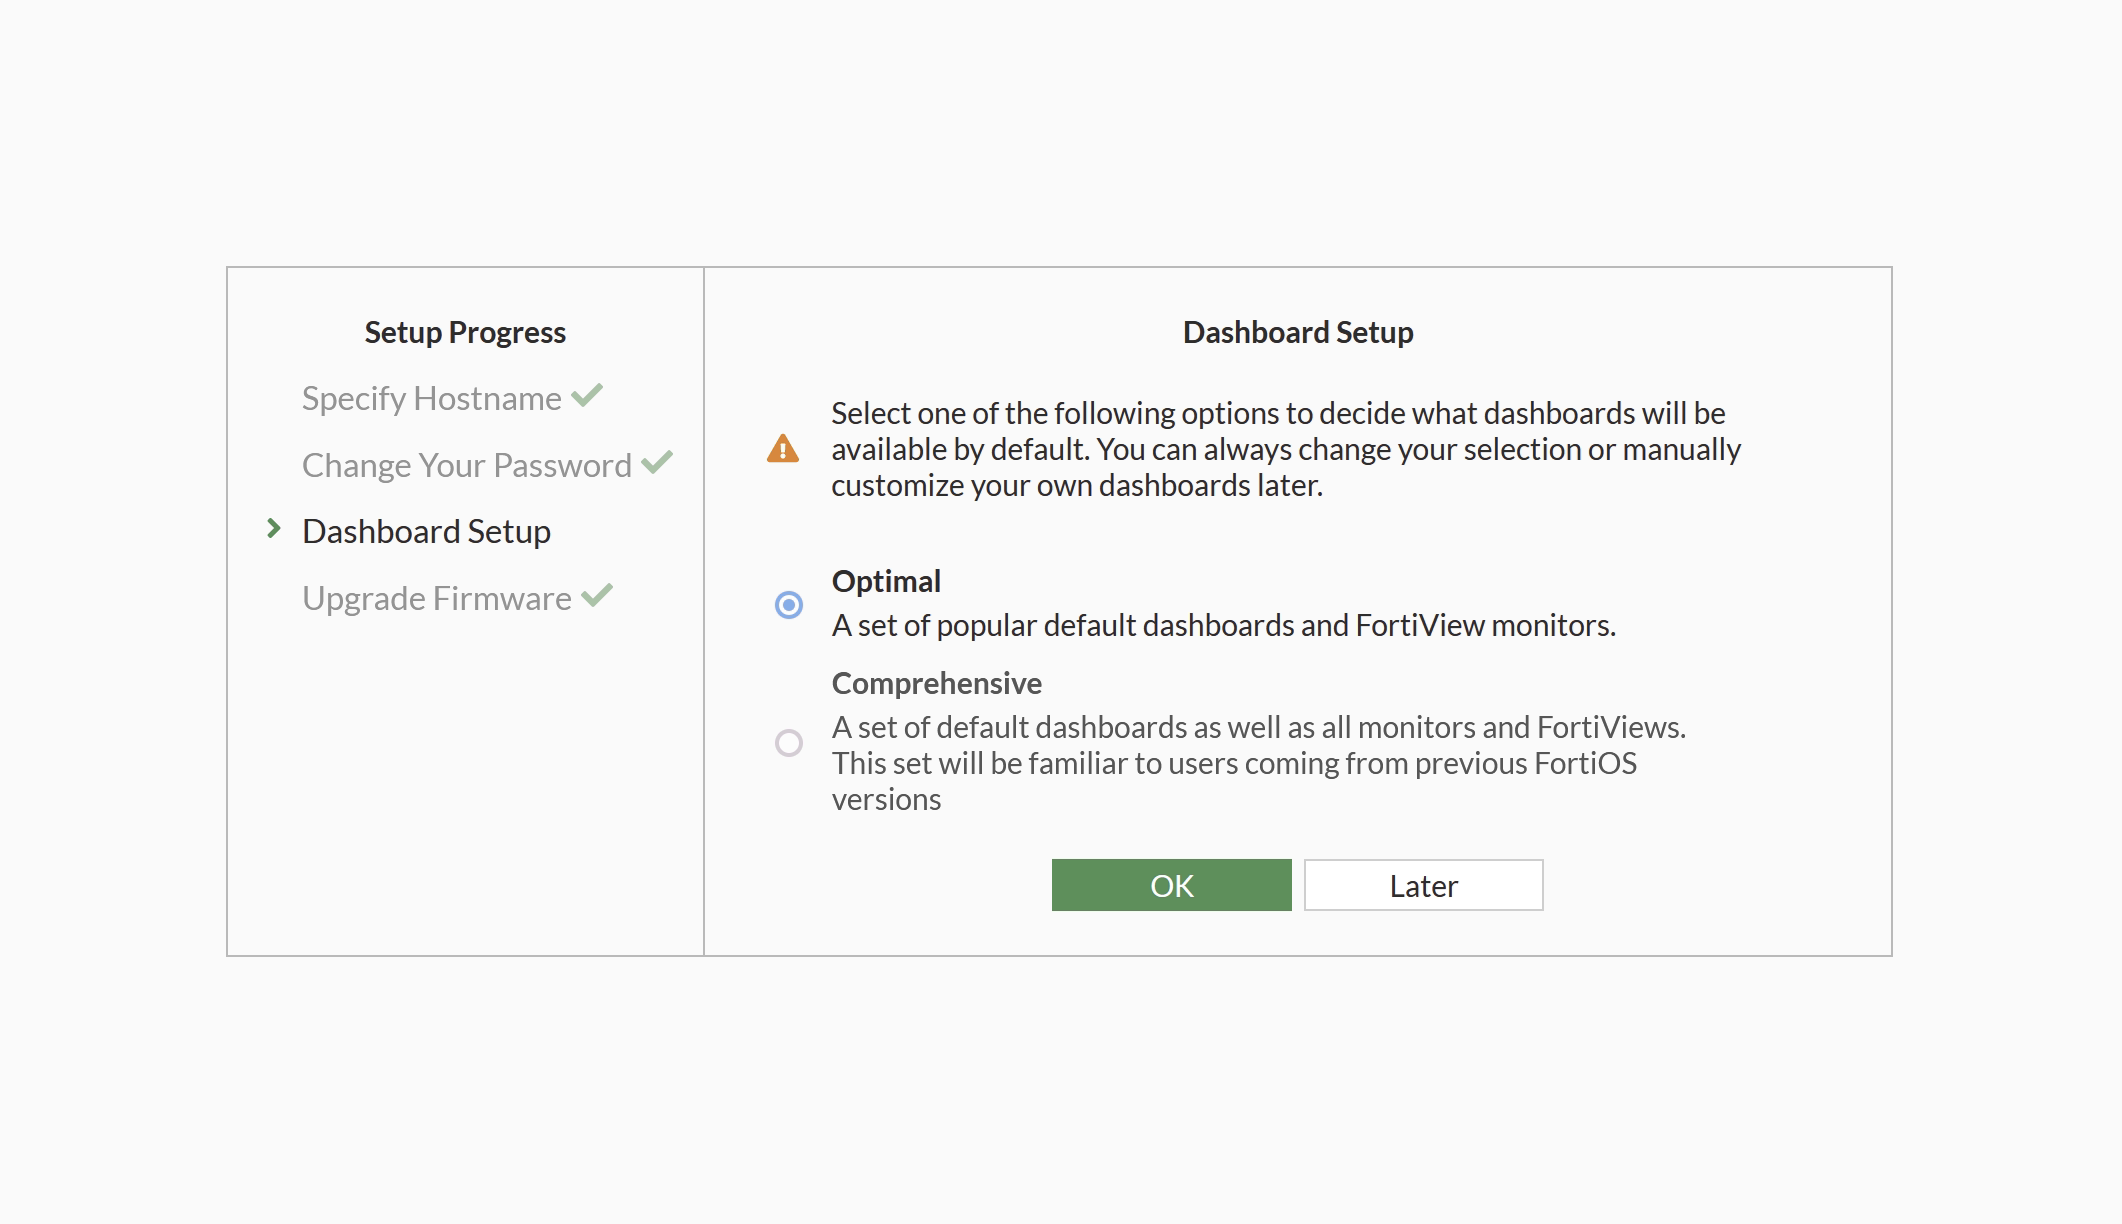
Once rebooted, the device will take us through a few steps to finalise the deployment.
Deleting 7.2.4
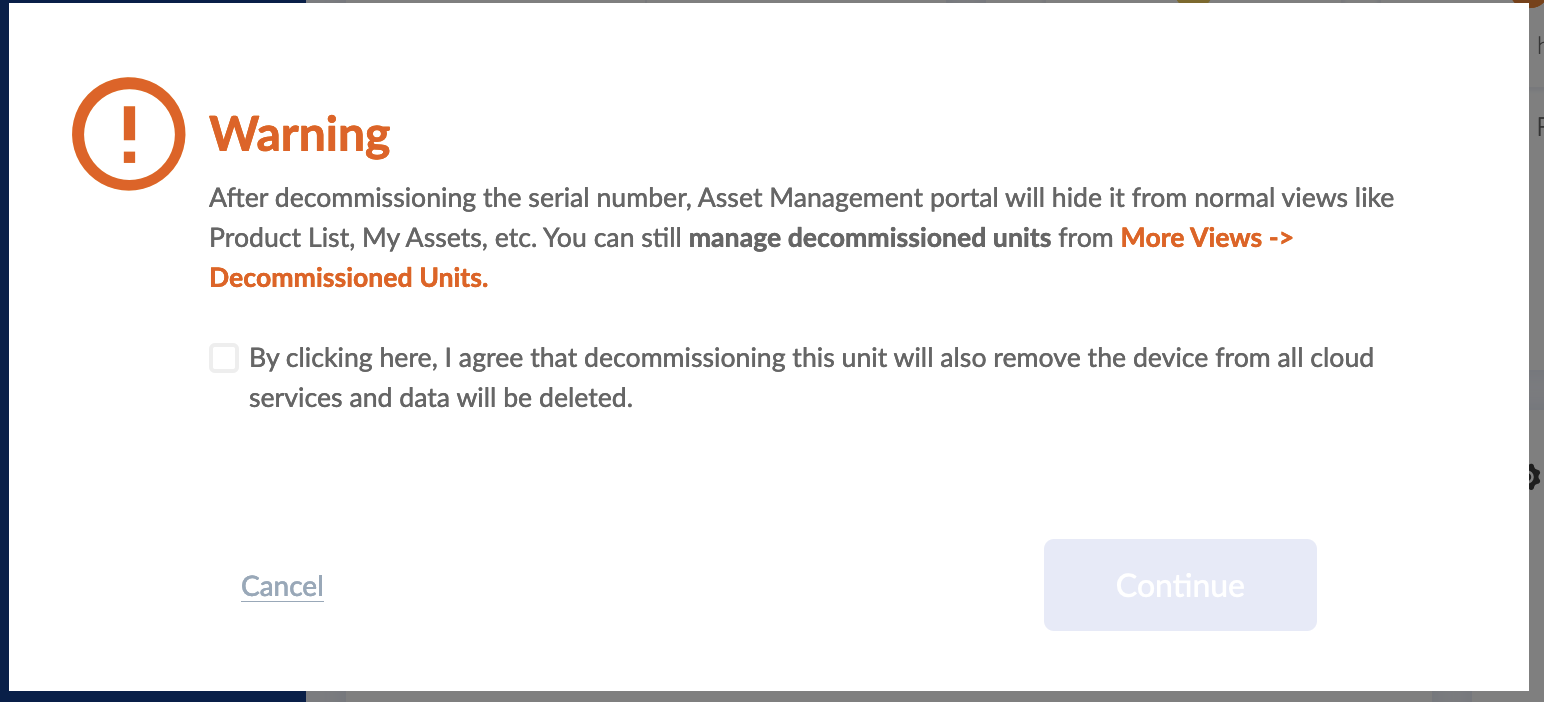
The trial licence is limited to one per account. Therefore, it must be deleted if to create a new appliance. If a new appliance attempts to be licenced when there is already one, the FortiGate VM licence page will complain about an invalid serial number.

To remove the old appliance, navigate to the view product page on the FortiNet website, login if required.
You should see a page similar to this below.
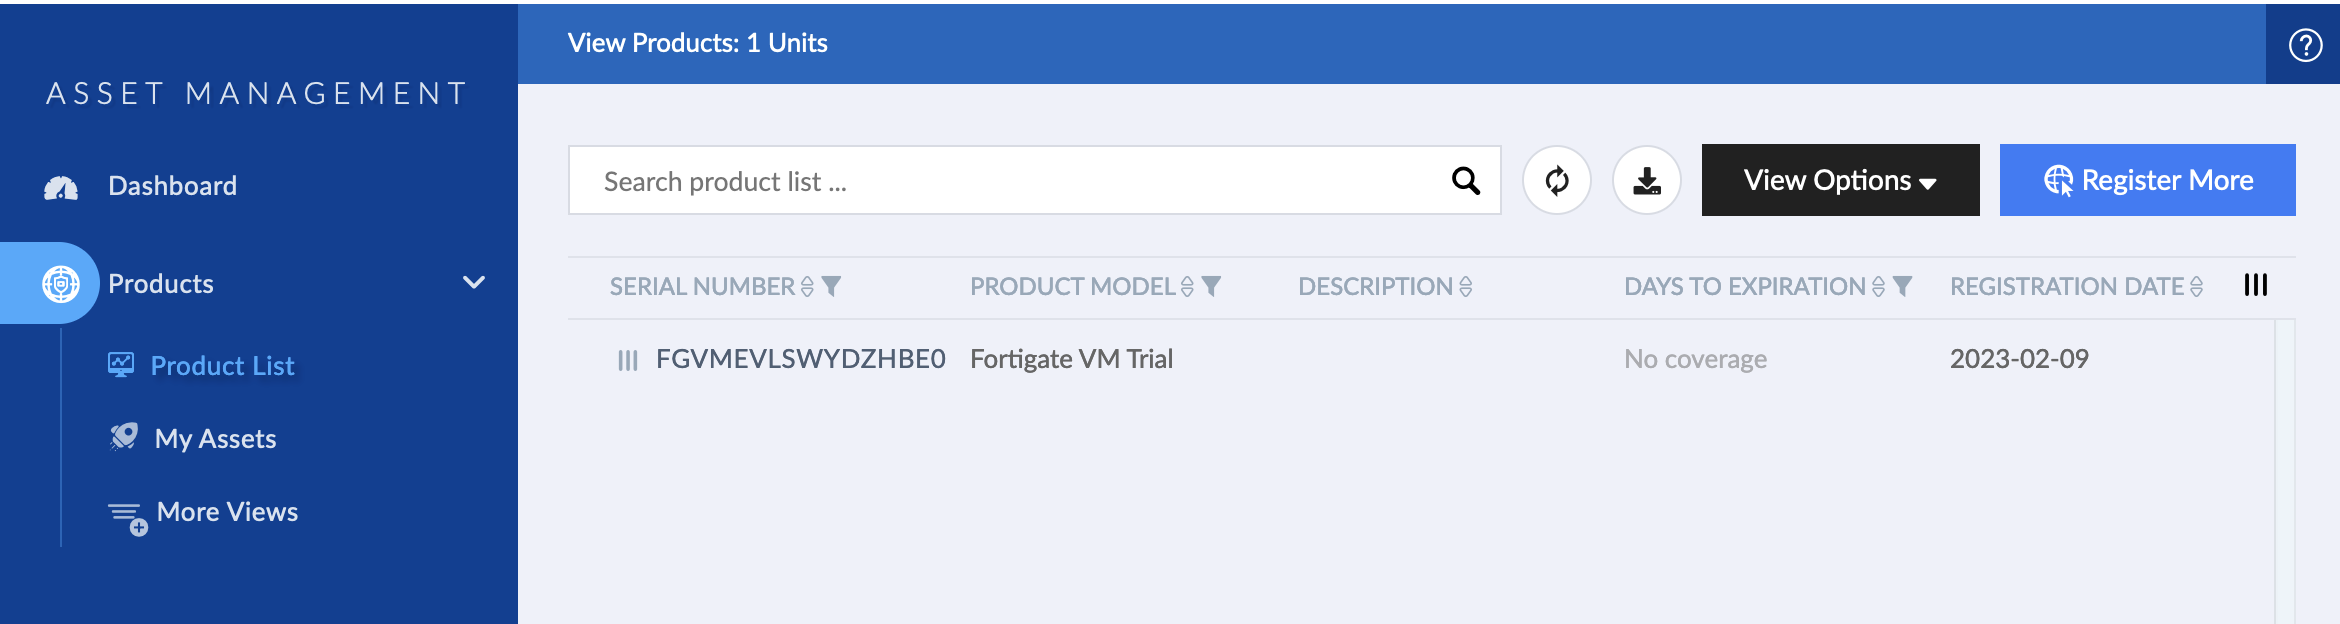
Click on the device, and then look for “Decommission This Unit”
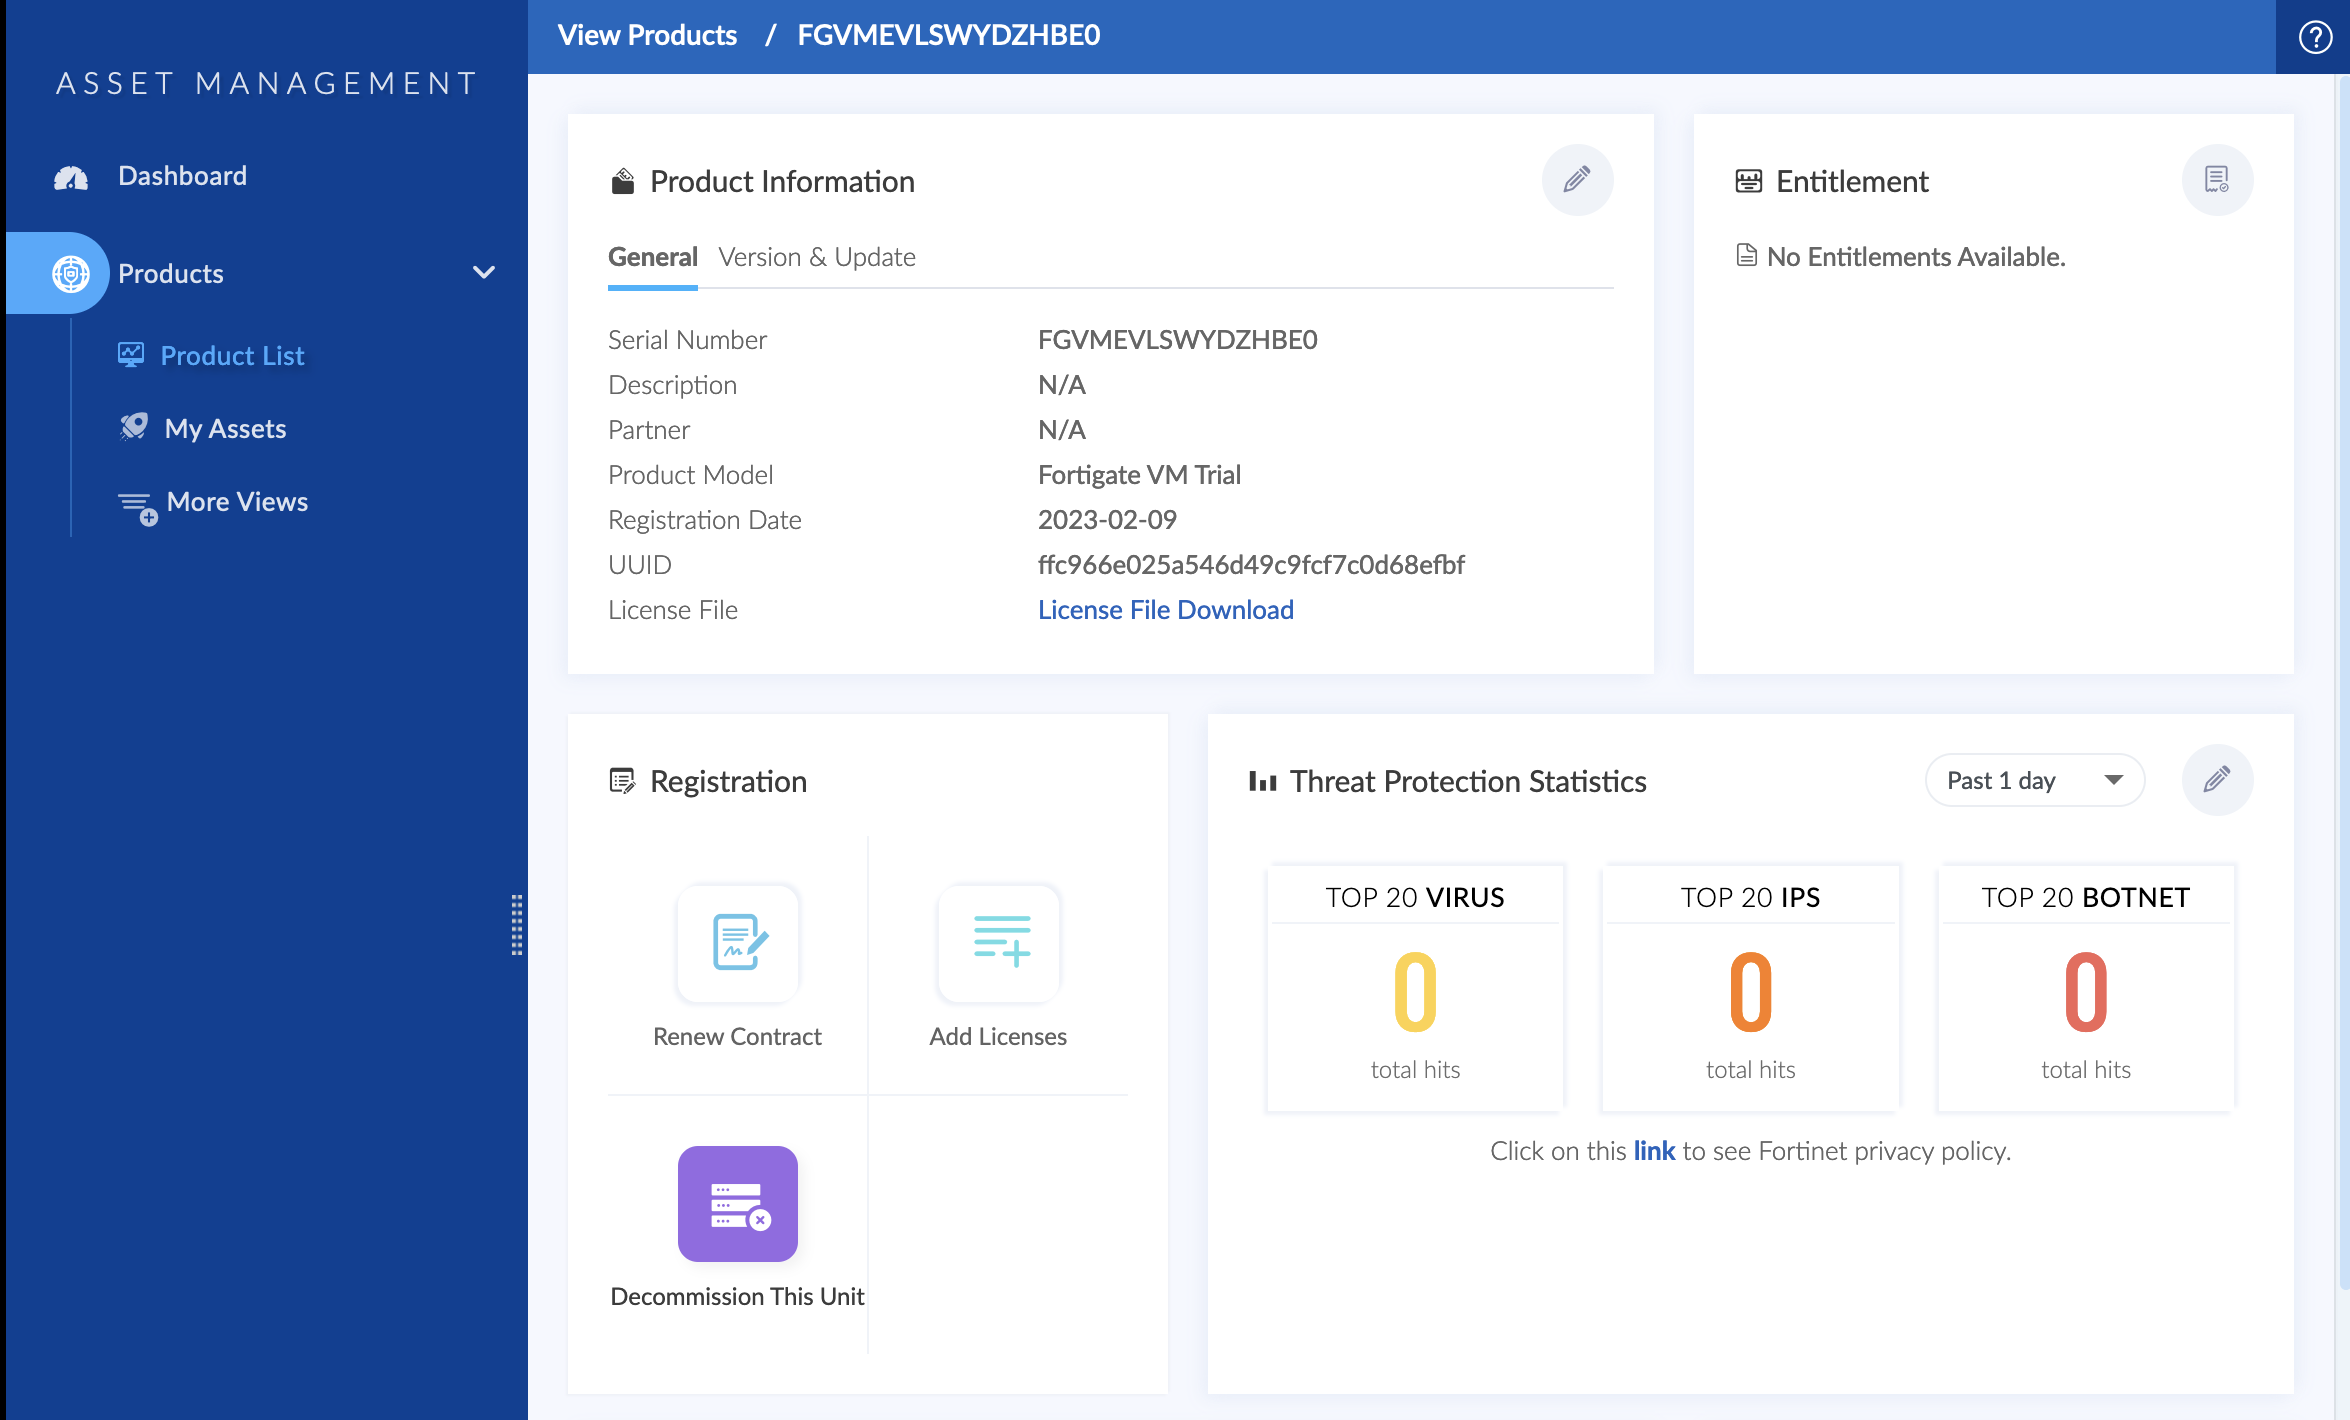
This will give a warning and that’s it all done, a new trial licence can be assigned to a new appliance.