After setting up the GitLab CI/CI pipeline, the next step I wanted to take is to use Terraform to make changes to AWS infrastructure.
There are several steps to configure a GitLab pipeline for Terraform. This example is for a new project with nothing yet configured in AWS yet.
- Create a new project in GitLab
- Get CLI credentials
- Create
.gitignorefile - Create
.gitlab-ci.ymlfile - Configue GitLab-managed Terraform state
- Create test Terraform file
Create a New Project in GitLab
I have created a new AWS project for this in GitLab. As I have previously configured my SSH key for GitLab, all I needed to do was clone the newly created repo in VS Code and I was able to start creating the project files.
|
0 1 2 |
git clone git@gitlab.com:ntwklab1/aws.git |
Get CLI Credentials
I have previously setup AWS CLI for use with my Mac, I will use this to get my access key and secret access key.
|
0 1 2 3 |
aws configure get aws_access_key_id aws configure get aws_secret_access_key |
The AWS keys will need to be added to the GitLab project variables user:<Project> >> Settings >> CI/CD >> Variables
The variable names must be AWS_ACCESS_KEY_ID and AWS_SECRET_ACCESS_KEY. These keys are specifically in this document
Create .gitignore File
This is a fairly straightforward file, it will just ignore what is defined inside it.
|
0 1 2 3 4 5 6 7 8 9 10 11 12 13 14 15 16 17 18 19 20 21 |
# Local .terraform directories **/.terraform/ # .tfstate files *.tfstate *.tfstate.backup *.tfstate.backup.* *.terraform.lock.* # Crash log files crash.log # Exclude sensitive variable files *.tfvars # Override file for variable definitions override.tf # Exclude any CLI configuration files cli.* |
Create .gitlab-ci.yml File
I will be using the default .gitlab-cy.yml file. Inside this are two templates. One for static application security testing, which I won’t go into any detail, and the other Terraform/Base.gitlab-ci.yml is used for creating the GitLab managed terraform state.
|
0 1 2 3 4 5 6 7 8 9 10 11 12 13 14 15 16 17 18 19 20 21 22 23 24 25 26 27 28 29 30 31 32 33 34 35 36 37 38 |
# To contribute improvements to CI/CD templates, please follow the Development guide at: # https://docs.gitlab.com/ee/development/cicd/templates.html # This specific template is located at: # https://gitlab.com/gitlab-org/gitlab/-/blob/master/lib/gitlab/ci/templates/Terraform.gitlab-ci.yml include: - template: Terraform/Base.gitlab-ci.yml # https://gitlab.com/gitlab-org/gitlab/blob/master/lib/gitlab/ci/templates/Terraform/Base.gitlab-ci.yml - template: Jobs/SAST-IaC.gitlab-ci.yml # https://gitlab.com/gitlab-org/gitlab/blob/master/lib/gitlab/ci/templates/Jobs/SAST-IaC.gitlab-ci.yml stages: - validate - test - build - deploy - cleanup fmt: extends: .terraform:fmt needs: [] validate: extends: .terraform:validate needs: [] build: extends: .terraform:build environment: name: $TF_STATE_NAME action: prepare deploy: extends: .terraform:deploy dependencies: - build environment: name: $TF_STATE_NAME action: start |
Terraform/Base.gitlab-ci.yml can be found here, and is used for several things to take care of the terraform steps. What I am interested in specifically is the variable TF_STATE_NAME. This variable is the name that the GitLab terraform state file will take by default. The value is default.TF_STATE_NAME: default # The name of the state file used by the GitLab Managed Terraform state backend
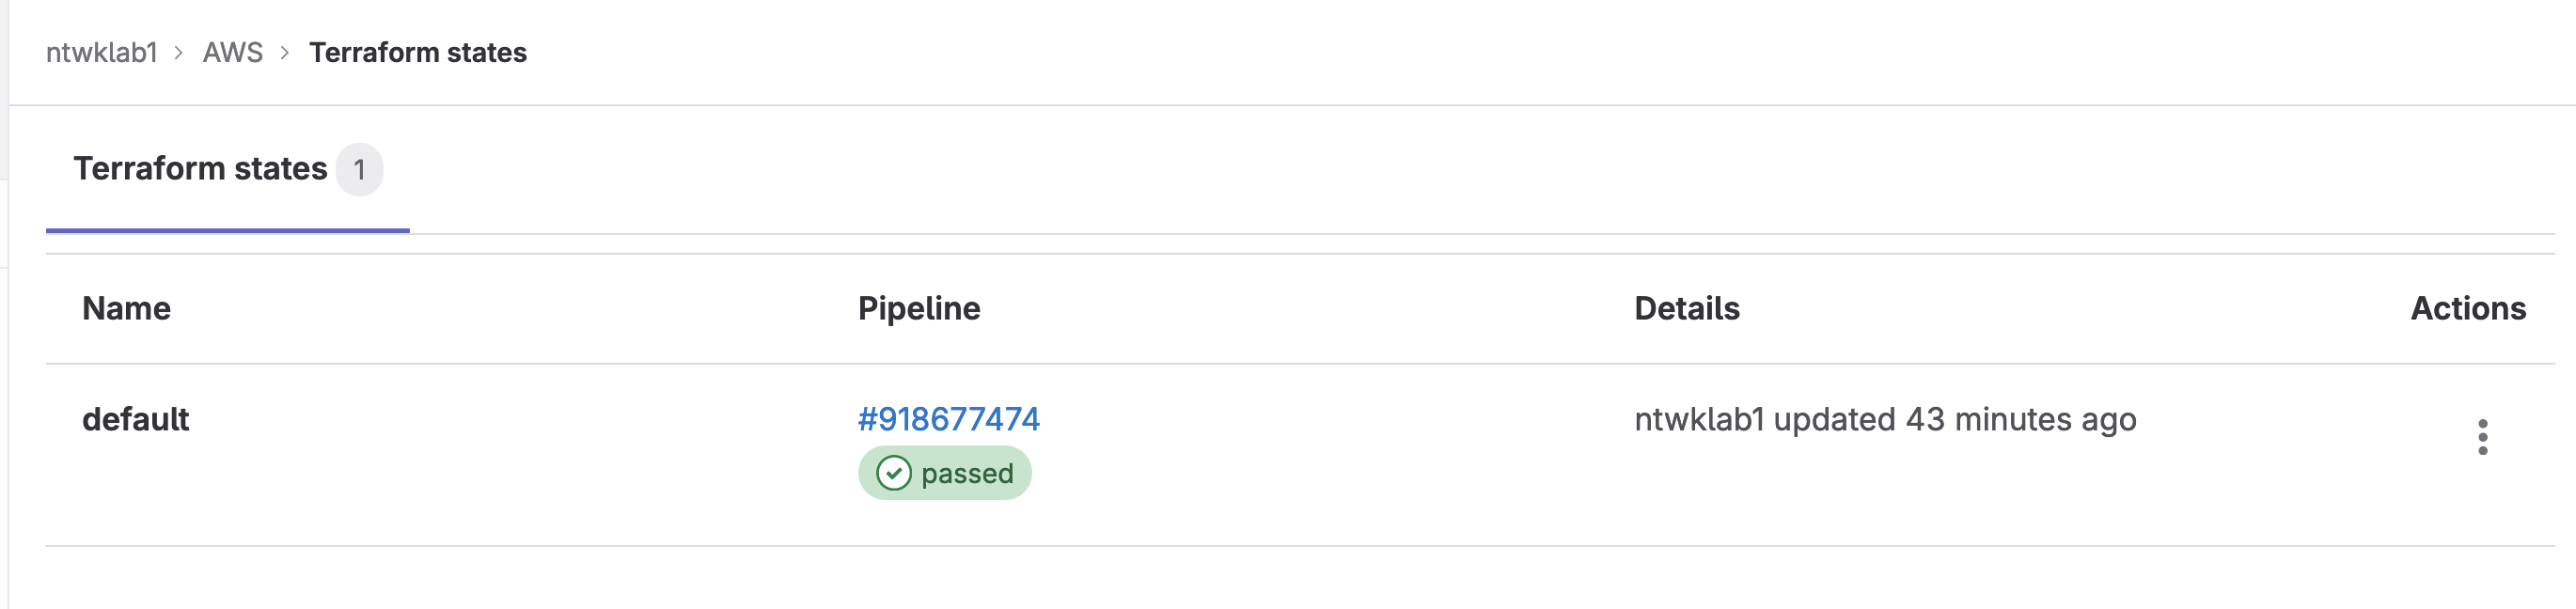
Configue GitLab-Managed Terraform State
The purpose of this is to keep the Terraform state in GitLab. This means that multiple users can pull down the repo and all be working from the same Terraform state, changes are made to the state and everything is stored in GitLab.
The example in this is to create a new Terraform state. Nothing has been configured inside my AWS account. The reference document is here. Inside the reference document, the first part is what I will describe for a new environment. If there is already a local Terraform state, it can be migrated following these steps.
Create a backend.tf file. This file will reference that the backend of terraform will be via HTTP.
|
0 1 2 3 4 5 |
terraform { backend "http" { } } |
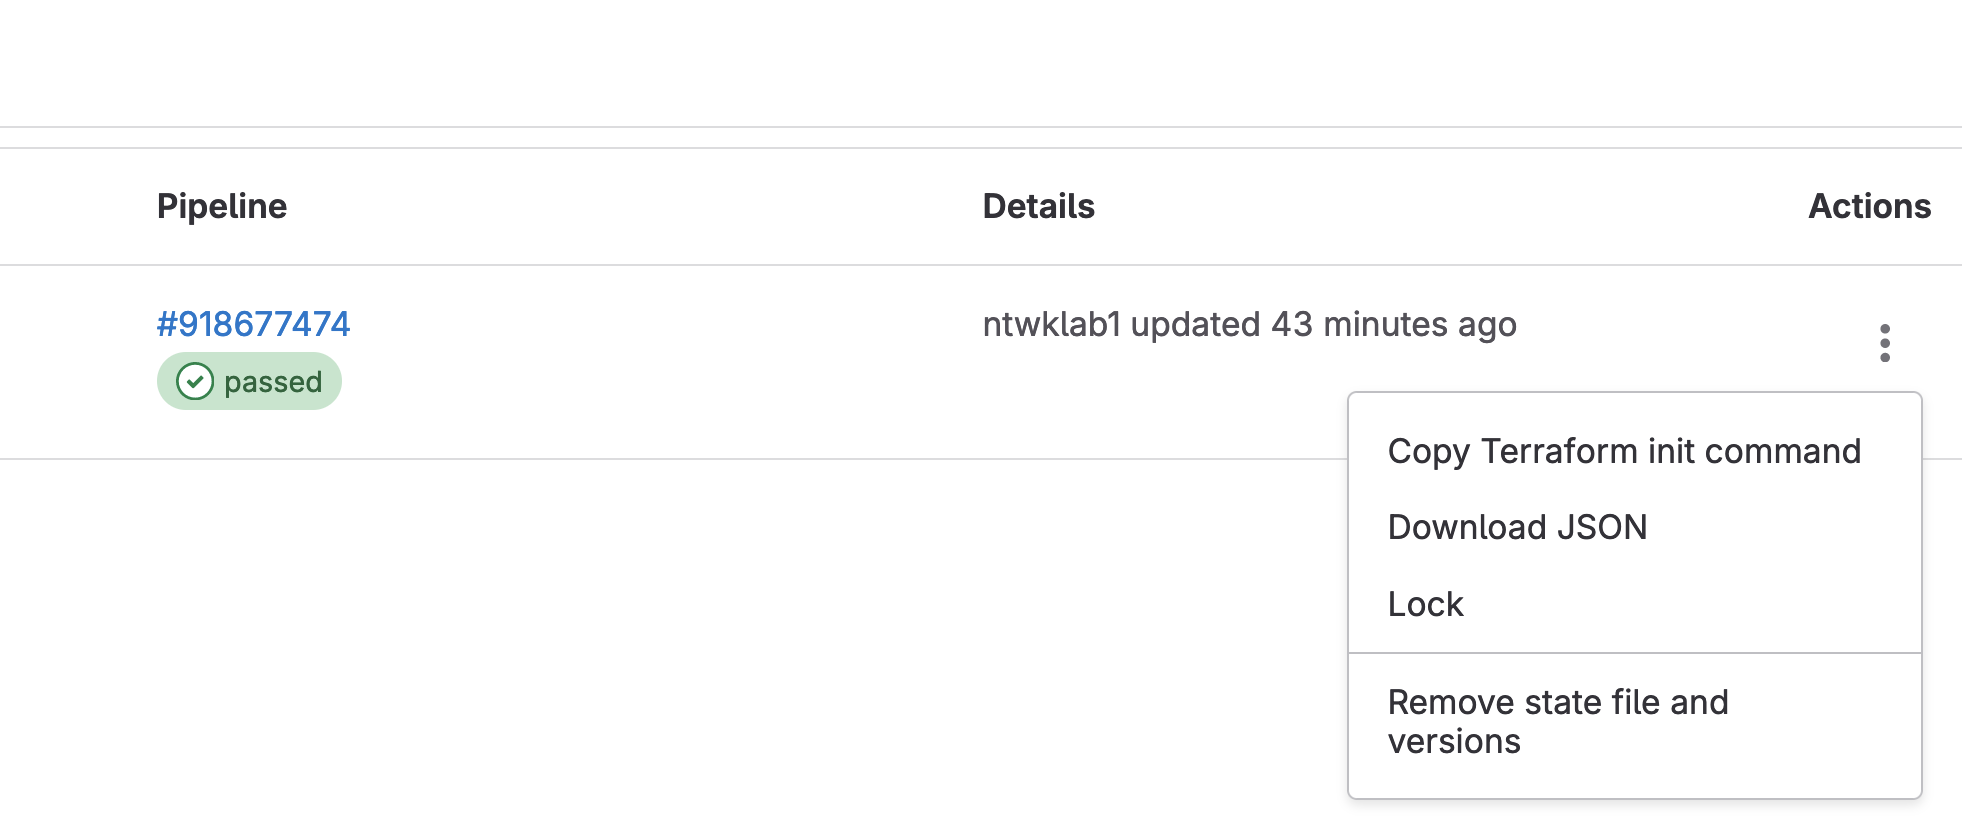
Running the pipeline will create a default Terraform state. This file can be downloaded, deleted under: <PROJECT> >> Operate
Create Test Terraform File
I have created a tested a terraform file main.tf. Inside this, it will create a VPC in the eu-north-1 region.
|
0 1 2 3 4 5 6 7 8 9 10 11 12 13 14 15 16 17 18 19 |
variable "awsprops" { type = map(string) default = { region = "eu-north-1" } } provider "aws" { region = lookup(var.awsprops, "region") } resource "aws_vpc" "main" { cidr_block = "10.0.0.0/16" tags = { Name = "Project VPC" } } |
Now that the files have been created, all that is to do is push them to the repo. This will run the pipeline.
|
0 1 2 3 |
git commit -am "new tf AWS env" git push -f |
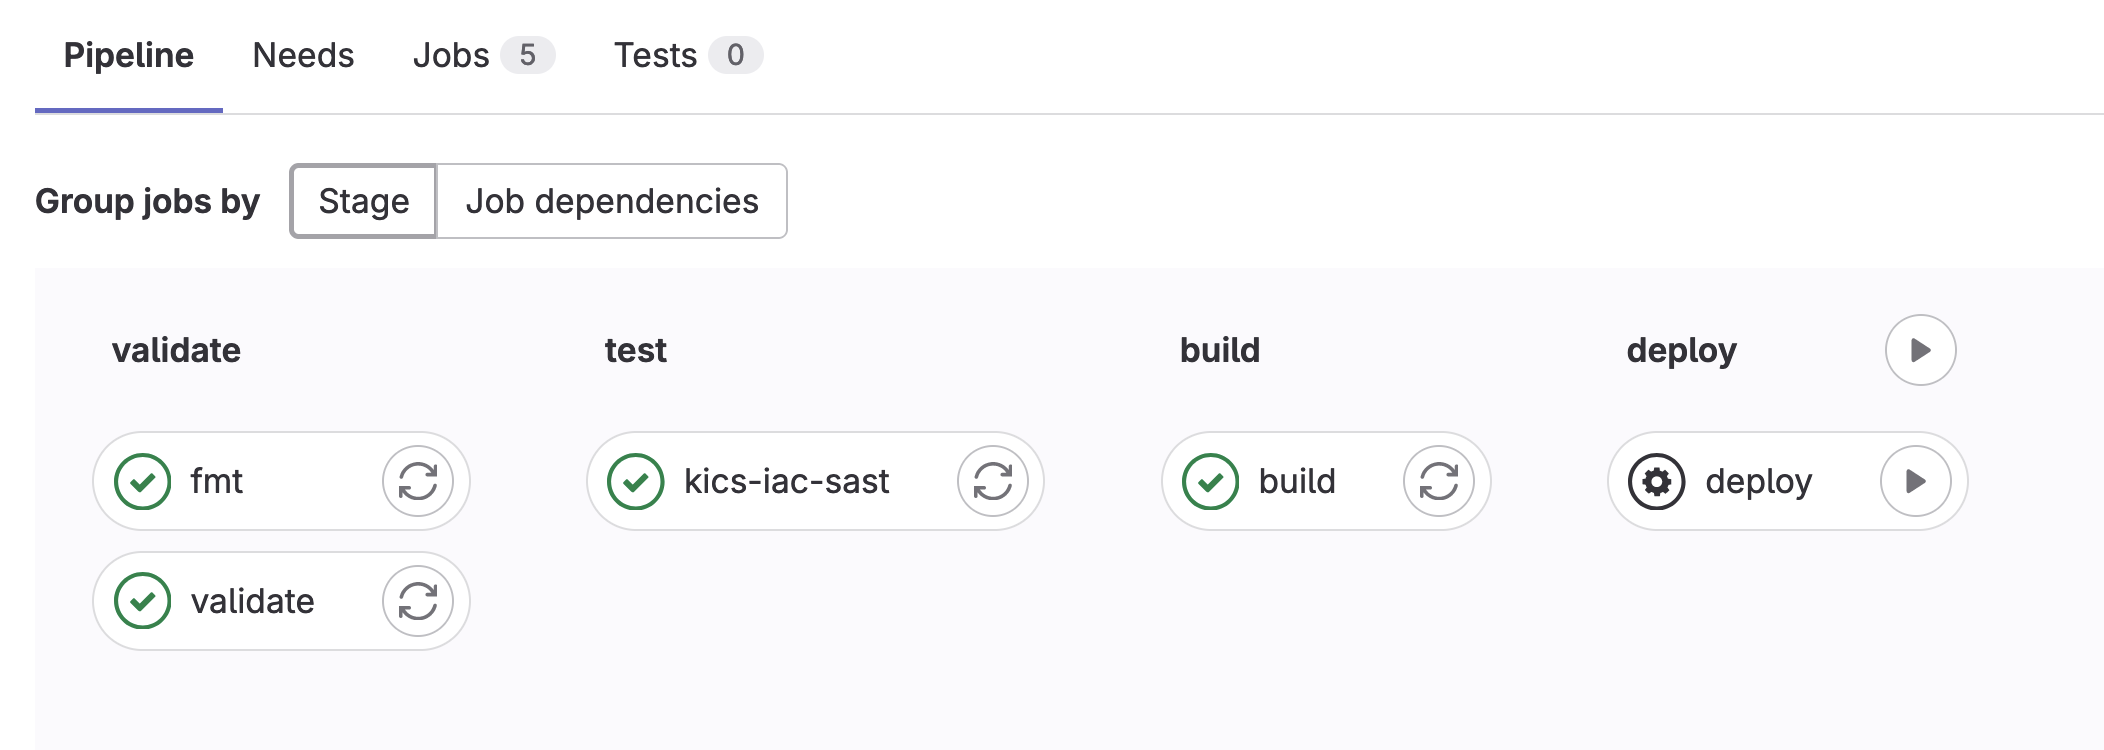
The pipeline can be found under Build >>Pipelines and by default will look as shown below. In my example, the deploy stage is pending a manual action to be taken, once that runs the new VPC will be pushed to AWS.


Continuing this, a subnet can be added to the main.tf file.
|
0 1 2 3 4 5 6 7 8 9 10 11 12 13 14 15 16 17 18 19 20 21 22 23 24 25 26 27 28 |
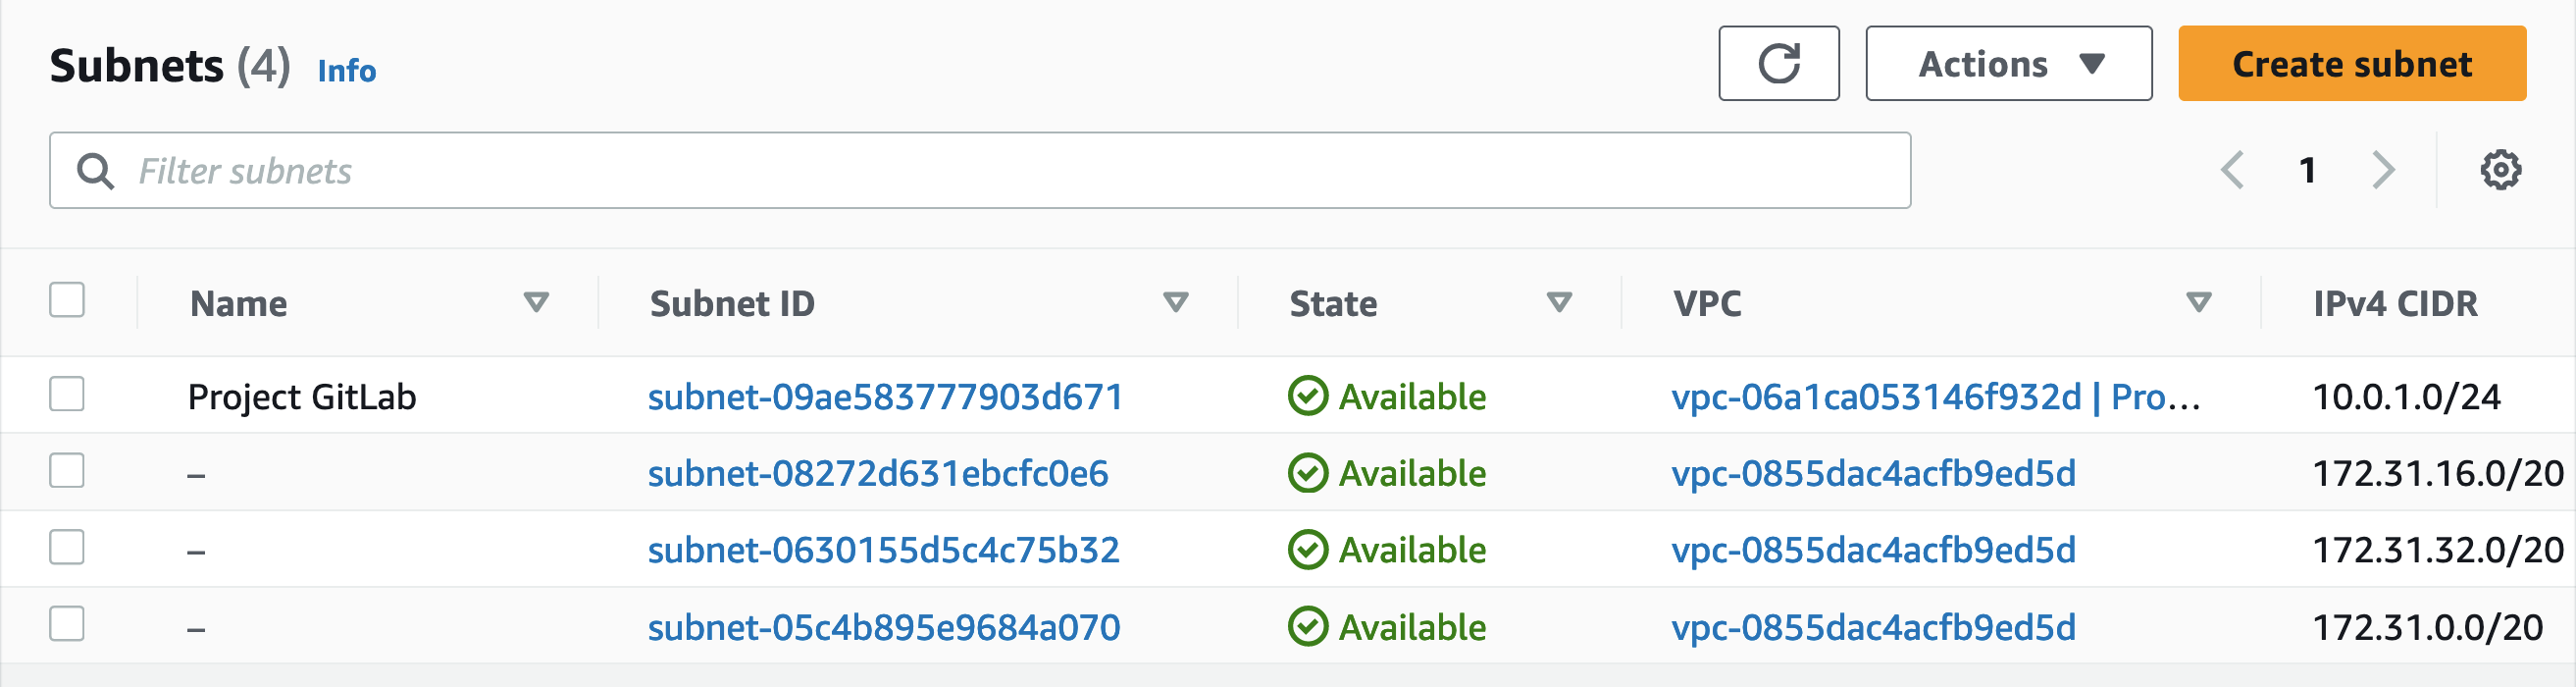
variable "awsprops" { type = map(string) default = { region = "eu-north-1" } } provider "aws" { region = lookup(var.awsprops, "region") } resource "aws_vpc" "main" { cidr_block = "10.0.0.0/16" tags = { Name = "Project VPC" } } resource "aws_subnet" "main" { vpc_id = aws_vpc.main.id cidr_block = "10.0.1.0/24" tags = { Name = "Project GitLab" } } |
Saving and committing this will, start the pipeline again, resulting in a new subnet.
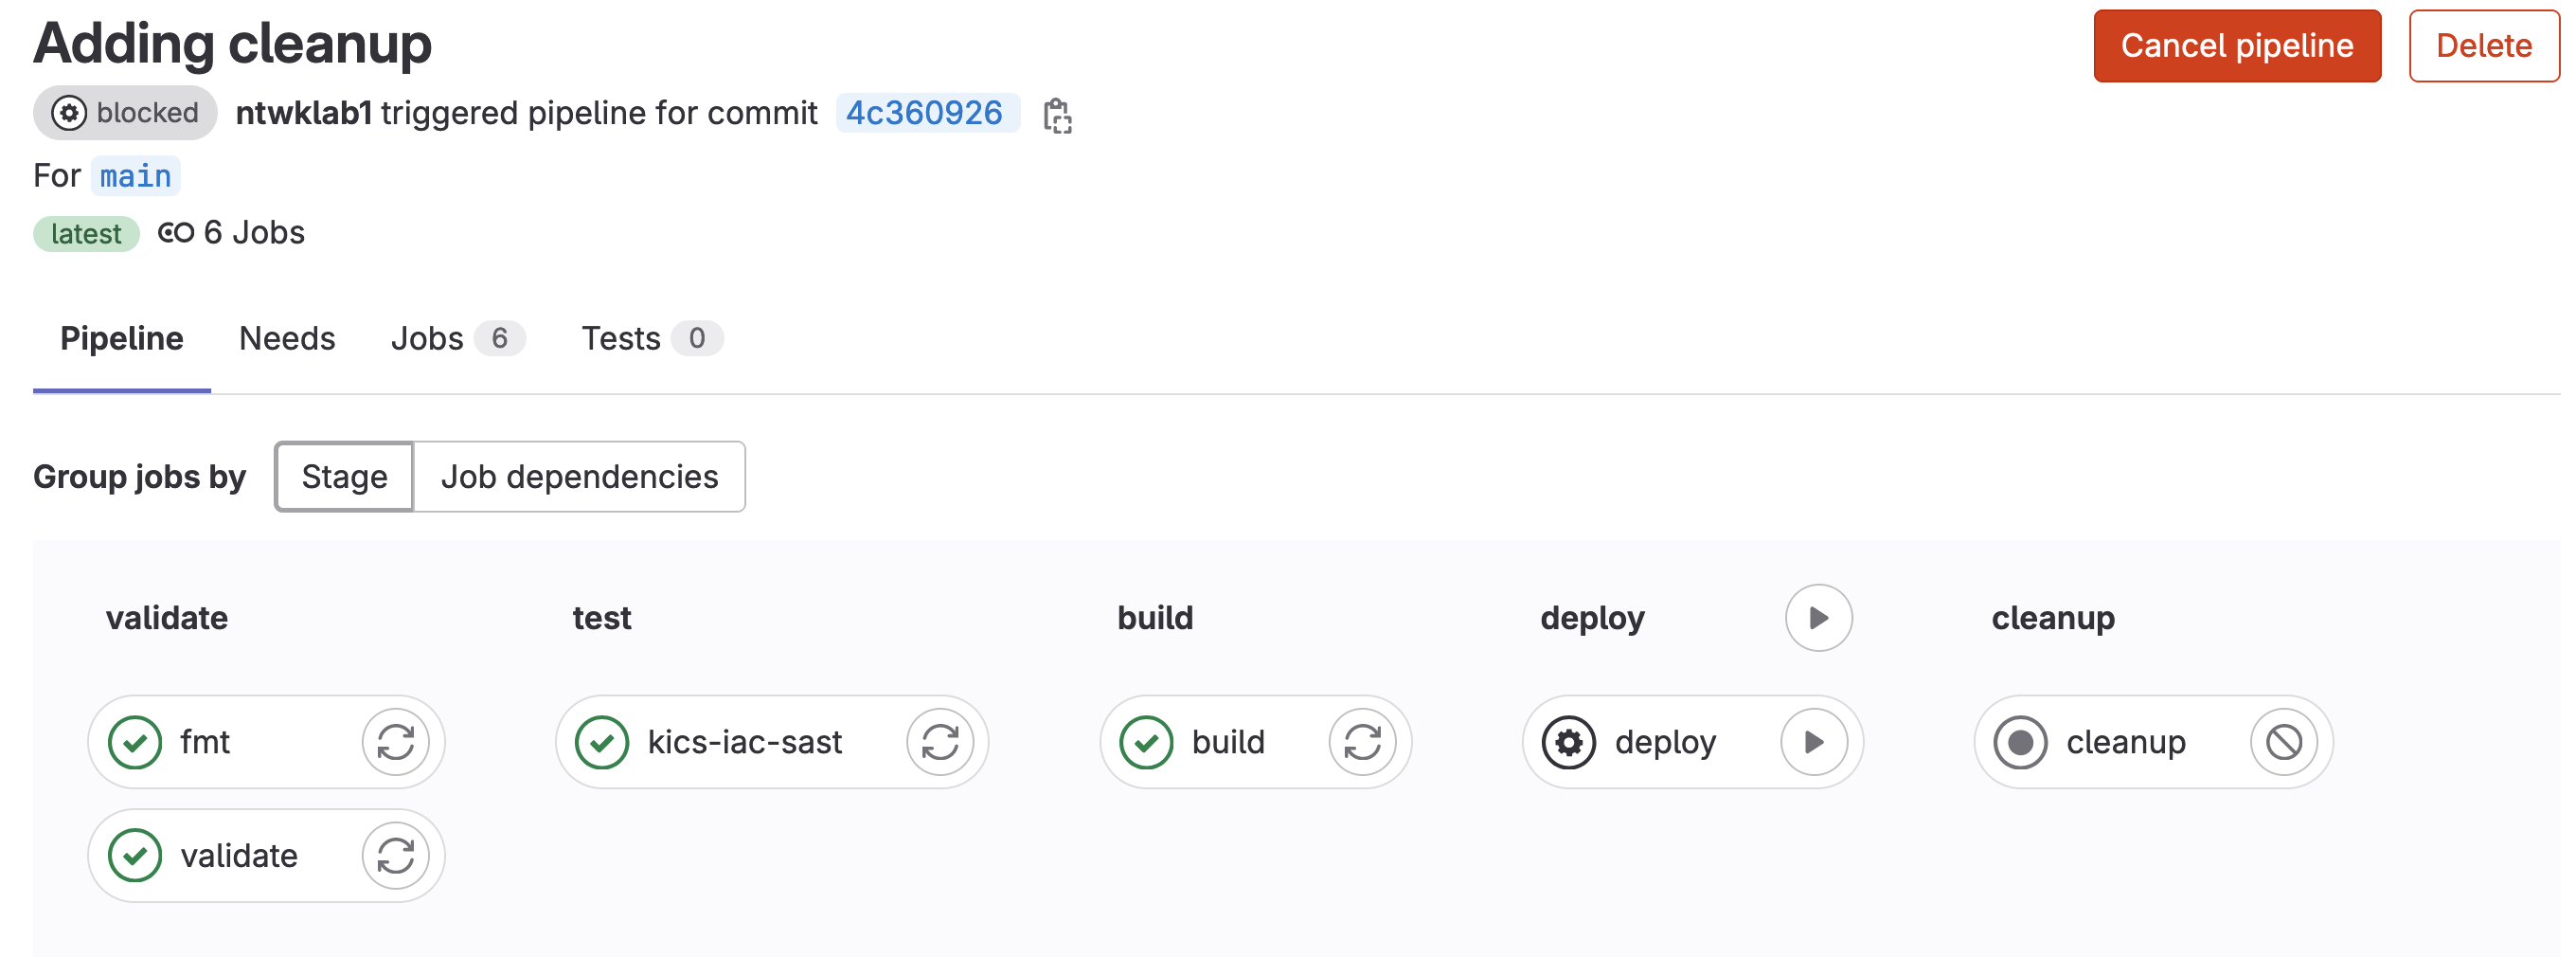
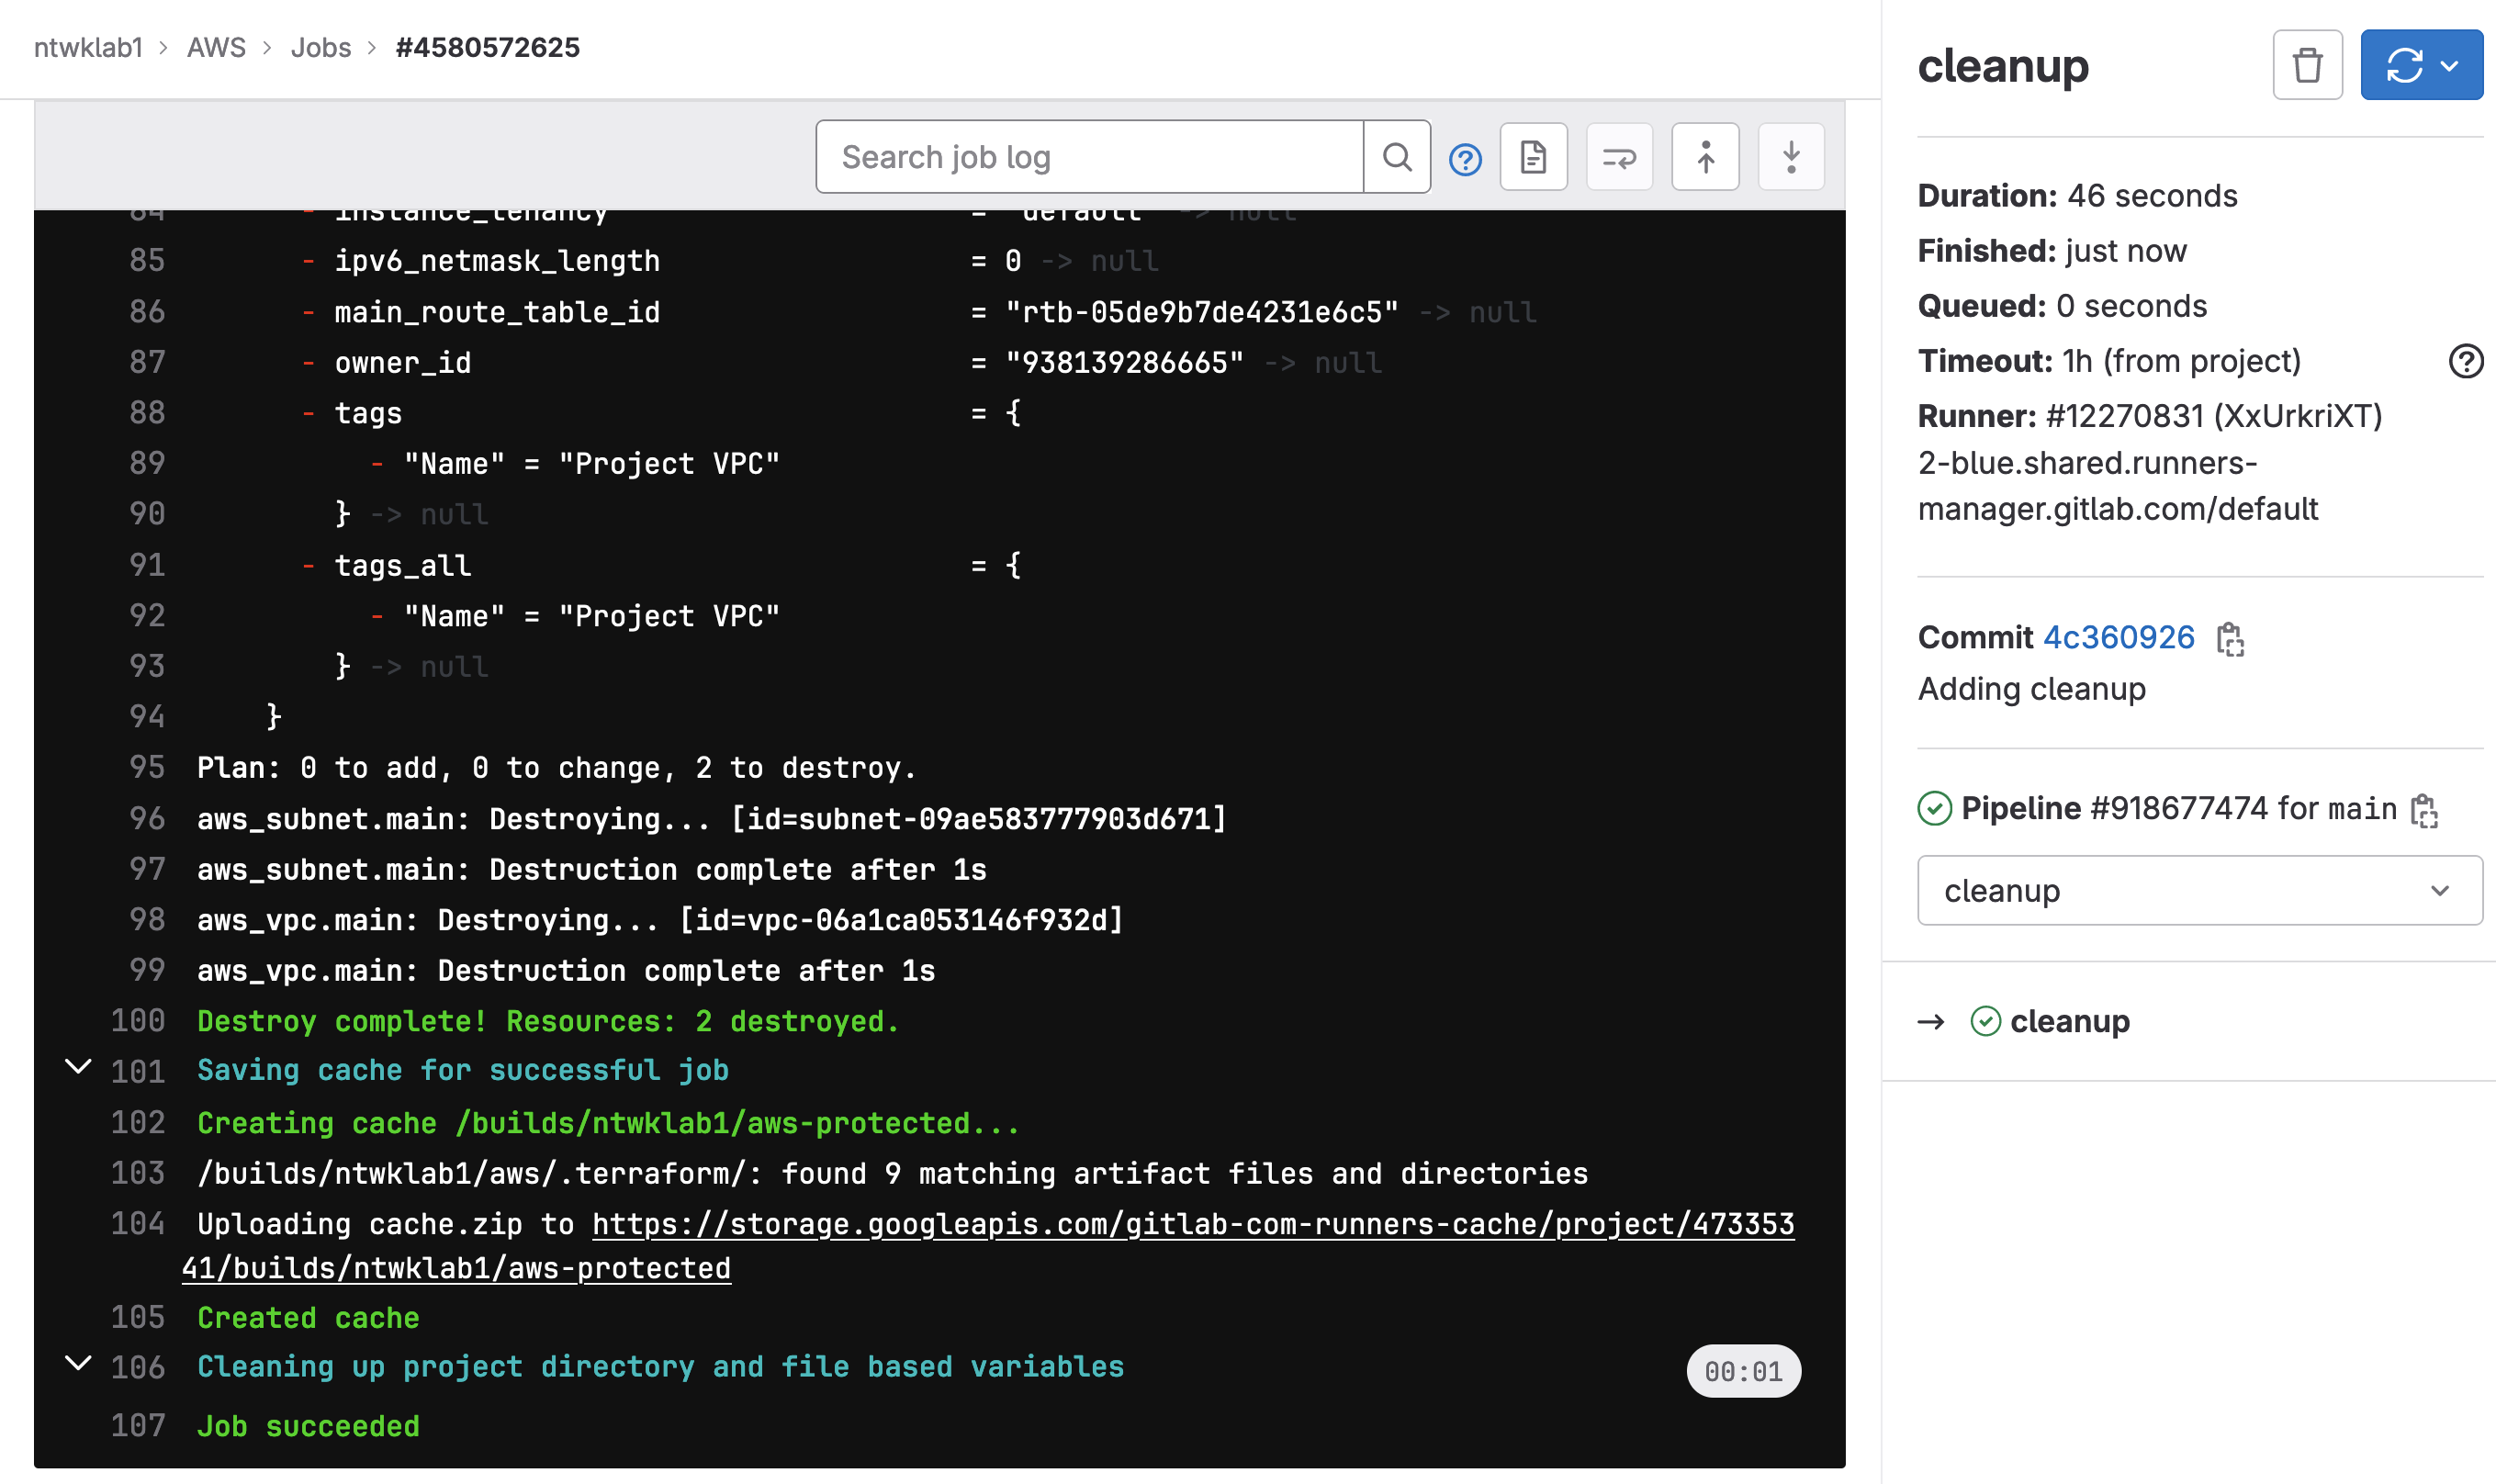
The last change I want to make to this is to add in a destroy stage to the pipeline to remove the changes. The modifications will be made to the .gitlab-ci.yml file. In the example .gitlab-ci.yml file, there is a cleanup stage, but that is not referenced.
In the new .gitlab-ci.yml file, I have made the cleanup stage dependent on the build and deploy stage.
|
0 1 2 3 4 5 6 7 8 9 10 11 12 13 14 15 16 17 18 19 20 21 22 23 24 25 26 27 28 29 30 31 32 33 34 35 36 37 38 39 40 41 42 43 44 45 46 47 |
# To contribute improvements to CI/CD templates, please follow the Development guide at: # https://docs.gitlab.com/ee/development/cicd/templates.html # This specific template is located at: # https://gitlab.com/gitlab-org/gitlab/-/blob/master/lib/gitlab/ci/templates/Terraform.gitlab-ci.yml include: - template: Terraform/Base.gitlab-ci.yml # https://gitlab.com/gitlab-org/gitlab/blob/master/lib/gitlab/ci/templates/Terraform/Base.gitlab-ci.yml - template: Jobs/SAST-IaC.gitlab-ci.yml # https://gitlab.com/gitlab-org/gitlab/blob/master/lib/gitlab/ci/templates/Jobs/SAST-IaC.gitlab-ci.yml stages: - validate - test - build - deploy - cleanup fmt: extends: .terraform:fmt needs: [] validate: extends: .terraform:validate needs: [] build: extends: .terraform:build environment: name: $TF_STATE_NAME action: prepare deploy: extends: .terraform:deploy dependencies: - build environment: name: $TF_STATE_NAME action: start cleanup: extends: .terraform:cleanup dependencies: - build - deploy environment: name: $TF_STATE_NAME action: start |