

ASA Management Configuration
I have created a lab for an ASA using a single ASA to begin with. It’s a basic walkthrough to setup the ASA and the API.
|
0 1 2 3 4 5 6 7 8 9 10 11 12 13 14 15 16 17 18 19 |
hostname ASA1 interface Management0/0 nameif MGMT security-level 100 ip address 172.16.1.250 255.255.255.0 no shut route MGMT 0.0.0.0 0.0.0.0 172.16.1.254 1 crypto key generate rsa modulus 4096 username admin password <PASSWORD> privilege 15 ssh 0.0.0.0 0.0.0.0 MGMT ssh version 2 ssh key-exchange group dh-group14-sha1 aaa authentication ssh console LOCAL aaa authentication enable console LOCAL |
Download and Transfer API Installer to ASA
The ASA API can be found here. I am running ASA 9.9, and I have used the file asa-restapi-7161-lfbff-k8.SPA. I have renamed it asa-api.SPA to make it easier to type in my tftp command.
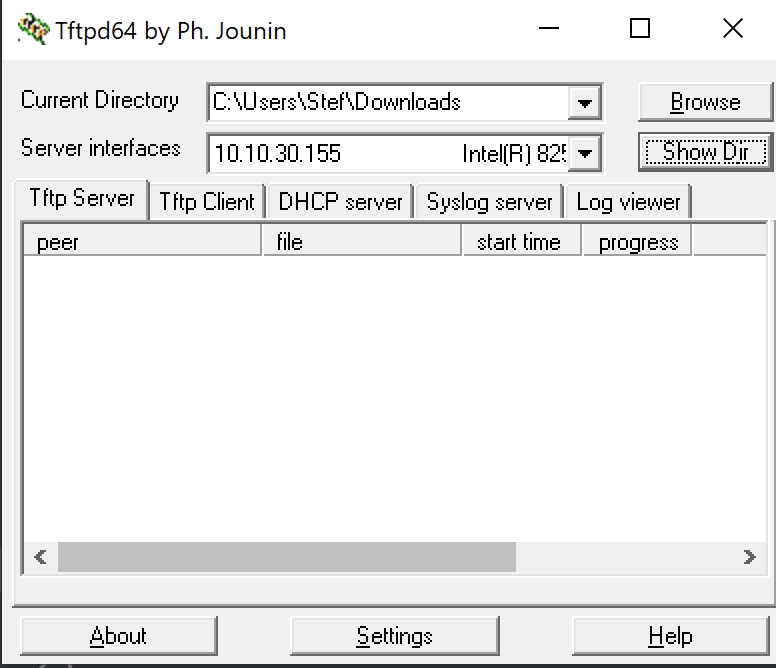
I have used tftpd64 as my TFTP server. I have just set the directory as the Downloads folder. It’s nice and easy to use.
Back on the ASA I have used the following command to copy the file.
|
0 1 2 |
copy tftp://10.10.30.155/asa-api.SPA disk0:/asa-api.SPA |
|
0 1 2 3 4 5 6 7 8 9 10 11 12 |
ASA1# dir Directory of disk0:/ 26 drwx 4096 22:49:19 Sep 28 2023 smart-log 23 drwx 4096 22:48:30 Sep 28 2023 log 60 drwx 4096 22:49:24 Sep 28 2023 coredumpinfo 62 -rwx 72895584 23:55:58 Sep 28 2023 asa-api.SPA 1 file(s) total size: 72895584 bytes 8571076608 bytes total (8327450624 bytes free/97% free) |
Configuring the API on the ASA
Cisco has a nice, easy to follow document that details the commands to use to install. I’ll dump the commands I used. Read the Cisco doc for full details.
|
0 1 2 3 4 5 6 7 8 |
rest-api image disk0:/asa-api.SPA http server enable http 0.0.0.0 0.0.0.0 MGMT aaa authentication http console LOCAL route MGMT 0.0.0.0 0.0.0.0 172.16.1.254 1 # Already present rest-api agent aaa authorization command LOCAL |
Testing The API
Once complete, the ASA API should be working. It is important that the user to access the API has privilege level 15 to use the API fully.
- Privilege level 3 or greater is required to invoke monitoring requests.
- Privilege level 5 or greater is required for invoking GET requests.
- Privilege level 15 is necessary for invoking PUT/POST/DELETE operations.
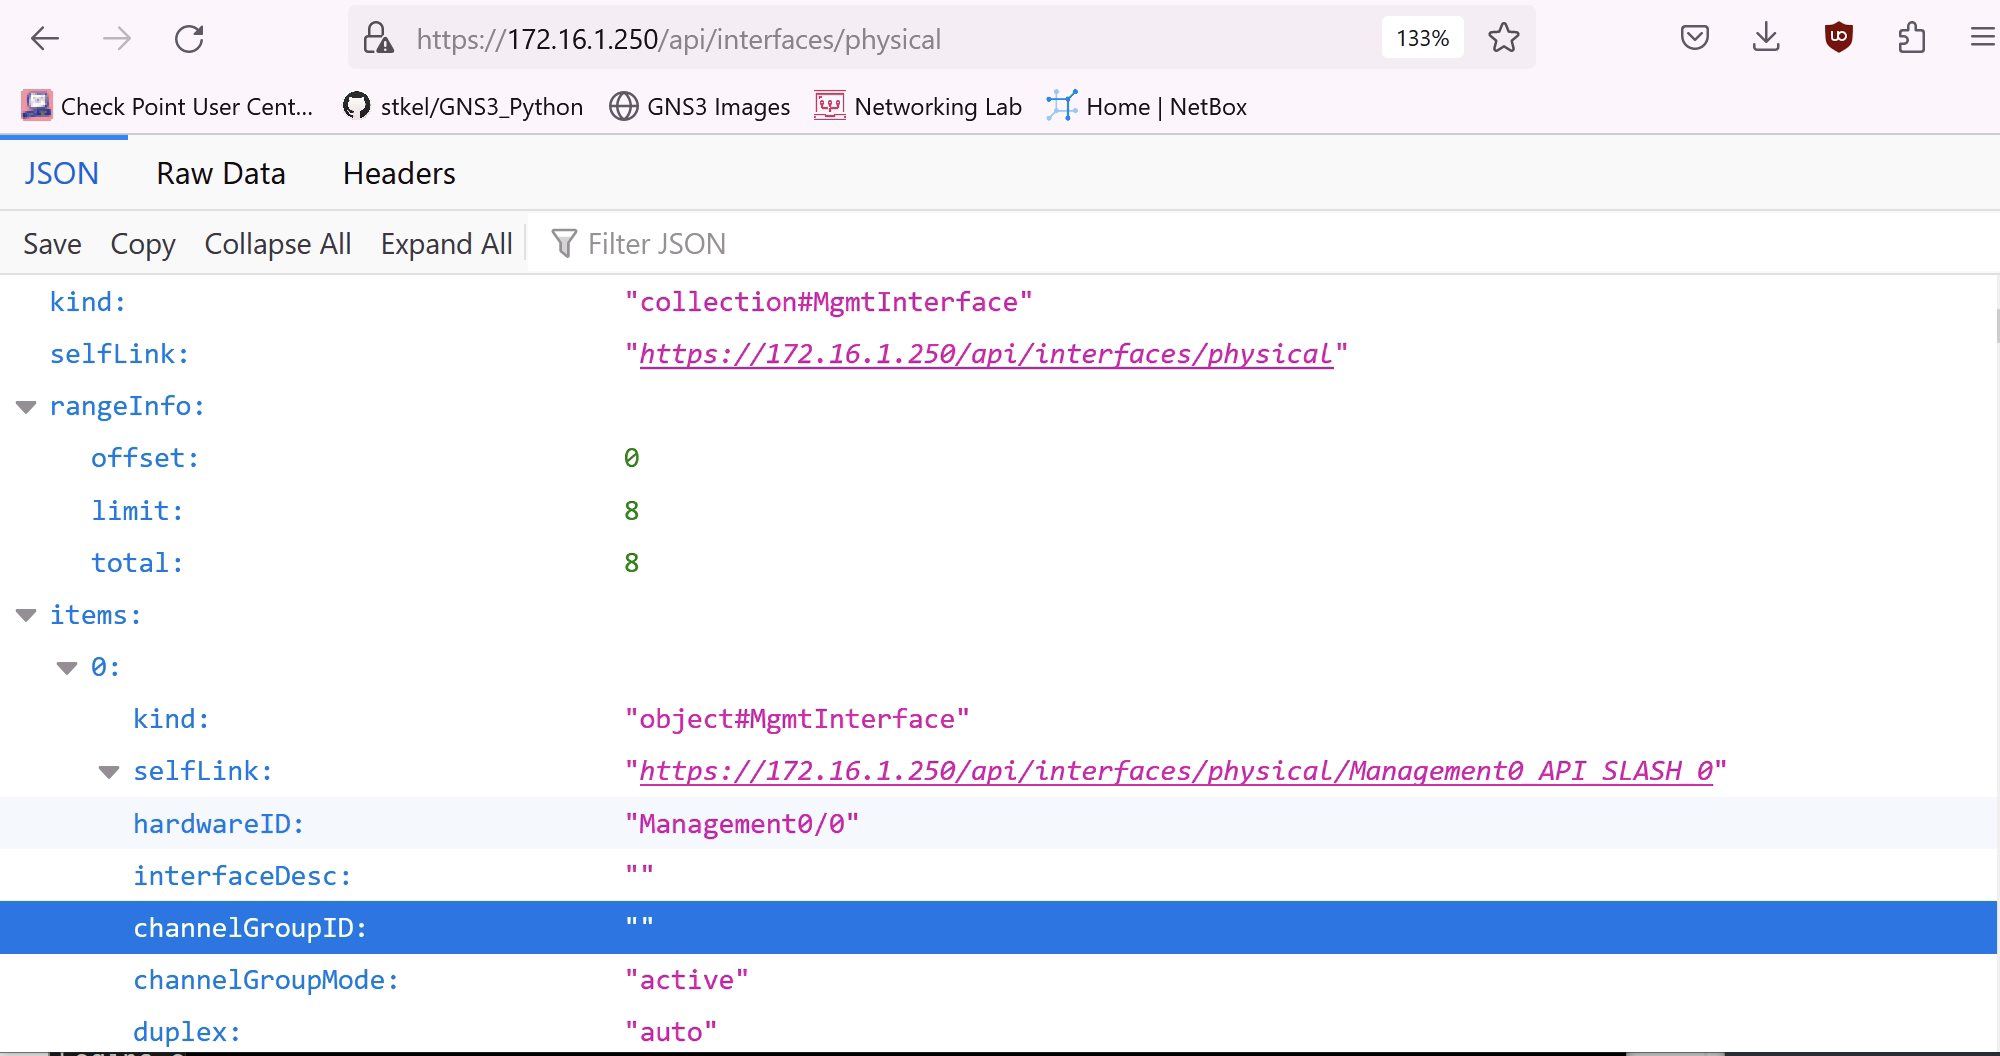
I have navigated to the physical interfaces page from my browser to see the management interface details. https://172.16.1.250/api/interfaces/physical
Cisco have published a list of the API endpoints.