I have used Docker compose to create a private registry that is used to store my docker images. I then run the containers on the same server as the registry. The images are uploaded from my Mac.
I haven’t used Docker a lot so, several guides were required for me to get this to work. Digital Ocean has many excellent articles for Docker and Nginx. I am not going to try to recreate those, just reference them in terms of what I did, so I can remember what went wrong.
This process took a lot longer than anticipated after a few methods turned to dead ends.
There are several steps to getting a private repository installed and working. The main guide I used is from Digital Ocean, it goes through the prerequisites of installing; Docker, Docker compose and Nginx.
– Install Docker
– Install Docker Compose
– Install Nginx
– Configure Docker Registry
– Configure Nginx Port Forwarding
– Configure SSL Authentication
– Configure Docker Registry as a Service
– Increasing File Upload Size for Nginx
– Publishing to Your Private Docker Registry
– Pulling From Your Private Docker Registry
– Configure Nginx Port Forwarding for Finance Calculator
For all of this, I have used the following versions;
Ubuntu 20.04.5 LTS
Docker version 20.10.22, build 3a2c30b
Docker-compose version 1.29.2, build 5becea4c
Installing Docker
I had already installed Docker on my Ububntu VM prior to this, so I did not need this guide. However, I did run into an issue with the docker username not being added to my groups. The Digital Ocean guide includes this, so probably best to do it. It also means that you don’t need to use sudo for each docker command.
My fix was to follow this guide.
The only thing to add to this is that adding a new user group should require a restart on a VM. This may be sidestepped with running the command newgrp , as described in the Docker documentation.
Install Docker Compose
The next part is to install Docker compose. This was quite straight forward. I used the exact same version as in the guide.
Install Nginx
Nginx install, again pretty straightforward for anyone familiar with Linux. The only issue I did encounter was that my “server blocks” (vhosts in Apache) did not work. I did add the default domian.conf file and this seemed to resolve my issue.
|
0 1 2 |
sudo cp /etc/nginx/sites-available/default /etc/nginx/sites-available/registryla.house.conf |
Docker Registry Configuration
This next section covers the configuration of the Docker registry. There were a number of issues with this configuration that mainly revolved around the SSL certificate. First, the SSL must now have a SAN in it. Second, the SSL certificate being self-signed must be added to the CA stores of all devices connecting. Docker is quite strict about this, and I was not able to find a way to ignore untrusted certificates as can be easily done for a REST API.
Configure Docker Registry
This is step 1 of the guide. Some useful commands to use to check everything is running…
|
0 1 2 3 4 5 6 |
stef@stef-VirtualBox:~/docker-registry$ netstat -plnt | grep 5000 (Not all processes could be identified, non-owned process info will not be shown, you would have to be root to see it all.) tcp 0 0 0.0.0.0:5000 0.0.0.0:* LISTEN - tcp6 0 0 :::5000 :::* LISTEN - |
|
0 1 2 3 4 |
stef@stef-VirtualBox:~/docker-registry$ docker ps CONTAINER ID IMAGE COMMAND CREATED STATUS PORTS NAMES 53955c400248 registry:2 "/entrypoint.sh /etc…" 12 hours ago Up 12 hours 0.0.0.0:5000->5000/tcp, :::5000->5000/tcp docker-registry_registry_1 |
Configure Nginx Port Forwarding
This is the part that allows the access from outside the Ubuntu server to the Docker container. Without this port forwarding, the container would only be accessible locally from the Ubuntu server.
I needed to do a few things here after following the Digital Ocean guide. First, I got an error for permissions.
|
0 1 2 |
Got permission denied while trying to connect to the Docker daemon socket at unix:///var/run/docker.sock: Get http://%2Fvar%2Frun%2Fdocker.sock/v1.39/containers/json: dial unix /var/run/docker.sock: connect: permission denied |
This was fixed with following this guide and adding in the docker group. I added the group and user with the following commands.
|
0 1 2 3 4 5 |
sudo usermod -aG docker $USER newgrp docker ! Confirm docker group has been created groups |
Configure SSL Authentication
There were no issues with this section. The problems I faced were when attempting to login to the Docker registry, I received an error about the use of the common name field being legacy.
|
0 1 2 3 4 5 |
stef@stef-VirtualBox:~/docker-registry$ docker login https://registryla.house Username: stefan.admin Password: Error response from daemon: Get "https://registryla.house/v2/": x509: certificate relies on legacy Common Name field, use SANs instead |
The solution to this was to create a new self-signed cert and key to replace the old one. I chose to use the exact same names, so I would not need to modify any Nginx config.
|
0 1 2 3 4 5 6 |
! Command that did not work sudo openssl req -x509 -nodes -days 365 -newkey rsa:2048 -keyout /etc/ssl/private/nginx-selfsigned.key -out /etc/ssl/certs/nginx-selfsigned.crt ! Command that worked openssl req -newkey rsa:2048 -nodes -keyout /etc/ssl/private/nginx-selfsigned.key -x509 -days 365 -out /etc/ssl/certs/nginx-selfsigned.crt -subj "/CN=registryla.house" -addext "subjectAltName = DNS:registryla.house" |
This did however bring about another problem about the SSL not being from a trusted CA, but the fix was to just restart the docker service.
|
0 1 2 3 4 5 |
stef@stef-VirtualBox:~/docker-registry$ docker login https://registryla.house Username: stefan.admin Password: Error response from daemon: Get "https://registryla.house/v2/": x509: certificate signed by unknown authority |
|
0 1 2 |
sudo service docker restart |
Configure Docker Registry as a Service
Nice and easy to problems here
|
0 1 2 |
nano docker-compose.yml |
|
0 1 2 3 4 5 |
... registry: restart: always ... |
|
0 1 2 |
docker-compose up -d |
Increasing File Upload Size for Nginx
Also, no issues with this, only basic setting changed to allow a file of upto 16 GB uploaded to the Nginx server.
|
0 1 2 |
sudo nano /etc/nginx/nginx.conf |
|
0 1 2 3 4 5 6 7 |
... http { client_max_body_size 16384m; ... } ... |
Publishing to Your Private Docker Registry
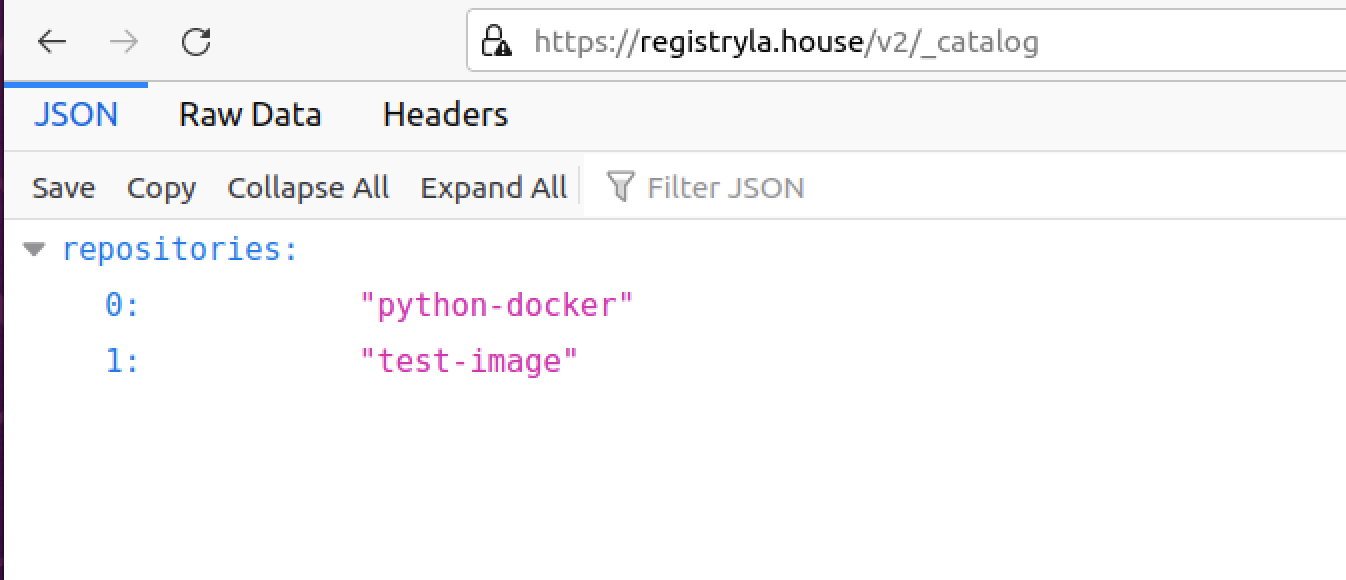
Docker images can now be pushed into the registry once logged in. The registry can also be connected to over browser. It’s not a real web page, just a JSON response that a browser can display. To my understanding, there isn’t a way to view the images on a remote registry. So the browser is a handy little feature that will do for testing.
|
0 1 2 3 4 5 6 7 8 |
stef@stef-VirtualBox:~/docker-registry$ docker login https://registryla.house Authenticating with existing credentials... WARNING! Your password will be stored unencrypted in /home/stef/.docker/config.json. Configure a credential helper to remove this warning. See https://docs.docker.com/engine/reference/commandline/login/#credentials-store Login Succeeded |
|
0 1 2 |
docker push registryla.house/test-image |
Now this is simple to do on the same Ubuntu machine as the private registry is stored, however a little more difficult on another machine as that must also trust the self-signed cert. I have used my Mac for this and copied the cert from the Ubuntu server and placed it into my system as a root cert. After a reboot, I was able to successfully login and upload images to the private registry.
|
0 1 2 3 |
stef@stef-VirtualBox:/$ ls /etc/ssl/certs/ | grep self nginx-selfsigned.crt |
|
0 1 2 3 4 5 6 7 8 9 10 11 12 13 14 15 16 17 18 19 20 21 22 23 24 25 26 27 28 29 30 31 32 33 34 35 |
(flaskenv) stefankelly@Stefans-MacBook-Pro ~ % docker images REPOSITORY TAG IMAGE ID CREATED SIZE fin_calc latest 3d9ffbb80b50 33 hours ago 587MB python-docker latest 3d9ffbb80b50 33 hours ago 587MB stttke/finance_calc test1 3d9ffbb80b50 33 hours ago 587MB docker101tutorial latest fa11a259504d 33 hours ago 47MB stttke/finance_calc/docker101tutorial test1 fa11a259504d 33 hours ago 47MB alpine/git latest 22d84a66cda4 7 weeks ago 43.6MB registry 2.7 b8604a3fe854 14 months ago 26.2MB (flaskenv) stefankelly@Stefans-MacBook-Pro ~ % docker tag python-docker registryla.house/python-docker (flaskenv) stefankelly@Stefans-MacBook-Pro ~ % docker images REPOSITORY TAG IMAGE ID CREATED SIZE stttke/finance_calc test1 3d9ffbb80b50 33 hours ago 587MB registryla.house/python-docker latest 3d9ffbb80b50 33 hours ago 587MB fin_calc latest 3d9ffbb80b50 33 hours ago 587MB python-docker latest 3d9ffbb80b50 33 hours ago 587MB docker101tutorial latest fa11a259504d 33 hours ago 47MB stttke/finance_calc/docker101tutorial test1 fa11a259504d 33 hours ago 47MB alpine/git latest 22d84a66cda4 7 weeks ago 43.6MB registry 2.7 b8604a3fe854 14 months ago 26.2MB (flaskenv) stefankelly@Stefans-MacBook-Pro ~ % docker push registryla.house/python-docker Using default tag: latest The push refers to repository [registryla.house/python-docker] ea5ba770e48d: Pushed 67c62f5c7577: Pushed d68089fbfcee: Pushed c41bd1aa8cd7: Pushed 4da962a3863f: Pushed ade4cdb42598: Pushed a3af7ad05be9: Pushed b42c4e0a74fd: Pushed 9a771a2f7675: Pushed 7b6f75f8765b: Pushed latest: digest: sha256:63cba30a7191cf97d77c01d0f7cef07c8cd8dcbc4e0b08d5e57b73efbeb1cf34 size: 2420 |
Pulling From Your Private Docker Registry
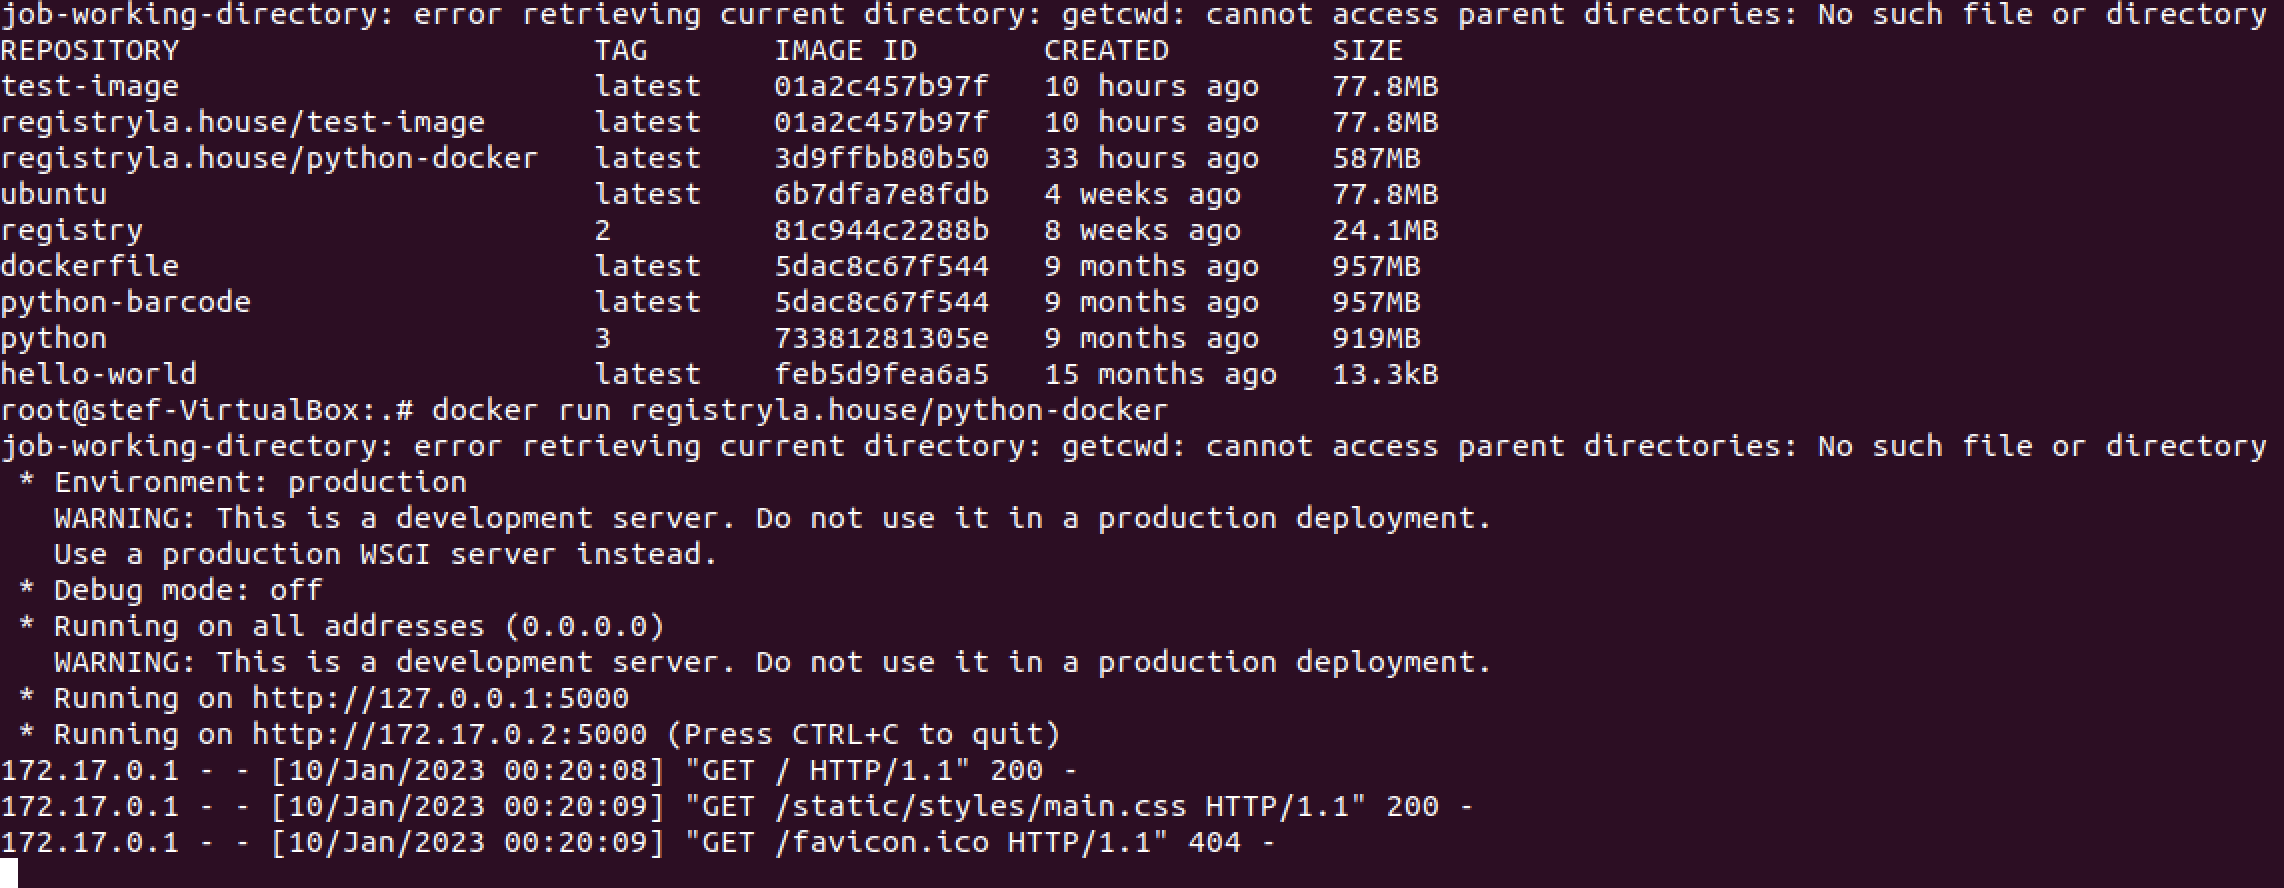
The pulling of the images in my scenario is on the Ubuntu server. The server that stores the images will also run the containers.
|
0 1 2 3 4 5 6 7 8 9 10 11 12 13 14 15 16 17 18 |
root@stef-VirtualBox:.# docker pull registryla.house/python-docker job-working-directory: error retrieving current directory: getcwd: cannot access parent directories: No such file or directory Using default tag: latest latest: Pulling from python-docker b52ebda398ed: Pull complete 5ea3b77facf9: Pull complete 3cf88772a539: Pull complete 58e7c3cd0452: Pull complete 8b23ff4b1264: Pull complete 6adf71c86f79: Pull complete 45e8664fa81f: Pull complete f306212ec89a: Pull complete 9e03f9166c87: Pull complete 7cdae76038dc: Pull complete Digest: sha256:63cba30a7191cf97d77c01d0f7cef07c8cd8dcbc4e0b08d5e57b73efbeb1cf34 Status: Downloaded newer image for registryla.house/python-docker:latest registryla.house/python-docker:latest |
|
0 1 2 3 4 5 6 7 |
root@stef-VirtualBox:.# docker images job-working-directory: error retrieving current directory: getcwd: cannot access parent directories: No such file or directory REPOSITORY TAG IMAGE ID CREATED SIZE test-image latest 01a2c457b97f 10 hours ago 77.8MB registryla.house/test-image latest 01a2c457b97f 10 hours ago 77.8MB registryla.house/python-docker latest 3d9ffbb80b50 33 hours ago 587MB |
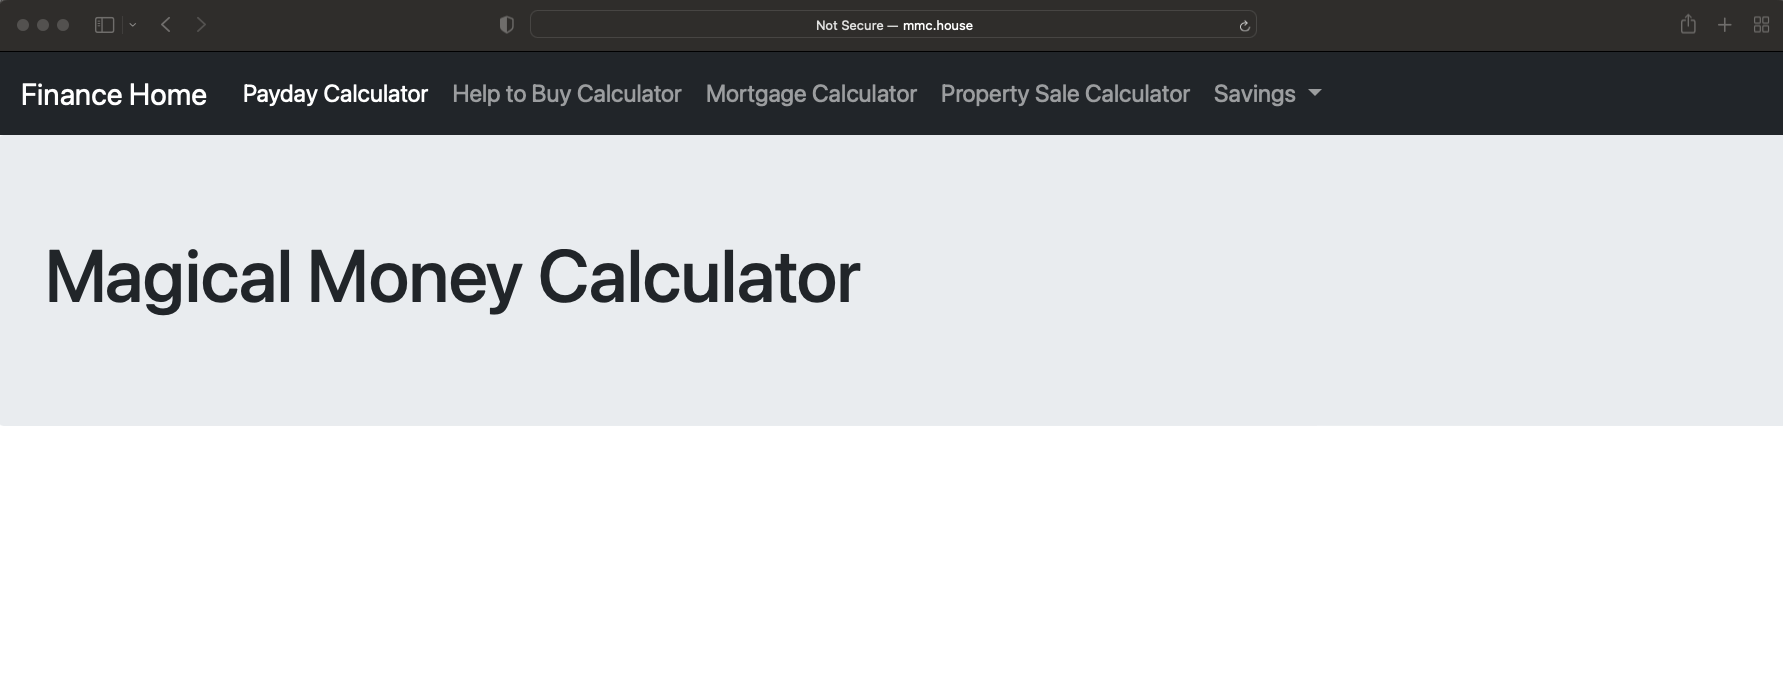
Configure Nginx Port Forwarding for Finance Calculator
This is the last part of the puzzle, which is basically a repeat of the method of Nginx port forwarding for the registry.
|
0 1 2 3 4 5 6 7 8 9 10 11 12 13 14 15 16 17 18 19 20 21 22 23 24 25 26 27 28 29 30 31 32 33 34 35 36 37 38 39 |
stef@stef-VirtualBox:/$ cat /etc/nginx/sites-available/registryla.house server { listen 443 ssl; listen [::]:443 ssl; include snippets/self-signed.conf; include snippets/ssl-params.conf; root /var/www/registryla.house/html; index index.html index.htm index.nginx-debian.html; server_name registryla.house www.registryla.house; location / { # Do not allow connections from docker 1.5 and earlier # docker pre-1.6.0 did not properly set the user agent on ping, catch "Go *" user agents if ($http_user_agent ~ "^(docker\/1\.(3|4|5(?!\.[0-9]-dev))|Go ).*$" ) { return 404; } proxy_pass http://localhost:5000; proxy_set_header Host $http_host; # required for docker client's sake proxy_set_header X-Real-IP $remote_addr; # pass on real client's IP proxy_set_header X-Forwarded-For $proxy_add_x_forwarded_for; proxy_set_header X-Forwarded-Proto $scheme; proxy_read_timeout 900; } } server { listen 80; listen [::]:80; server_name registryla.house www.registryla.house; return 302 https://$server_name$request_uri; } |
First I copied the working registry server block, and modified it to be HTTP only and run specifically on IP 172.17.0.2 on port 5000.
|
0 1 2 |
sudo nano /etc/nginx/sites-available/mmc.house |
|
0 1 2 3 4 5 6 7 8 9 10 11 12 13 14 15 16 17 18 19 20 21 22 23 24 25 26 27 |
server { listen 80; listen [::]:80; root /var/www/mmc.house/html; index index.html index.htm index.nginx-debian.html; server_name mmc.house www.mmc.house; location / { # Do not allow connections from docker 1.5 and earlier # docker pre-1.6.0 did not properly set the user agent on ping, catch "Go *" user agents if ($http_user_agent ~ "^(docker\/1\.(3|4|5(?!\.[0-9]-dev))|Go ).*$" ) { return 404; } proxy_pass http://172.17.0.2:5000/; proxy_set_header Host $http_host; # required for docker client's sake proxy_set_header X-Real-IP $remote_addr; # pass on real client's IP proxy_set_header X-Forwarded-For $proxy_add_x_forwarded_for; proxy_set_header X-Forwarded-Proto $scheme; proxy_read_timeout 900; } } |
Next I copied the default Nginx site to the new domains .conf file as I had done for the registry and created the symlink for sites-enabled.
|
0 1 2 3 |
sudo cp /etc/nginx/sites-available/default /etc/nginx/sites-available/mmc.house.conf sudo ln -s /etc/nginx/sites-available/mmc.house /etc/nginx/sites-enabled/ |
Test Nginx, restart and done!
|
0 1 2 3 |
sudo nginx -t sudo systemctl restart nginx |
Run the new container
|
0 1 2 |
docker run -d -p 5001:5001 registryla.house/python-docker |
|
0 1 2 3 4 5 |
stef@stef-VirtualBox:/$ sudo docker ps CONTAINER ID IMAGE COMMAND CREATED STATUS PORTS NAMES f7d071f2c1b4 registryla.house/python-docker "python3 -m flask ru…" 44 minutes ago Up 44 minutes 0.0.0.0:5001->5001/tcp, :::5001->5001/tcp blissful_brahmagupta 53955c400248 registry:2 "/entrypoint.sh /etc…" 13 hours ago Up 13 hours 0.0.0.0:5000->5000/tcp, :::5000->5000/tcp docker-registry_registry_1 |